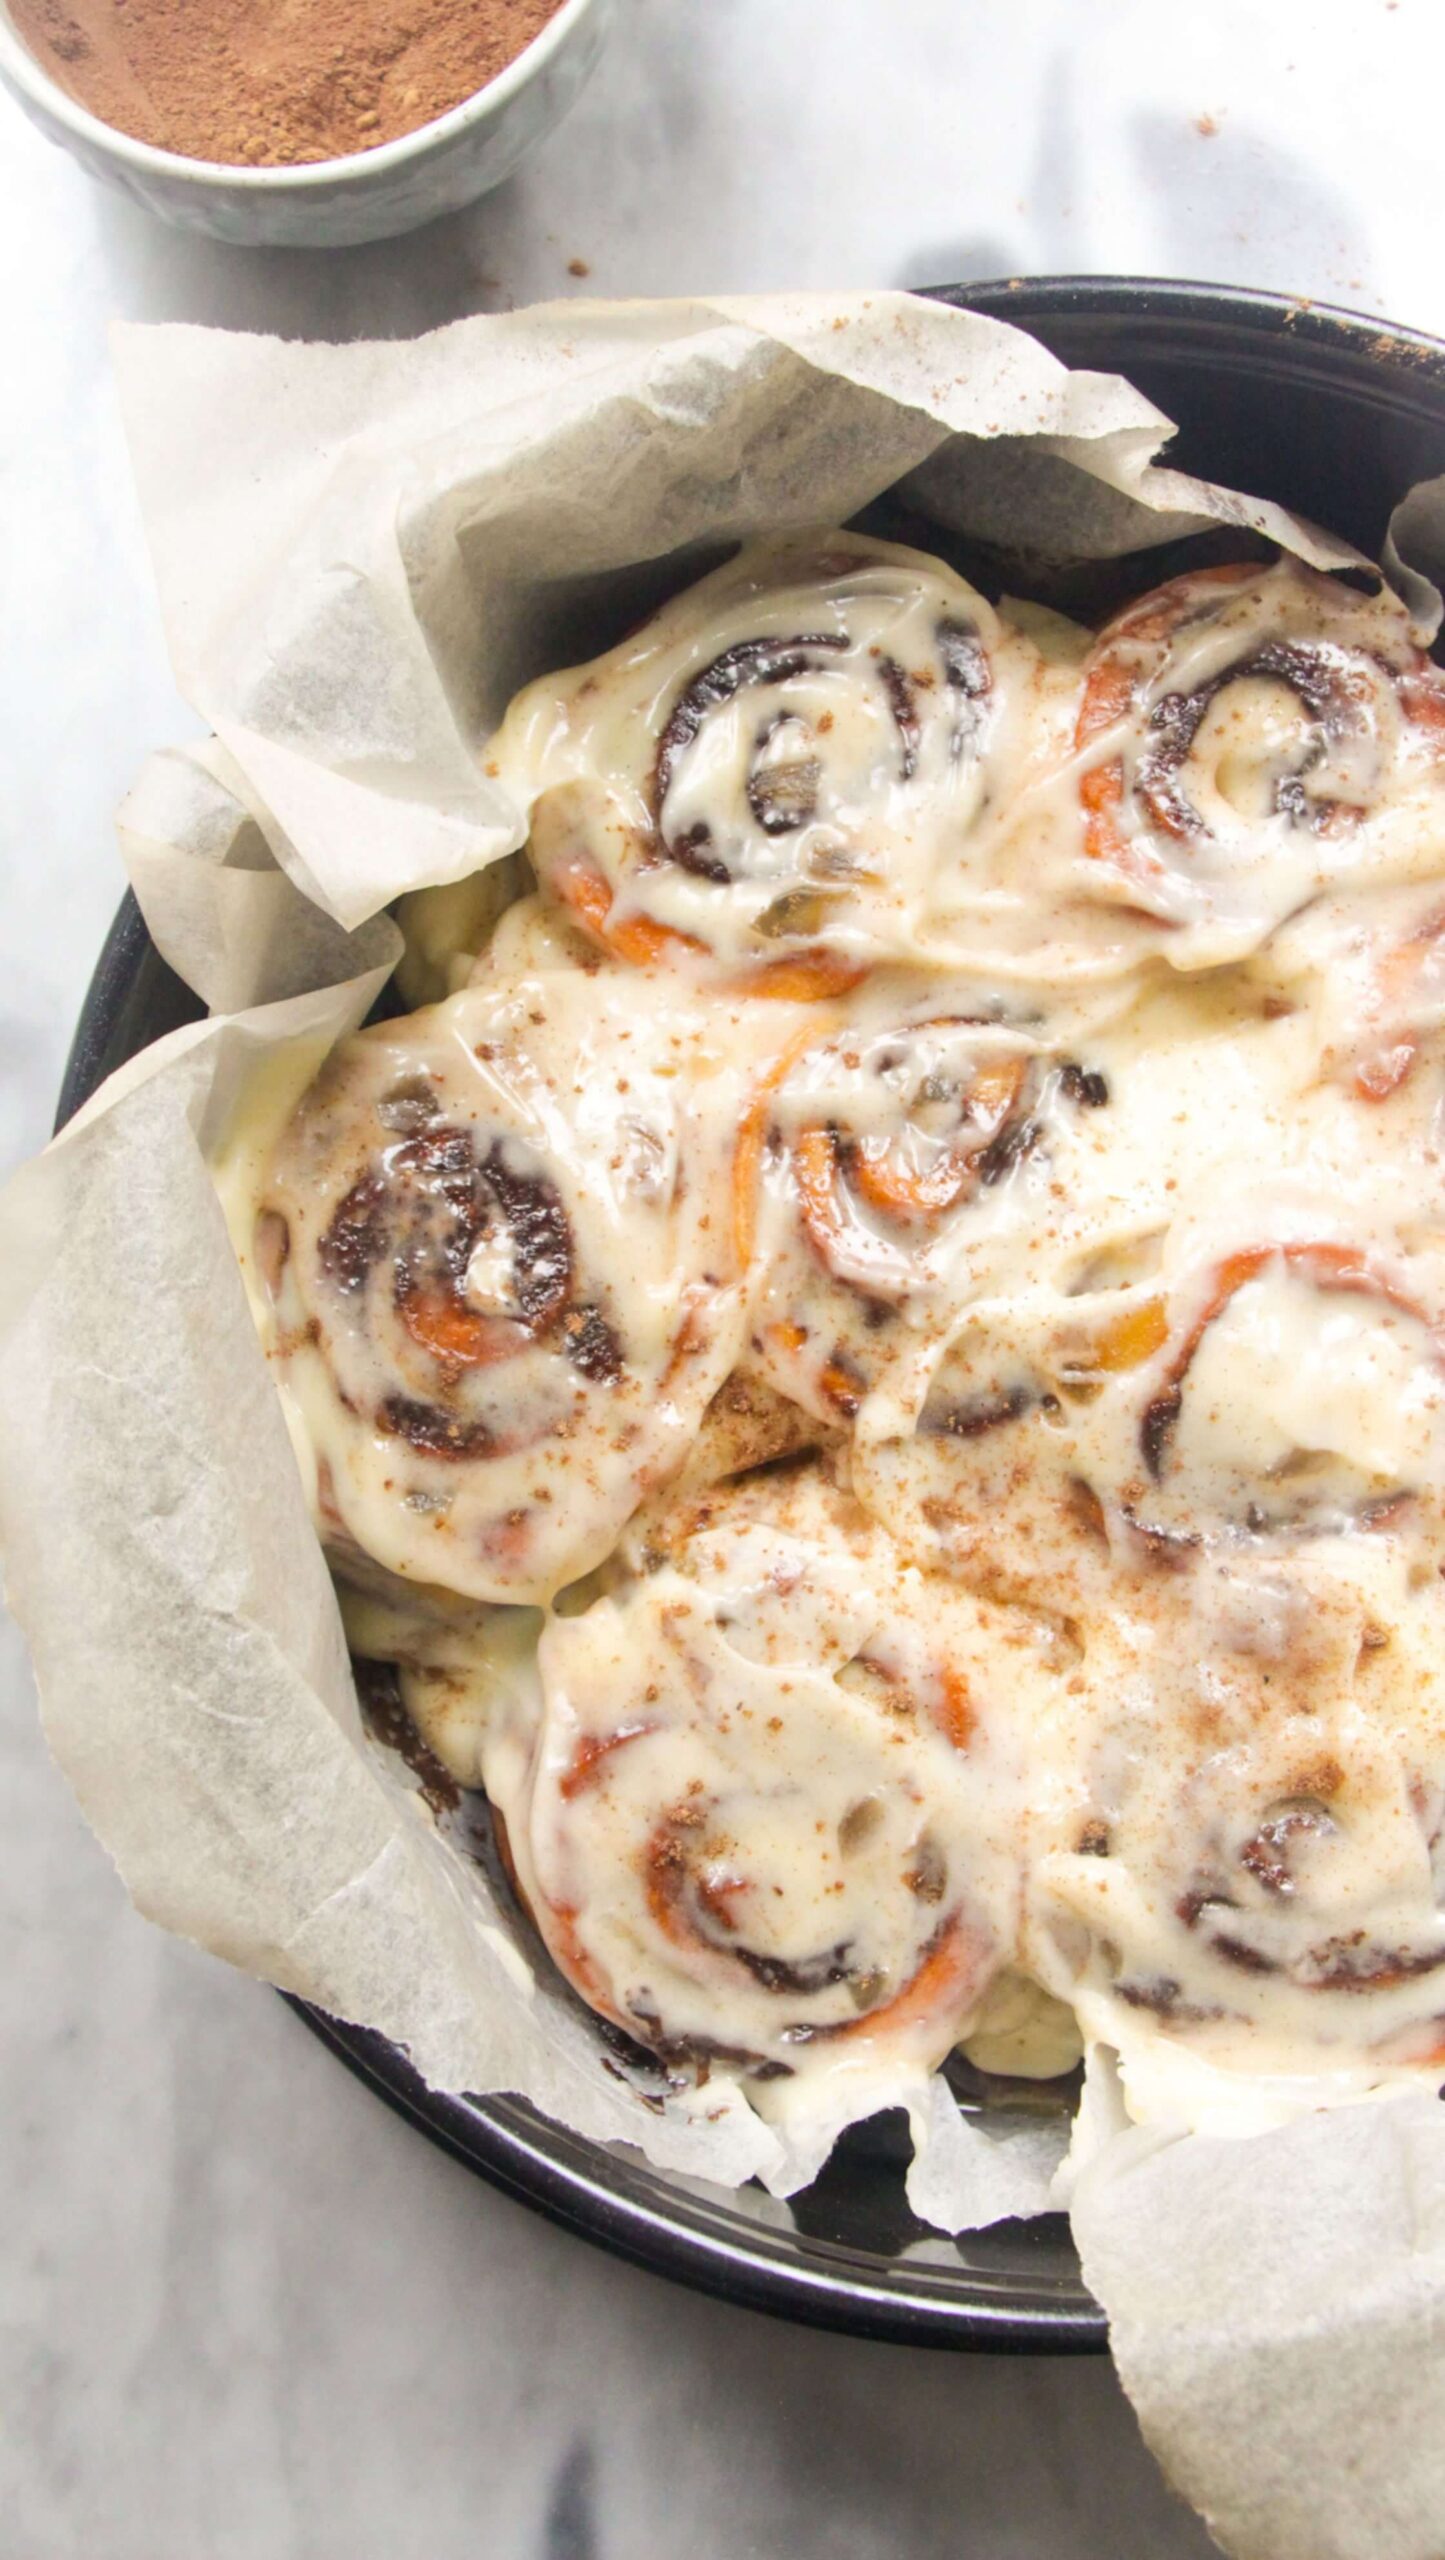
Chocolate Afghan biscuits are a New Zealand classic. Crunchy, ultra-buttery, chocolatey, cornflake-stuffed and slathered with gooey chocolate icing, they’re an incredibly easy, FAST, all-in-one bowl biscuit recipe that needs no special equipment.

Your next baking project is here. The biscuits (cookies) themselves are relatively low in sugar – the majority of the sweetness comes from the gooey chocolate icing slathered on top. They’re crunchy, buttery, chocolatey and a complete nostalgic call back to childhood for me (or any Kiwi!), but you’ll love them even if you’ve never tried them before.
There’s competing information and no solid answer as to why these are called Afghan biscuits. It seems to be clear enough that they first make an appearance in a regional New Zealand newspaper in 1934 and have been a solid part of New Zealand baking culture ever since.
Essentially, they’re chocolatey, cornflake-stuffed buttery cookies, slathered with gooey chocolate icing and topped with a walnut. They’re super moreish, incredibly delicious and the best little sweet bite to enjoy with a cup of tea or a coffee.
Why you’ll love this recipe
- Super easy – the biscuit dough is made in one bowl, using no special equipment.
- Fast to make – just mix your dough and pop it into the oven, no need to chill it in the fridge. 25 minutes, tops.
- Ultra chocolatey, without feeling TOO sugary and sweet.
Ingredients
These classic biscuits use regular cupboard staples, so you shouldn’t have trouble finding anything.
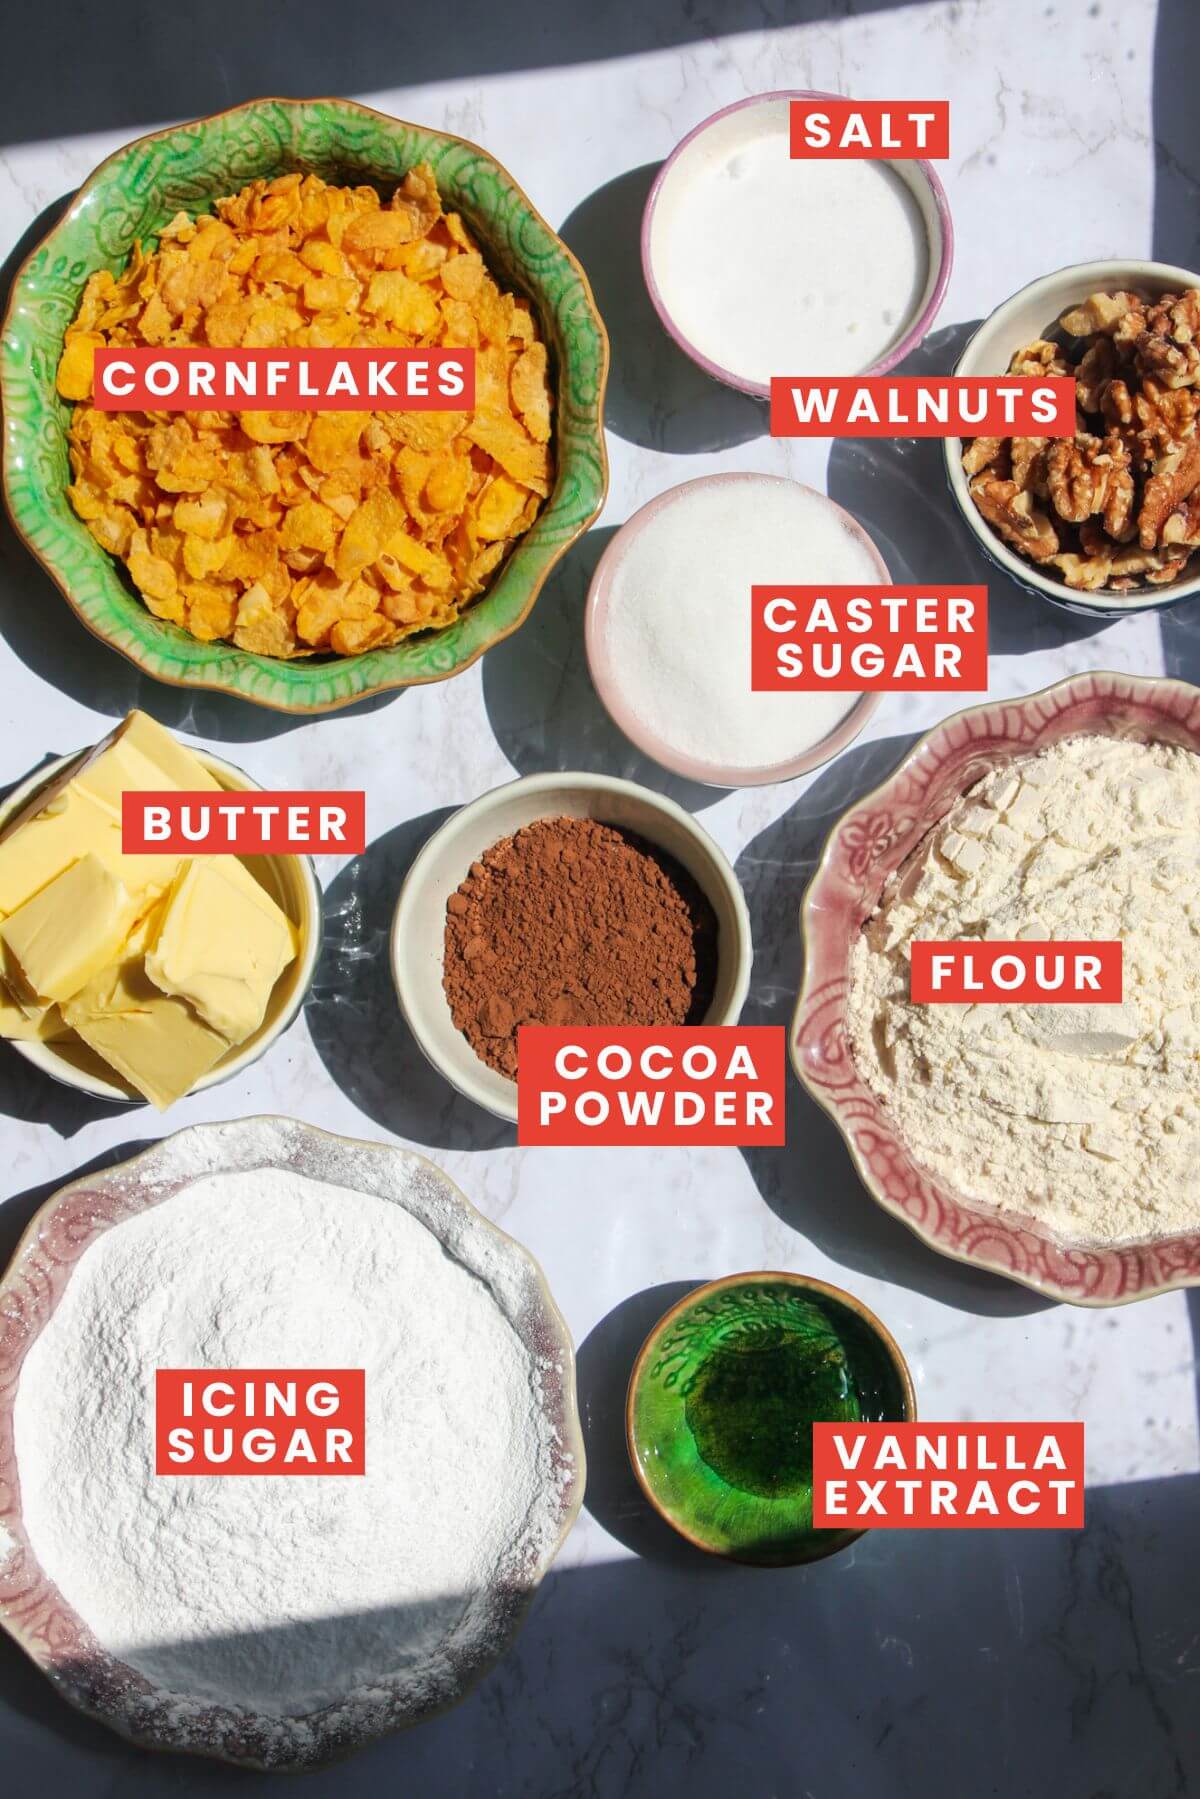
- Flour. Regular plain all-purpose flour is all you need here.
- Cocoa powder. The quality of your cocoa powder will make or break your biscuits, so try to go for a high-quality brand if you can.
- Cornflakes. These are classic, but you could use Weetbix, rice crispies or another similar cereal. Desiccated coconut is also a fun addition in place of the cornflakes.
- Walnuts. If you don’t like them or can’t find them, other nuts like hazelnuts, pistachios or pecans would work well too.
- Caster sugar. Use regular white sugar if you don’t have any.
How to make it
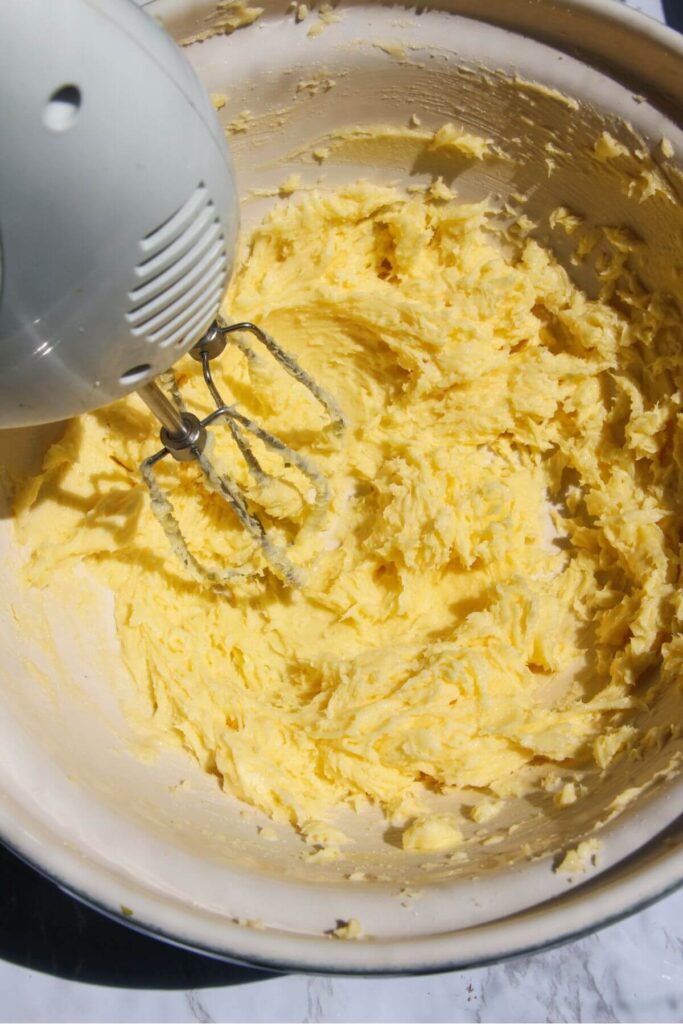
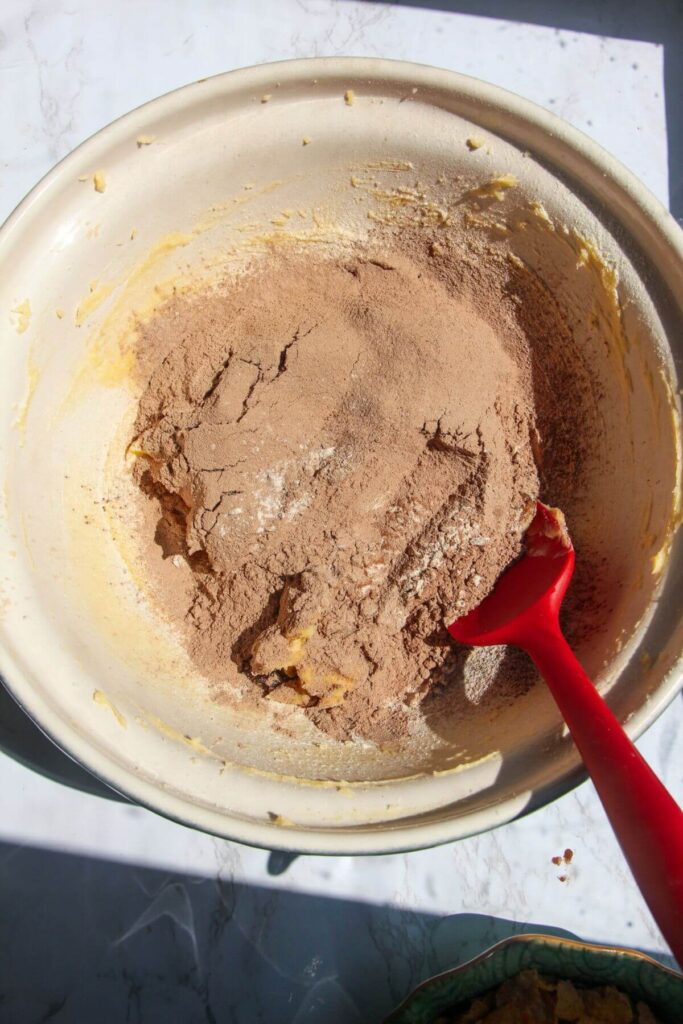
Beat your butter, sugar and vanilla extract until fluffy and creamy, then sift in the flour, cocoa powder and salt.
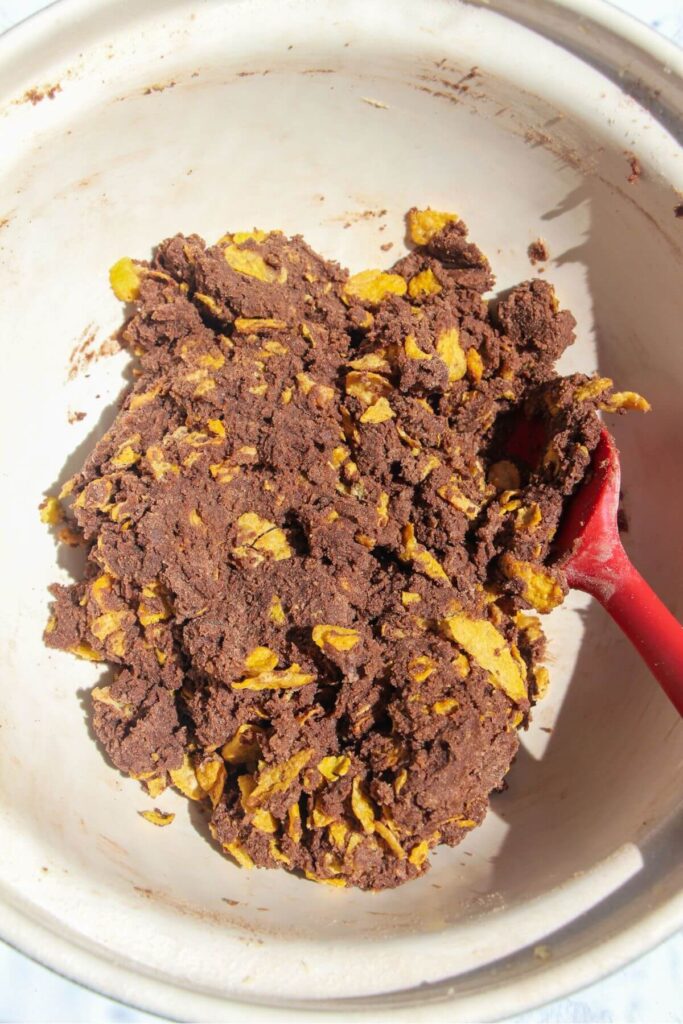
Mix into a thick dough (it will be quite dry), then add the cornflakes and mix again to incorporate them well.
PRO TIP: You can crush the cornflakes before adding them if you like, but I tend not to bother. As you mix them in they’ll break up a bit anyway, and I like the texture of having chunkier, crunchy pieces throughout the biscuit.

Scoop up heaped tablespoons of the dough and form into a rough ball with your hands, then place on a baking paper lined tray. Use the back of a fork to press down on them lightly, then bake for 12 – 15 minutes, until they’re just set.


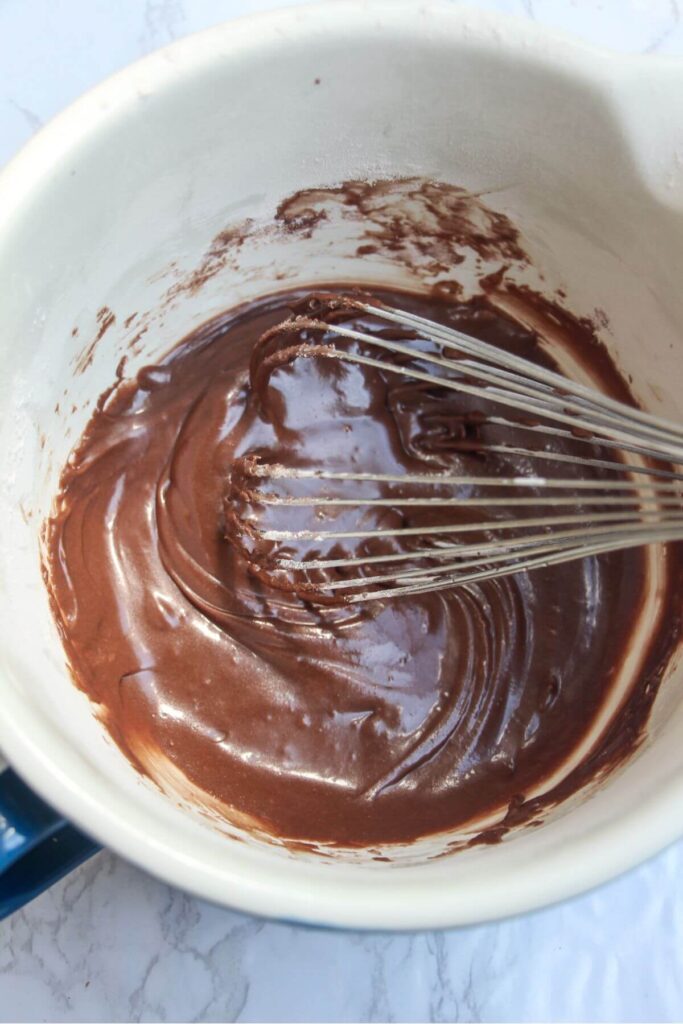
Once the biscuits have cooled, mix your chocolate icing. It should be runny enough to spread on your biscuit, but not SO runny that it drips off the sides. Spoon a generous amount of icing on top of each biscuit, then press a walnut into the icing on top.
PRO TIP: If you’ve added too much water and the icing is too runny, just add a little more icing sugar to thicken it up again. Likewise, if it’s too thick, add a little more water to loosen it up.


Got a question?
They’ll keep well for at least one week, stored in an airtight container at room temperature (though you’ll probably get through them quicker than that!)
You could use almonds, pistachios, hazelnuts or pecans in place of walnuts if you like, or leave them off completely for a nut-free version. A sprinkle of toasted desiccated coconut, or coconut flakes, would be lovely too.
Like this recipe? Here are more baking ideas


If you make this recipe, I’d love to hear from you! You can leave me a comment below.
Print
Classic Chocolate Afghan Biscuits
- Total Time: 25 minutes
- Yield: 18 biscuits 1x
- Diet: Vegetarian
Description
Chocolate Afghan biscuits are a New Zealand classic. Crunchy, ultra-buttery, chocolatey, cornflake-stuffed and slathered with gooey chocolate icing, they’re an incredibly easy, FAST, all-in-one bowl biscuit recipe that needs no special equipment.
Ingredients
For the biscuits –
- 200g/7oz softened butter
- ½ cup caster sugar (118g)
- 1 1/4 cups flour (190g)
- ¼ cup cocoa powder (30g)
- ¼ teaspoon salt
- 1 ½ cups cornflakes, lightly crushed (52g)
For the chocolate icing –
- ¾ cup icing sugar
- ¼ teaspoon salt
- 1 tablespoon cocoa powder
- 1 teaspoon butter, at room temperature
- 18 walnut halves
Instructions
- Cream the butter, sugar and vanilla. Heat your oven to 180C/356F fan and line two oven trays with baking paper. Add 200g butter, 1/2 cup of caster sugar and 1 teaspoon of vanilla extract to a large mixing bowl. Beat with a whisk (or electric whisk) until pale and creamy. PRO TIP: You can also do with this with the paddle attachment in the bowl of a stand mixer if you like.
- Add the dry ingredients. Set a sieve over the bowl with the butter, sugar and vanilla, then add 1 1/4 cups of flour, 1/4 cup of cocoa powder and 1/4 teaspoon of salt. Sift them into the bowl, then mix to combine. It’s quite a dry, crumbly mix, but don’t worry, this is correct. Once mixed, add 1 1/2 cups of cornflakes and mix again, so that the cornflakes are mixed through evenly.
- Bake the biscuits. Scoop up a heaped tablespoon of the dough and roll it into a rough ball in your hands. Place on the prepared tray, then repeat with the rest of the mixture, leaving a small space in between each ball to allow for spreading in the oven. Use the back of a fork to lightly press down on and slightly flatten the balls, then transfer to the oven for 12 – 15 minutes, or until they’re just set to the touch. Remove from the oven, let cool for about 10 minutes on the trays, then transfer to a wire rack to cool completely before icing them.
- Ice the biscuits. Sift 3/4 cup of icing sugar, 1/4 teaspoon salt and 1 tablespoon of cocoa powder into a bowl. Add 1 teaspoon of melted butter and 2 tablespoons of just boiled water, and whisk until a thick, pourable icing forms. PRO TIP: If it’s too thick, add a little more hot water, and if it’s too runny, add more icing sugar. Once the biscuits have cooled, spoon a heaped tablespoon of icing on top of each biscuit, then press a walnut half on top into the icing. PRO TIP: I find it easier to ice all the biscuits first, then put the walnuts on top, so you can make sure each biscuit has enough icing.
Notes
INGREDIENT NOTES: You’re going to think it’s a lot of icing sugar and icing, but trust the process, you’ll use it all. You want good big dollops of icing on the biscuits. The biscuits themselves aren’t super sweet, so the sweetness comes from the icing. The walnuts are the classic topper, but you could swap them with another nut (almonds, pistachios or pecans would be great).
STORAGE INSTRUCTIONS: They’ll keep really well in an airtight container at room temperature for a good few weeks.
- Prep Time: 10
- Cook Time: 15
- Category: baking
- Method: oven
- Cuisine: new zealand
Keywords: chocolate biscuits, cornflake cookies, afghan cookies


0 Comments