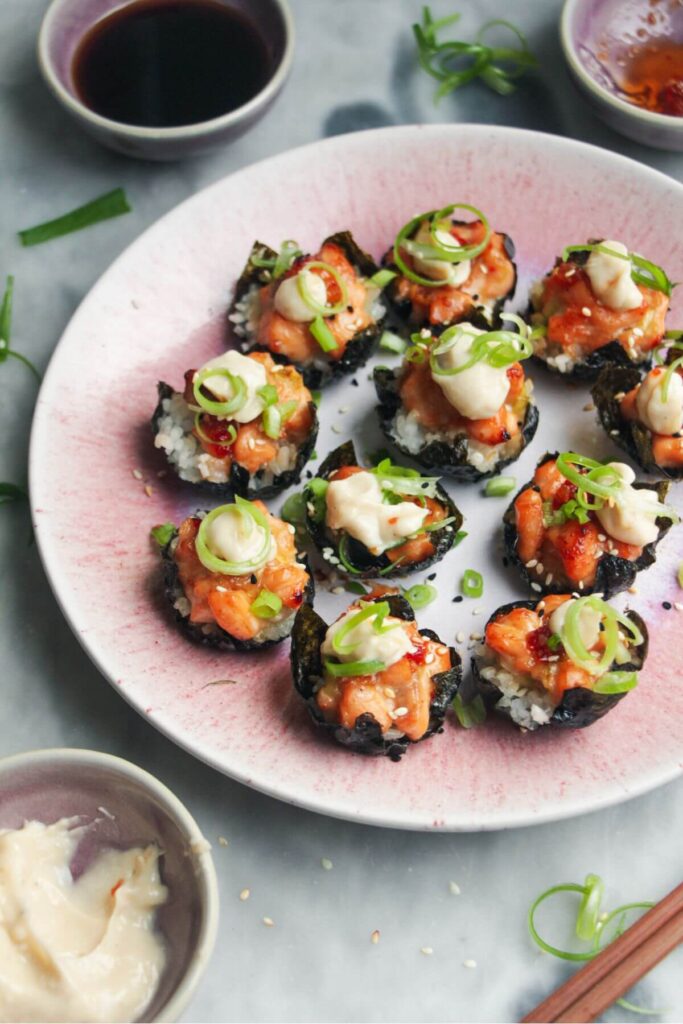
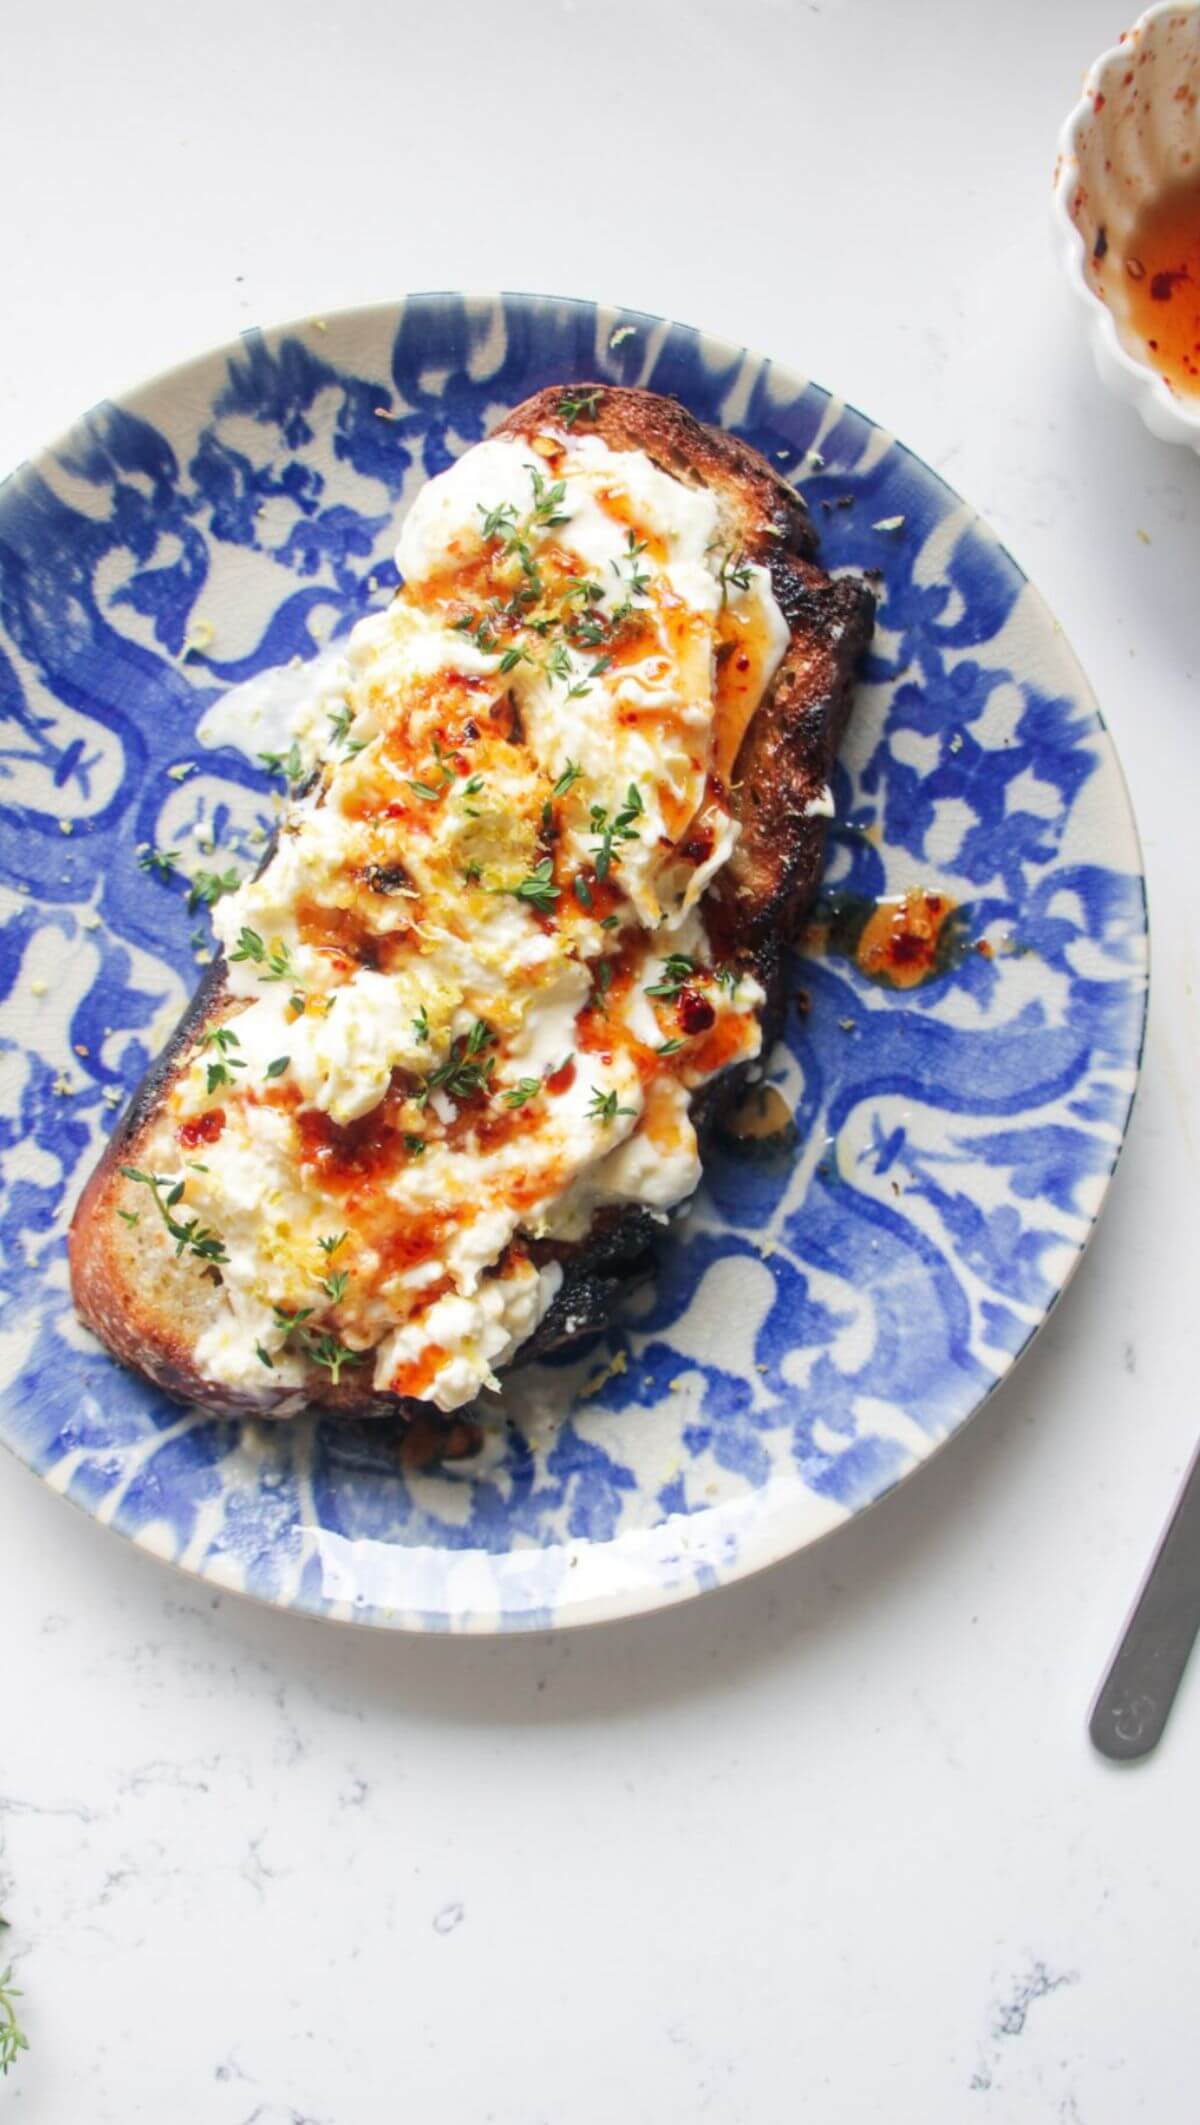
These cute little baked salmon sushi cups are the absolute easiest way to get the flavour of your favourite sushi roll, at home. Easy to make, and even easier to eat, they’re great hot or cold and can be prepped ahead. I love to drizzle them with sweet chilli jam and a very good dollop of garlic aioli (or spicy gochujang aioli) to serve.

I like to think of these cute little cups as cheat’s sushi – I’ve made sushi before but I find it fiddly and messy, but these cute little sushi cups? Amazing. They take all the faff out of making sushi and are WONDERFUL little party snacks.
Because they’re great cold as well as hot, they’re perfect for prepping ahead (will keep well for 3 days in the fridge) and there are lots of switches and swaps you can make, based on what you and your guests like best. You can even make Keto or low-carb versions of the bites – just skip the rice and spoon the salmon straight into the nori cups!
All you need to do is pile seasoned sushi rice onto nori squares, top with a quick diced salmon mix and pop into the oven for 15 minutes. So quick, so easy and I guarantee these will disappear quickly.
Ingredients

- Sushi rice. Or short-grain rice. This is important – you need the rice to be super sticky so it sticks to the nori squares. You can find it in regular grocery stores.
- Rice vinegar. This is key for seasoning the rice to really give it that sushi flavour, but you could use apple cider vinegar or white wine vinegar if you don’t have it.
- Salmon. Go for good quality salmon if you can – because we’re cooking it, it doesn’t need to be sushi grade.
- Aioli. I will always go for garlic aioli over mayo if it’s on offer – but you can use regular mayo, or Kewpie mayo if you like. For a spicier version, go for a spicy mayo (like this speedy gochujang aioli)
- Sweet chilli jam. Use sweet chilli sauce if you like, though I do urge you to give my sweet chilli jam recipe a go if you have time.
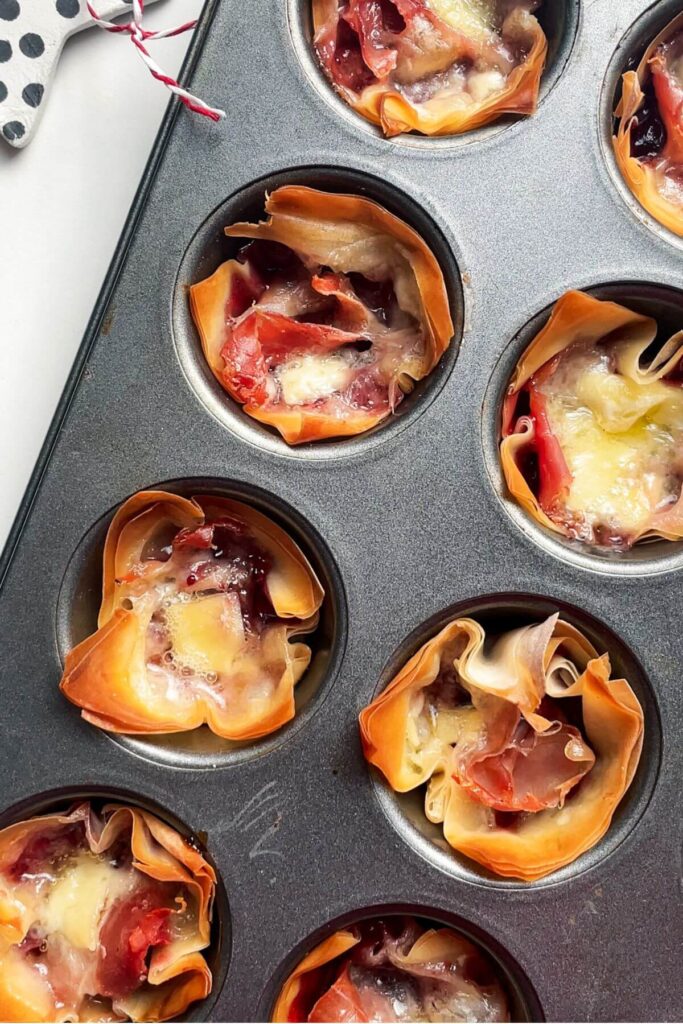
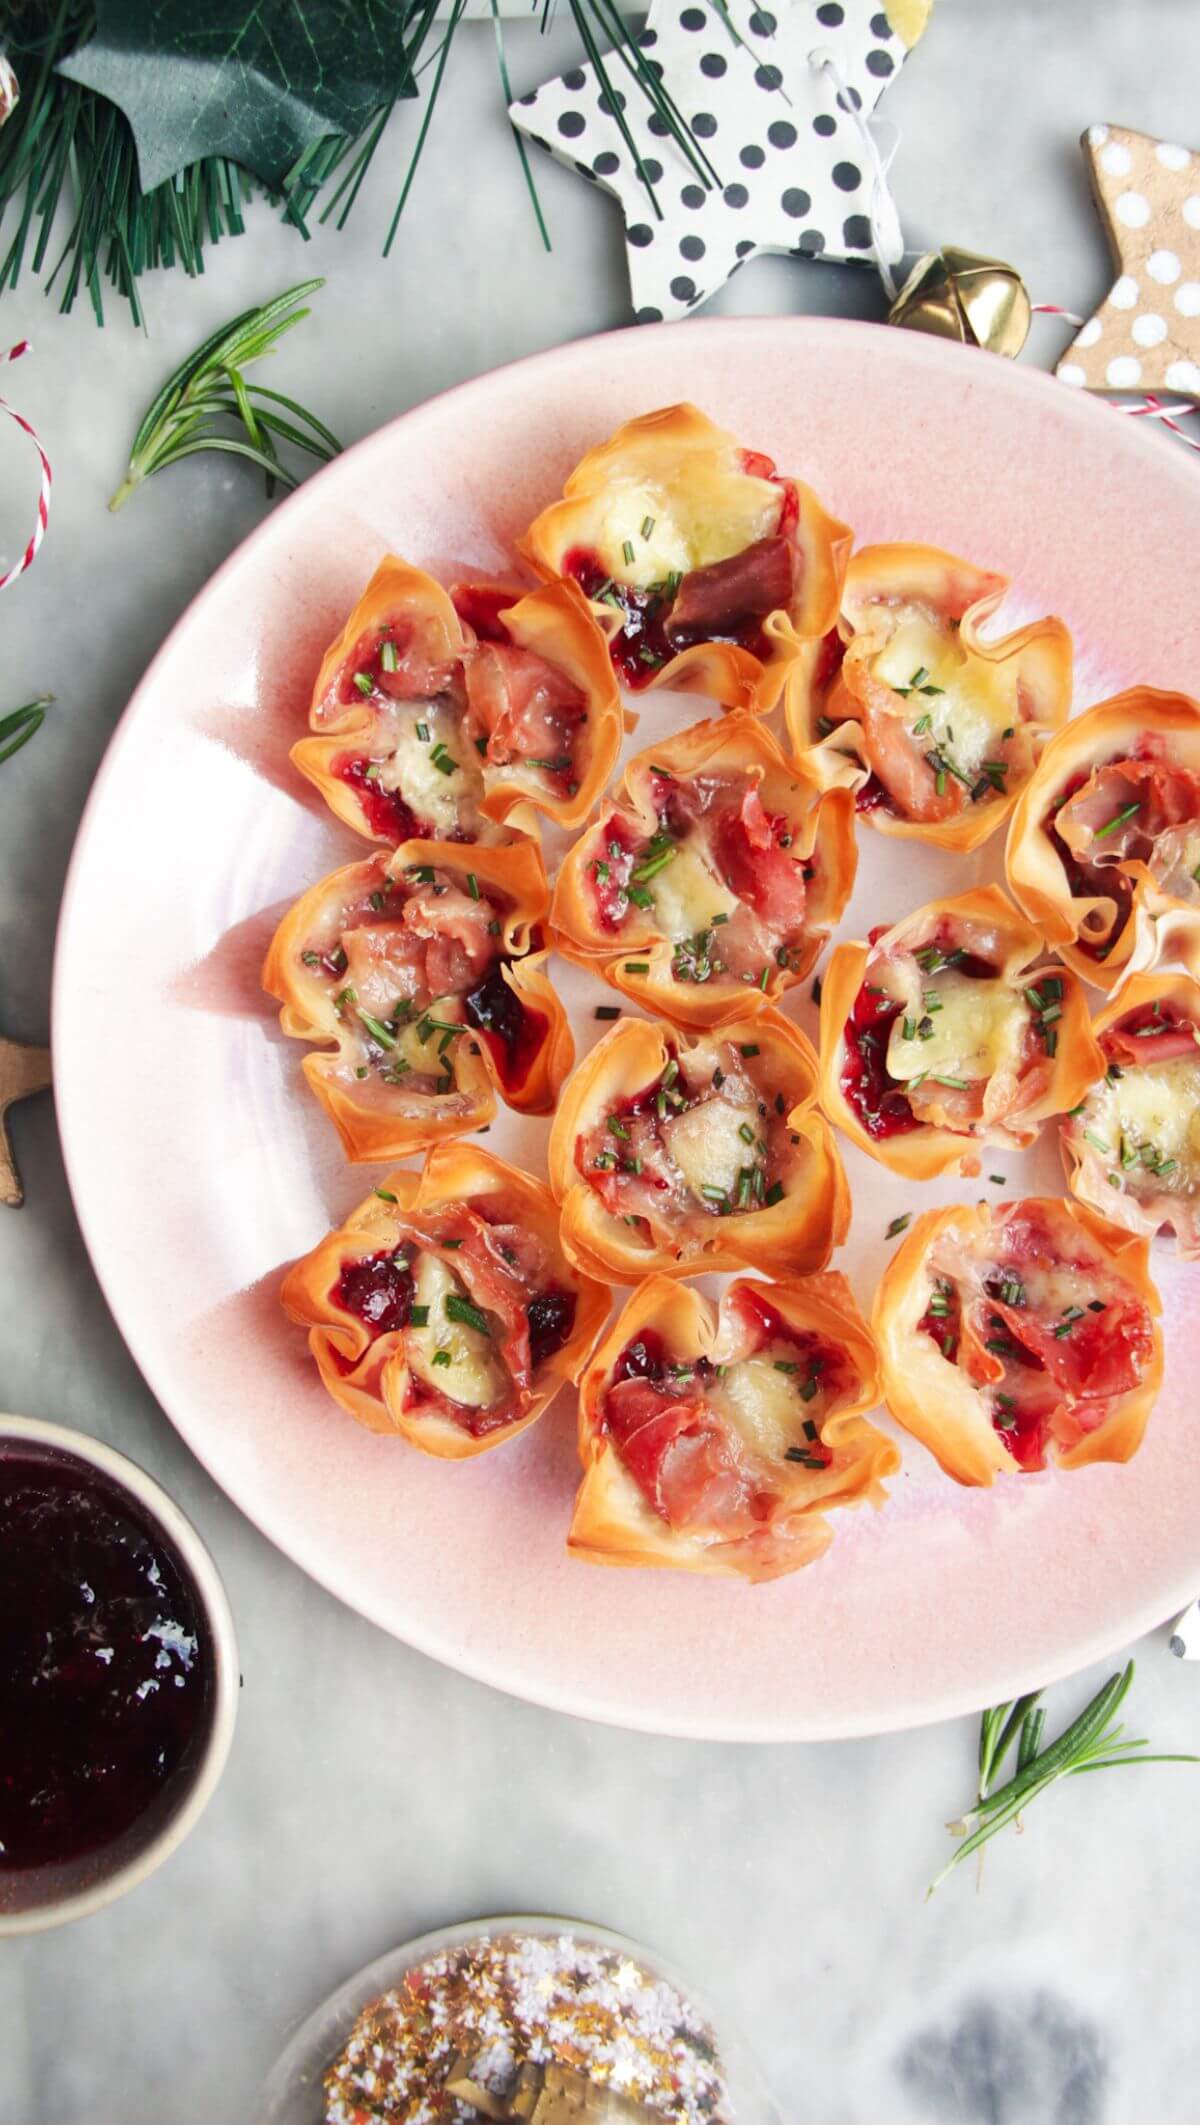
You’ll also need a mini muffin tin (or a regular-sized muffin tin for larger cups). I like this one I picked up from Amazon – I use it ALL the time – for my brie, cranberry and prosciutto filo bites, Christmas fruit mince pies and crispy salami bites.
How to make them
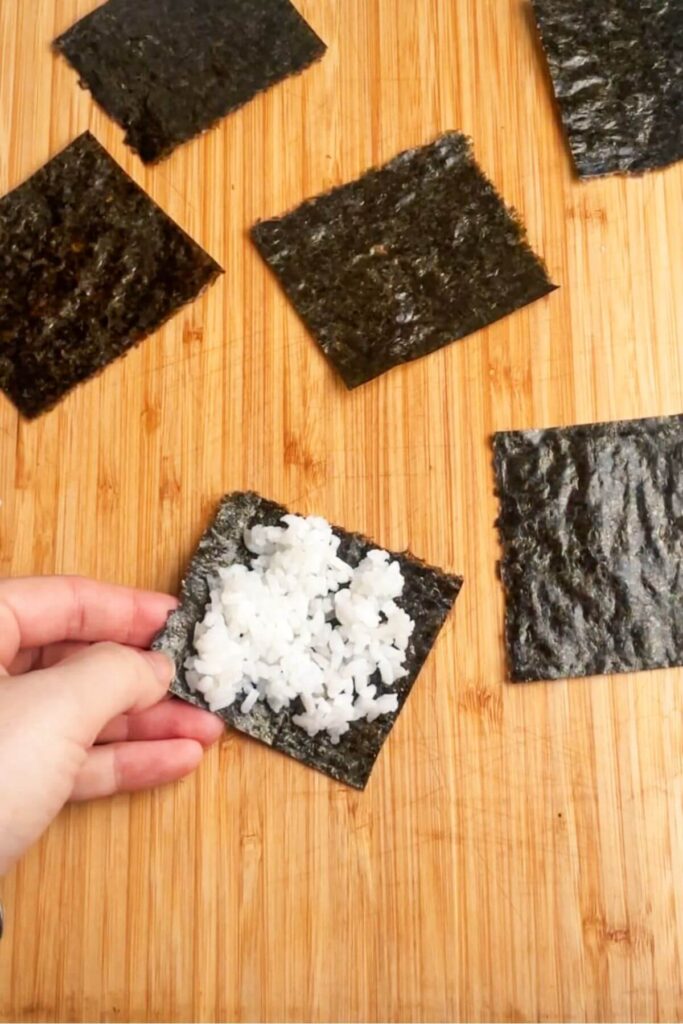
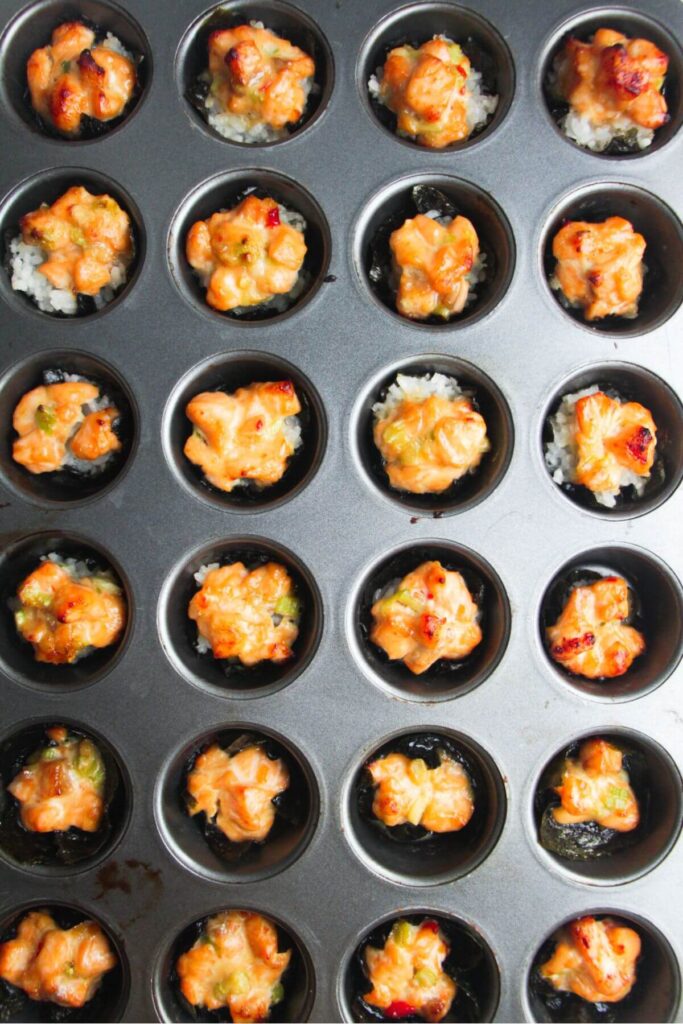
Cook your rice, then season with rice vinegar and salt. Mix your diced sushi with the marinade ingredients, then prepare your nori sheets. I find using scissors the best way to cut them into squares. Press a little of the sushi rice onto each nori square, trying to have as even a layer as possible.
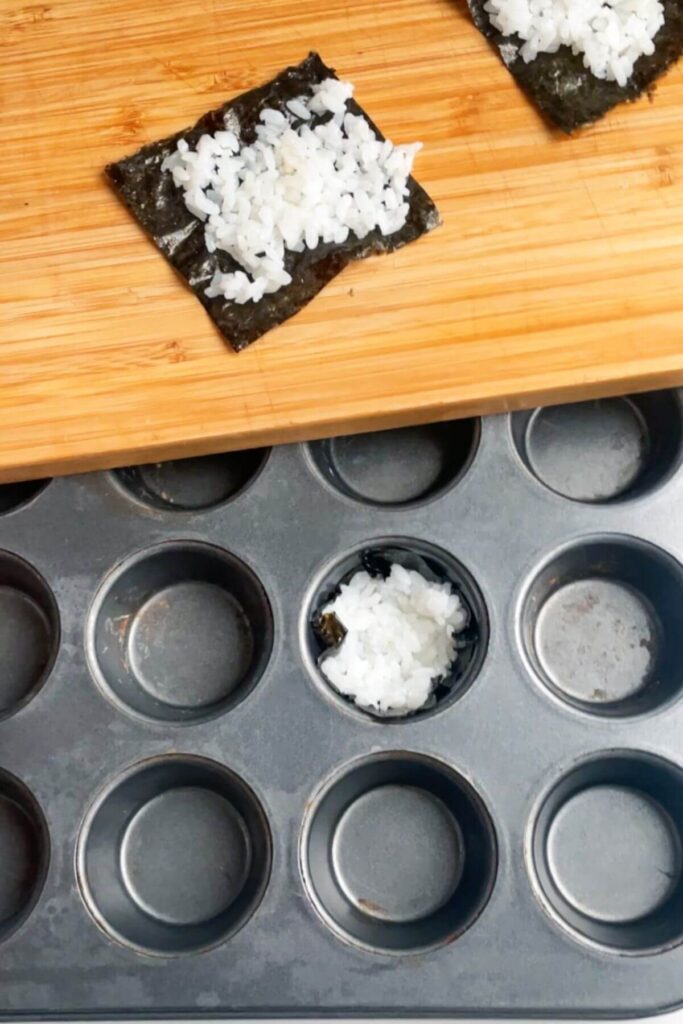
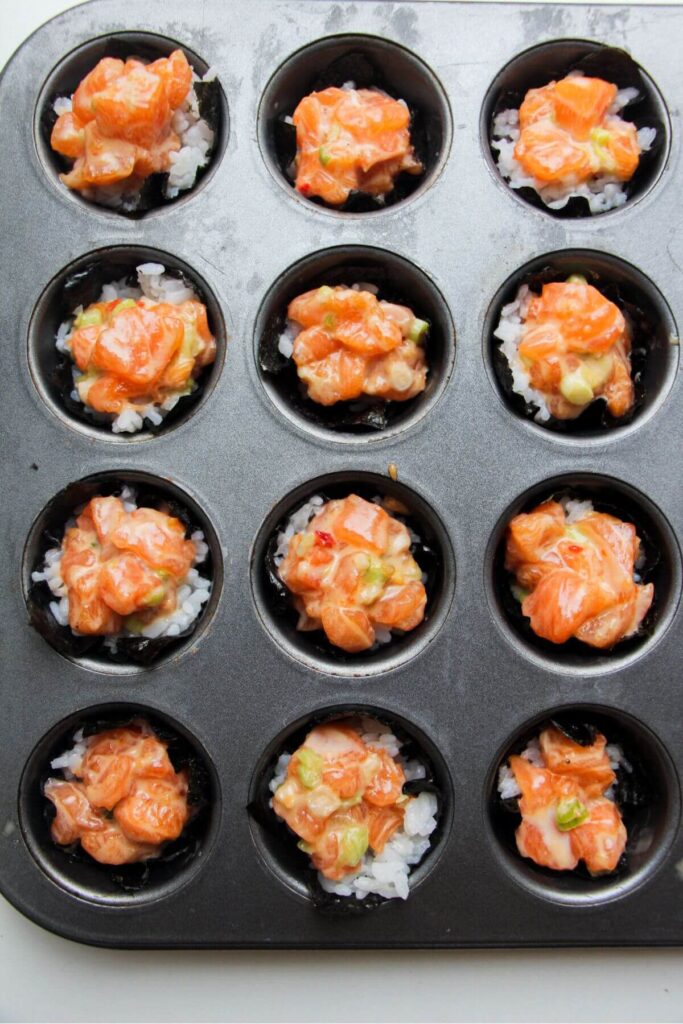
Press the rice-lined nori squares into your muffin tin, then top with a teaspoon of the salmon mix.
Bake, then drizzle with more sweet chilli, aioli and sesame seeds. If you’d like lovely charred edges to your salmon, pop the cups under the broiler (grill) for a couple of minutes – I put it on the highest setting.
Watch how to make them
Got a question?
You can cook the rice the day before you want to make the cups and cut your nori sheets into squares. It’s best to mix the salmon with the other ingredients right before cooking – long storage in the marinade can make a difference to the texture of the fish.
Sure! Use tuna (or canned tuna), shrimp, crabmeat or leftover cooked chicken (it would be a great way to repurpose any leftover chicken teriyaki, miso chicken, chicken katsu or Korean fried chicken).
They’ll keep well for about 3 days after baking – just keep them in the fridge. They’re lovely hot or cold, so you can enjoy them straight from the fridge.
Yes! I tested them without the rice and it worked perfectly – so it’s great if you’re catering for anyone following a Keto or low-carb diet. Just pile the salmon mix straight into the nori sheets in your muffin tin.
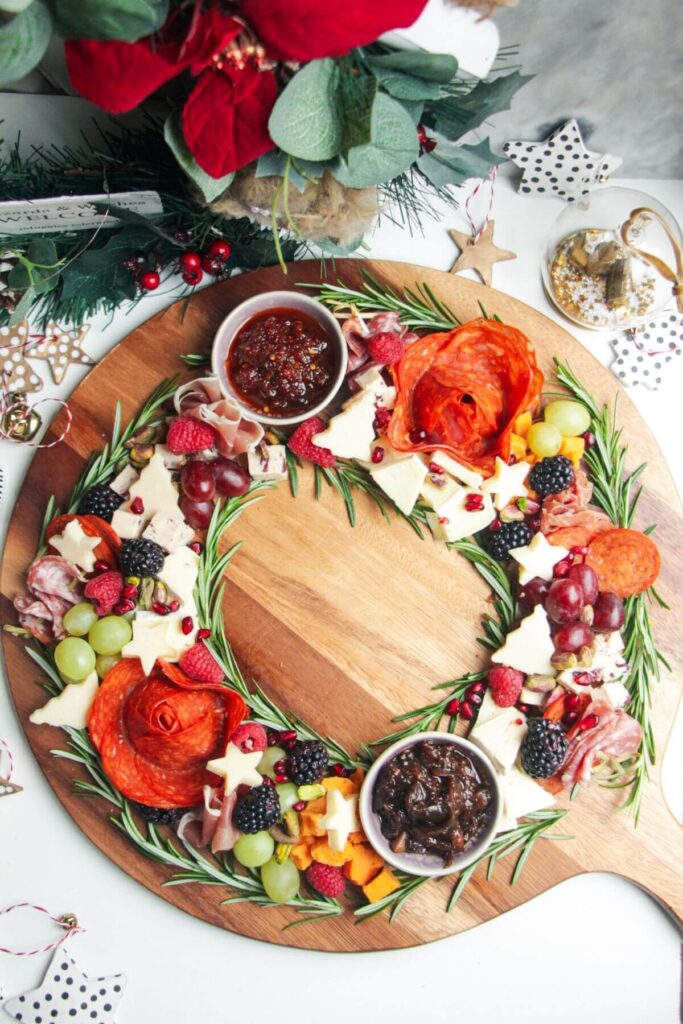
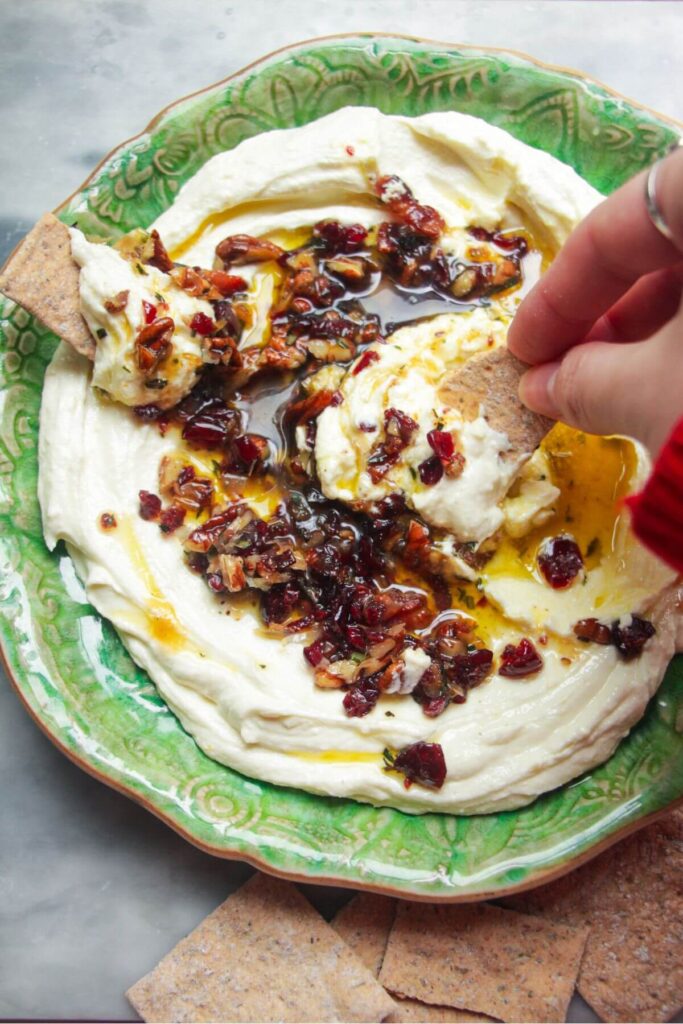
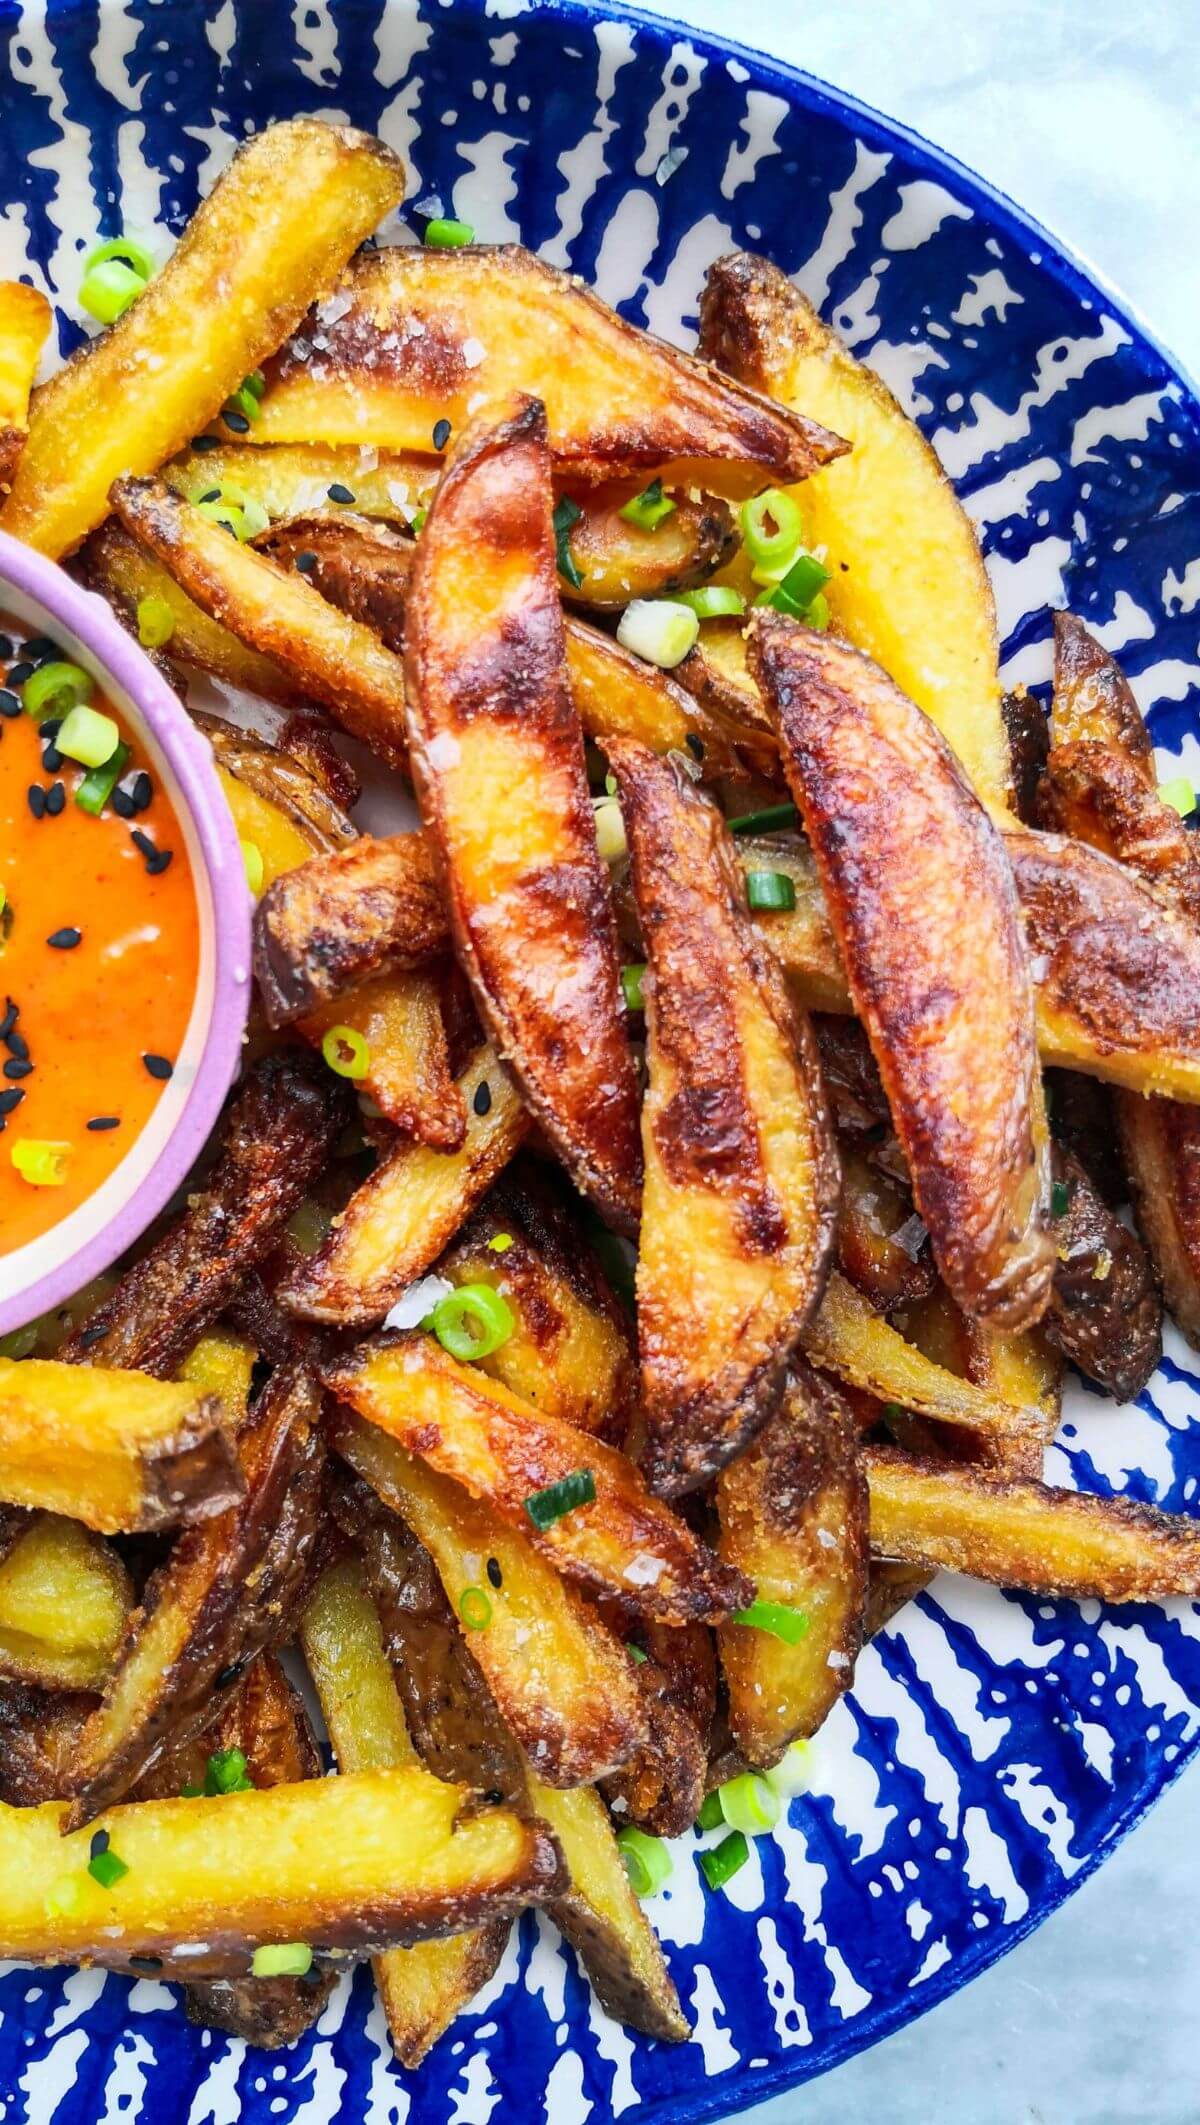
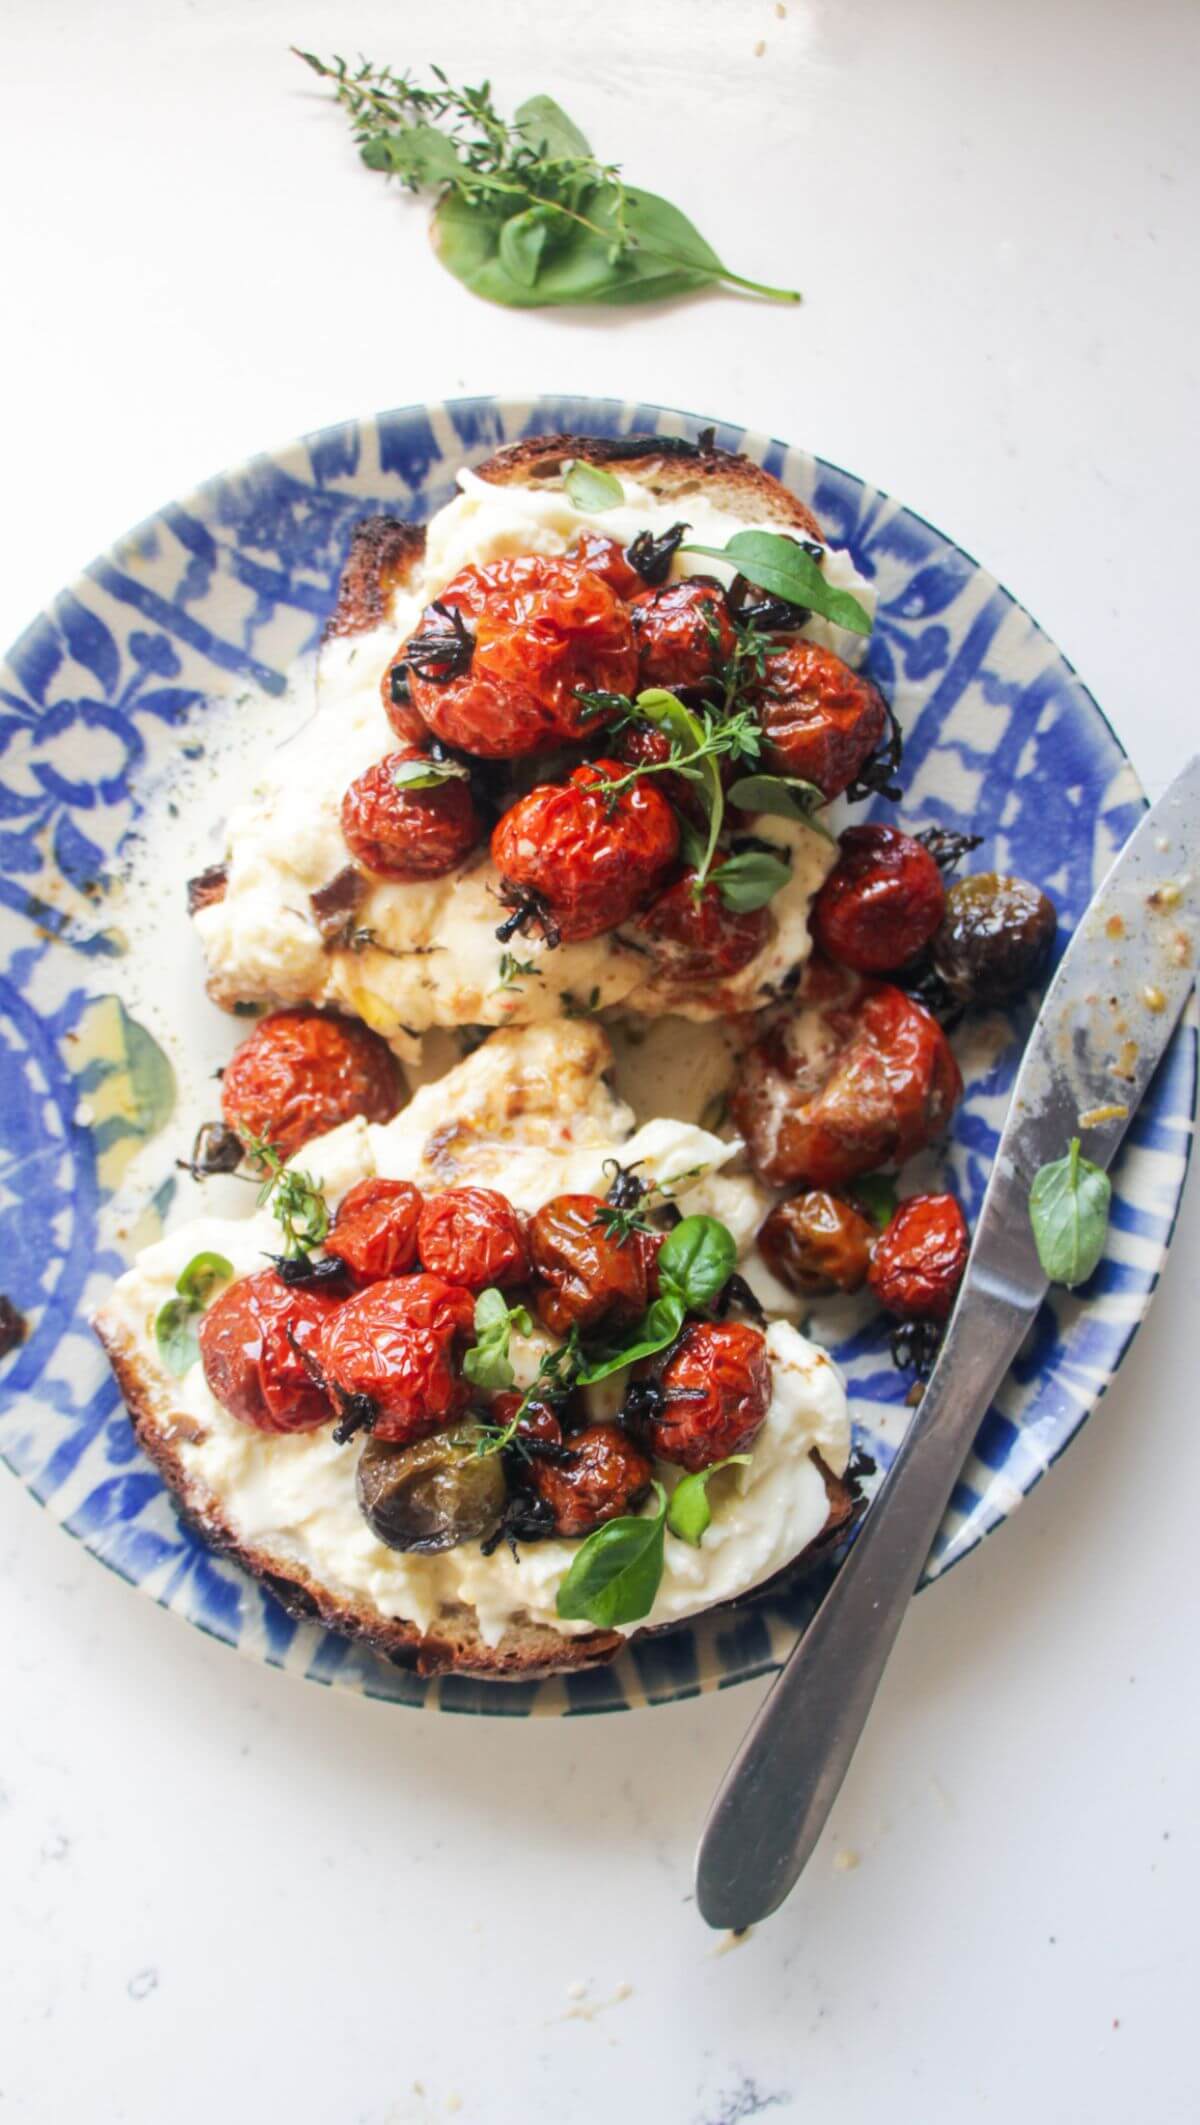
Like this recipe? Here are more easy appetizer ideas
If you make this recipe, I’d love to hear from you! You can leave me a comment below.
Print
Baked Salmon Sushi Cups
- Total Time: 40 minutes
- Yield: 24 cups 1x
- Diet: Gluten Free
Description
These cute little baked salmon sushi cups are the absolute easiest way to get the flavour of your favourite sushi roll, at home. They take all the faff out of making sushi and are WONDERFUL little party snacks.
Easy to make, and even easier to eat, they’re great hot or cold, can be prepped ahead and are super customizable, based on what you and your guests like best. You can even make them without the rice, for a low-carb and Keto version.
You’ll also need a mini muffin tray, or regular muffin tray for larger cups, to make this recipe. I use this one from Amazon.
Ingredients
- 1 cup sushi rice
- 1 1/4 cups water
- 1 tablespoons rice vinegar
- 1/2 teaspoon salt
- Oil for greasing
- 2 sheets of nori (seaweed)
- 2 salmon fillets (approximately 8.5oz/240g)
- 1 tablespoon soy sauce
- 2 tablespoons aioli, plus more to serve
- 1 tablespoon sweet chilli jam, plus more to serve
- 3 scallions (spring onions), finely sliced
- 1 tablespoon sesame seeds
Instructions
- Cook the rice. Rinse the rice well, then place it into a saucepan you have a lid for (if you don’t have a lid, use a plate or a wooden board). Pour in 1 1/4 cups cold water, then set over medium heat. Once the top of the water starts to look foamy and the water begins to simmer, pop the lid on. Turn the heat right down, then leave undisturbed for about 18 minutes. After this, remove the pot from the heat but keep the lid on for at least 10 minutes.
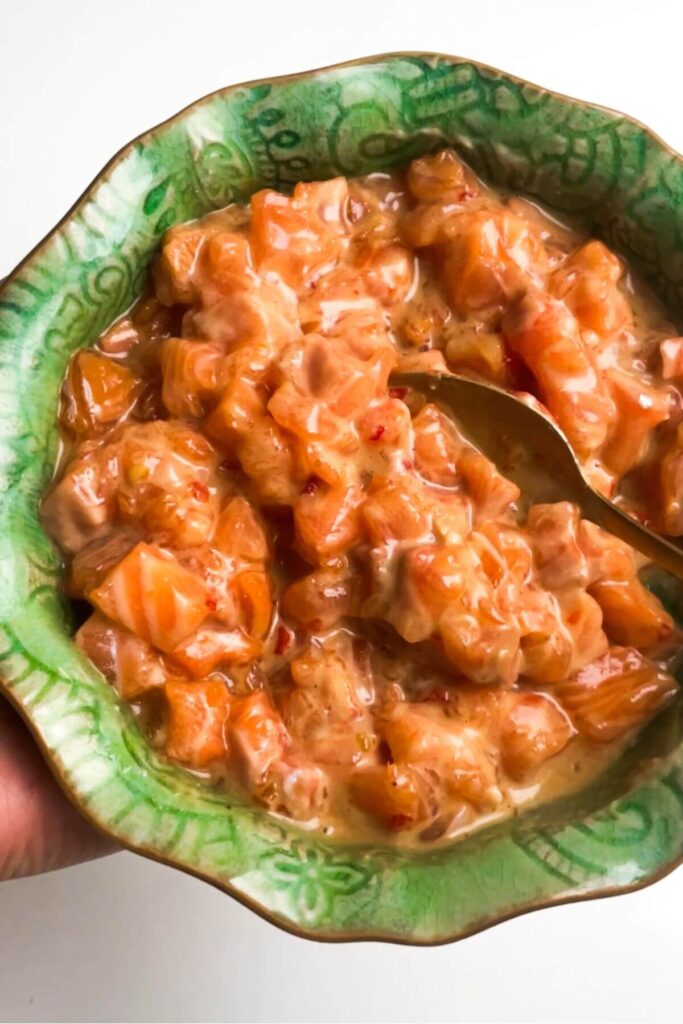
- Prepare the salmon filling. Heat your oven to 400F/200C fan. Remove the skin from the salmon – I find the easiest way to do this is to cut as close to the skin as possible, and then it’s normally fairly easy to tear the skin off, using your knife if it’s proving tricky. Dice the salmon, then pop into a small mixing bowl. Add 1 tablespoon of soy sauce, 2 tablespoons of aioli, 1 tablespoon of sweet chilli jam, a tiny pinch of salt and half the sliced scallions to the salmon, then mix well to combine.
- Season the rice. Once your rice is cooked, pour in 2 tablespoons of rice vinegar and a pinch of salt, then mix through the rice.
- Prepare the nori squares. Use scissors to cut your nori sheets into rough squares (make a test one first so you’re sure you’re not cutting them too small or large). Spoon a teaspoon of the seasoned rice onto a nori square, using the back of a spoon to smooth it onto an even layer.
- Assemble the sushi cups. Lightly grease your muffin tray with oil, then press the prepared nori squares into each muffin cup. They should quite easily go into the cups (the rice helps to soften the nori to make it easier). Spoon a heaped teaspoon of the salmon mixture into the nori cup, then transfer to the oven for 15 minutes. PRO TIP: To get a lovely charred top, pop the cups under your broiler (grill) on the highest setting for a couple of minutes.
- Garnish and serve. Transfer the sushi cups to a serving platter then top with a dollop of aioli, a drizzle of sweet chilli jam, sliced scallions and the sesame seeds.
Notes
STORAGE INSTRUCTIONS: The cups are great hot or cold – they’ll keep well in the fridge for 3 days after baking.
PREP AHEAD: You can make the rice the day before you want to make the cups, and cut the nori into squares. The salmon is best mixed with the marinade as you’re making them.
KETO/LOW-CARB: Skip the rice and just pile the salmon mixture straight into the nori sheets in your muffin tin, then bake for the same amount of time.
- Prep Time: 10
- Cook Time: 30
- Category: appetizers
- Method: oven
- Cuisine: american
Nutrition
- Serving Size: 3 bites
Keywords: sushi bake, sushi bites


0 Comments