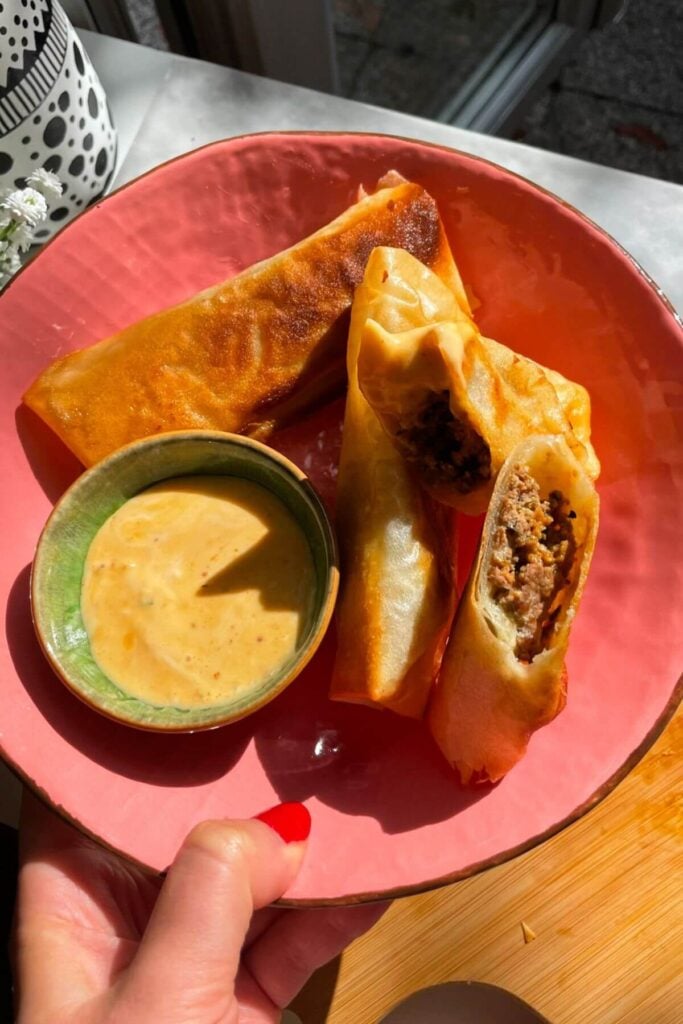
Super crispy, ultra juicy, with THREE easy options for how to cook them (and no deep-frying or having to cook the filling first) these gorgeous cheeseburger spring rolls are the ultimate crowd-pleasing party appetizer. Inspired by the viral Disney version, they’re quick and easy to prep ahead of time.

Super crispy on the outside, juicy and cheesy on the inside, these might just be the ultimate party appetizer. Perfect for any occasion, they go down an absolute TREAT and are much easier to make than you might think. They truly do taste like the best cheeseburger around, in lovely, crunchy bite-sized form.
There were a couple of key things I wanted to achieve with this recipe. I really didn’t want to have to cook the filling first. I find that when you do, they’re 1) harder to roll and 2) the filling tends to dry out because it’s cooked twice. I also wanted to avoid deep-frying. I don’t mind deep-frying at home myself, but there’s no denying it can be a bit of a faff, messy and not ideal for cooking in bulk when you’re entertaining.
And I am very happy to report that this recipe succeeds on both those fronts. I actually tested three different ways you can cook the spring rolls. In the air fryer, on the stovetop and baked in the oven. All work, but I’d say that air-frying and pan-frying jointly win first place. As an air fryer skeptic, this was a surprise to me! But it did work better than the oven (which has a tendency for sogginess). So if you have an air fryer, I recommend trying that option first!
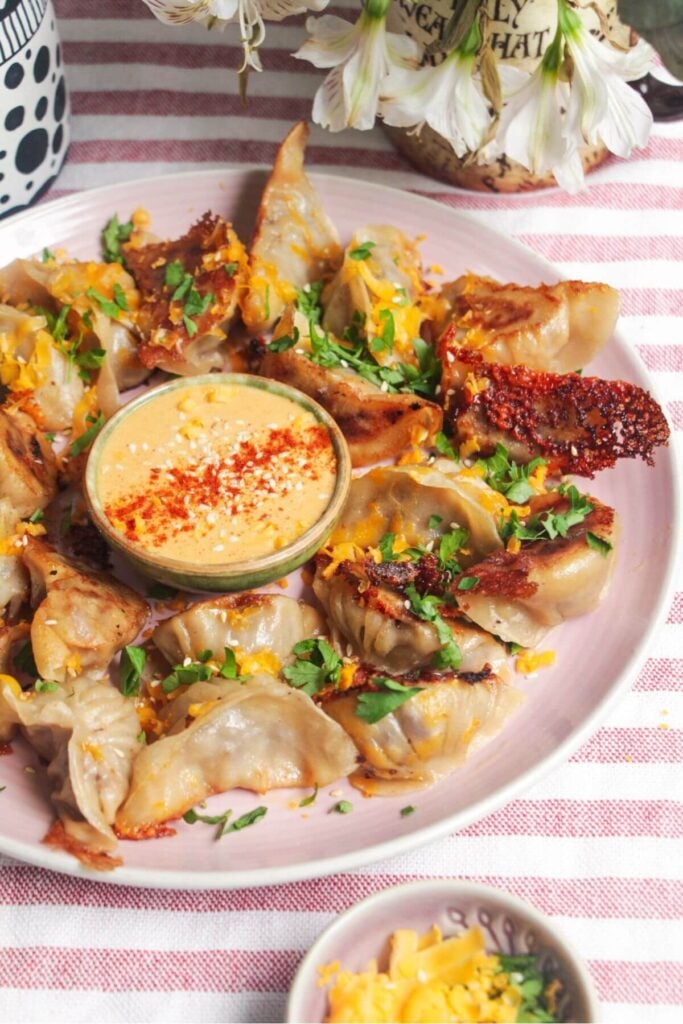
If you love a cheeseburger and these flavors, you’ll love these juicy cheeseburger dumplings, cheeseburger stuffed flatbreads (which are very similar to arayes (spicy meat stuffed flatbreads), loaded cheeseburger bowls with crispy air-fried potatoes, cheeseburger smash tacos and barbecue bacon cheeseburger smash tacos. All those recipes use the same cheeseburger mixture, so if you end up with any leftovers, you have a perfect excuse to try them out too.
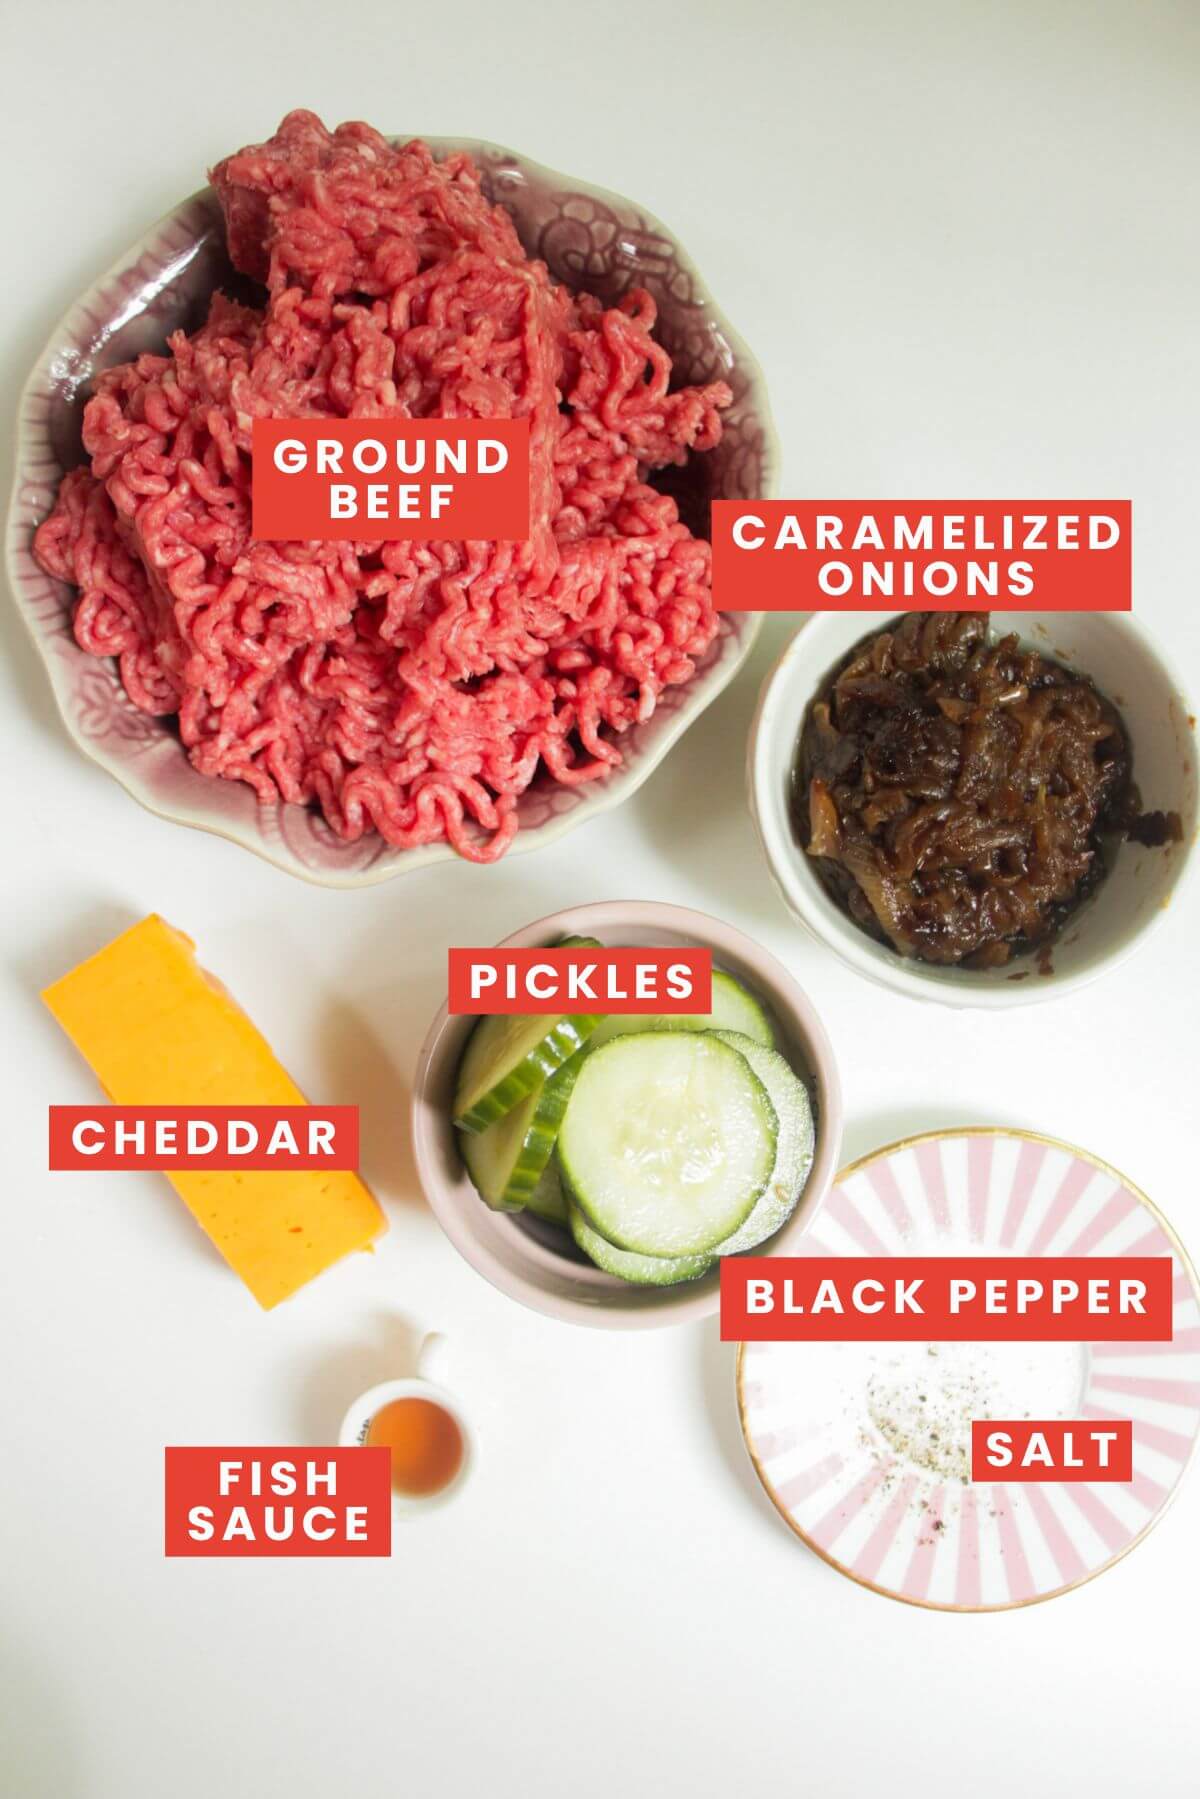
Ingredients You’ll Need
- Spring roll wrappers. Not pictured, but essential! I usually buy frozen ones – they defrost very quickly when left at room temperature even for 30 minutes. They do tend to dry out quickly, though, so keep them covered with a kitchen towel while you’re rolling and tightly wrap any leftovers in cling film to store in the fridge.
- Ground beef. Lean beef is best here because we don’t cook the filling first – if you use a fattier cut it’s more likely to leak a little as it cooks. Not the end of the world, but something to keep in mind.
- Cheese. I love using strong cheddar – you can either slice it into small cubes or shred the cheese. You can also use pre-shredded cheese if you prefer.
- Caramelized onions. These provide that wonderful sweet, umami flavor that’s key here. Use caramelized onion relish for a quick and easy alternative.
- Pickles. Again, these are key for that classic burger flavor. I love to use dill pickles.
I’m serving them with a quick Big Mac copycat burger sauce – you’ll need Greek yogurt (or aioli), mustard, tomato ketchup, pickles and paprika.
How to Make Cheeseburger Spring Rolls
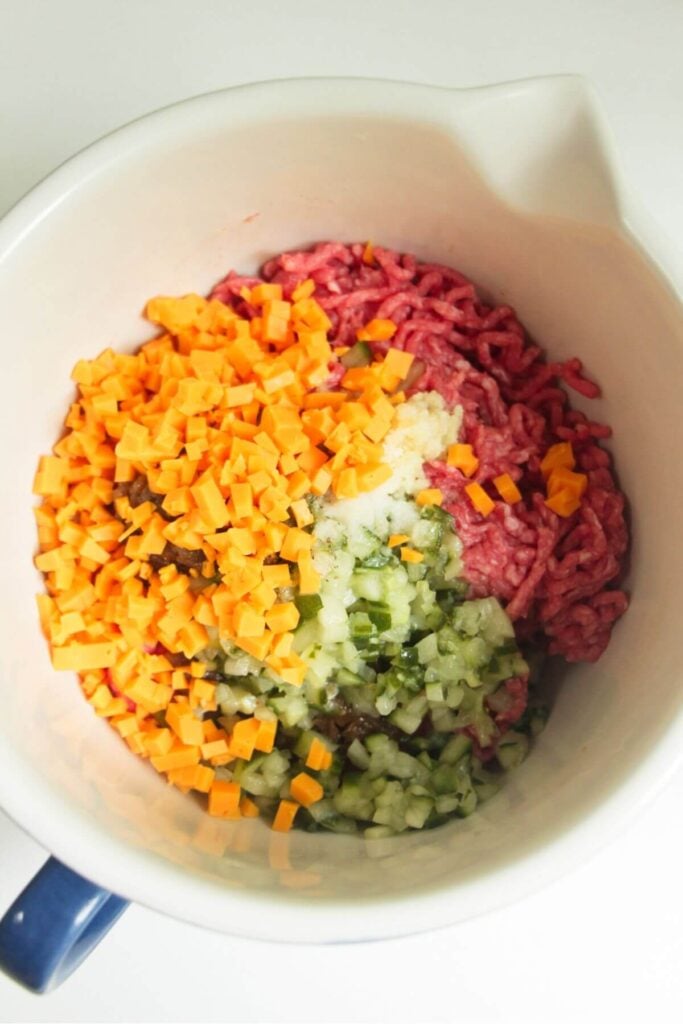
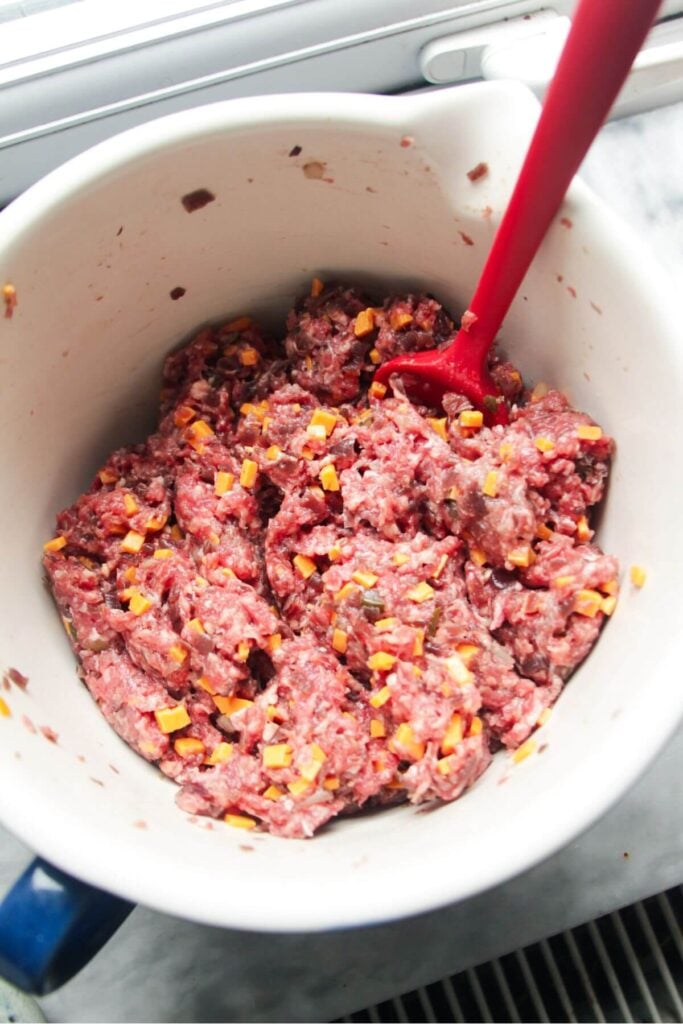
Add all the ingredients for your cheeseburger filling into a bowl and mix to combine well.
PRO TIP: If you want to check the seasoning, pan-fry a little piece of the filling before you form the rolls. That way, you can taste it and add a little more salt or mustard if you like.
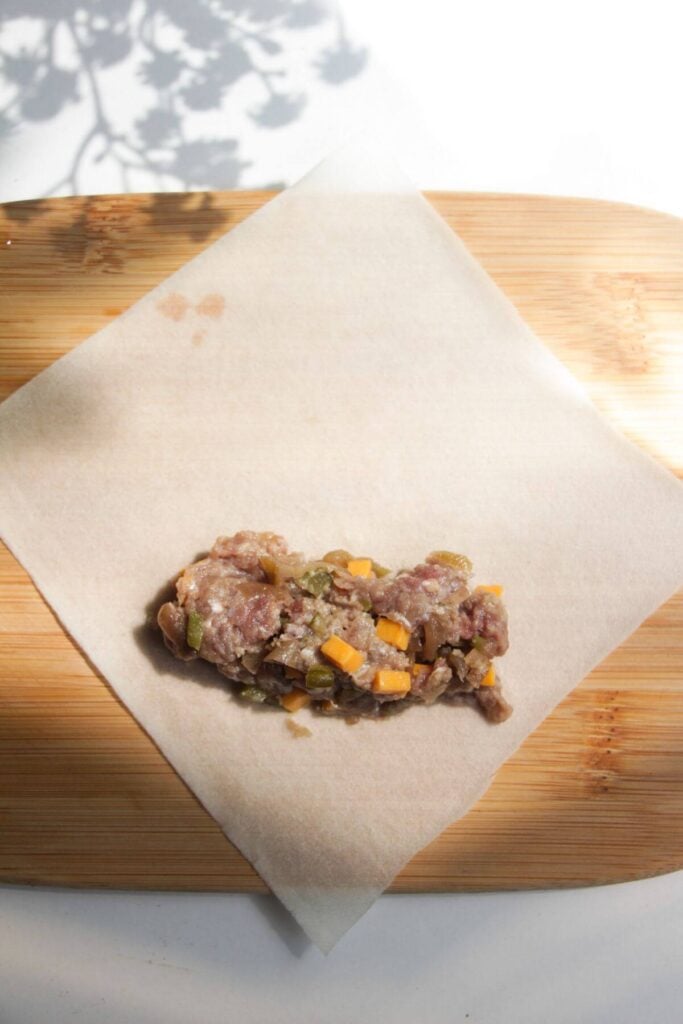
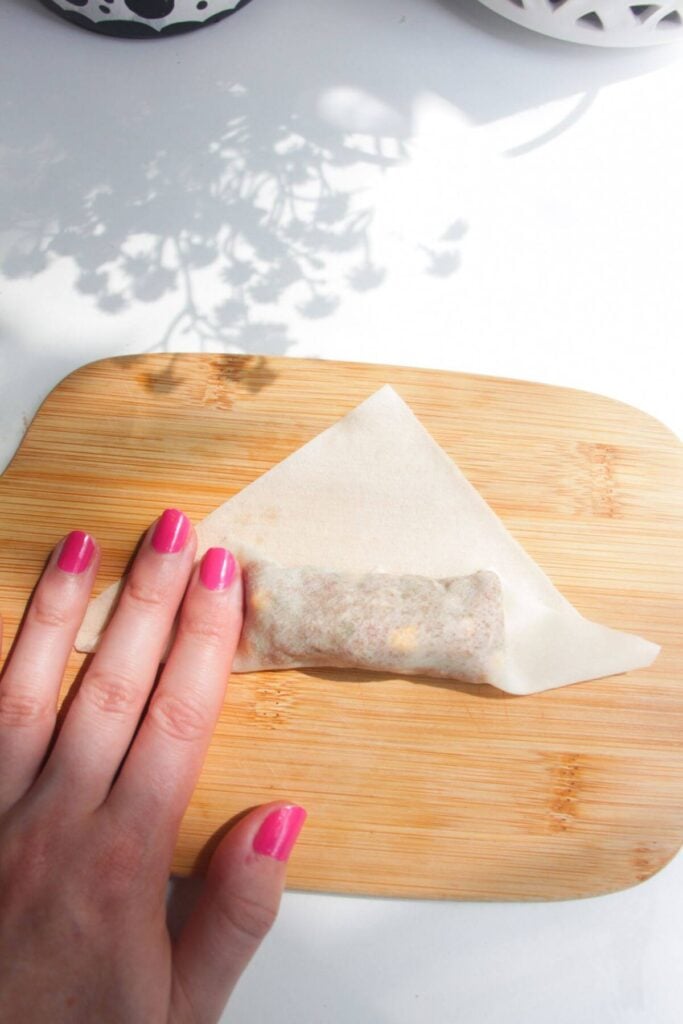
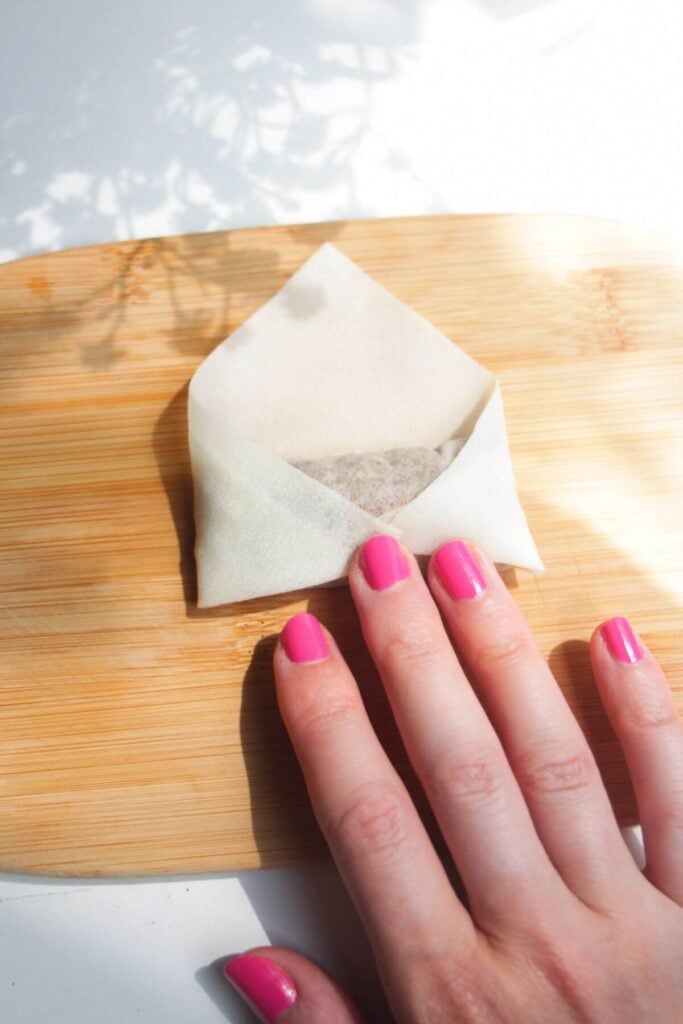
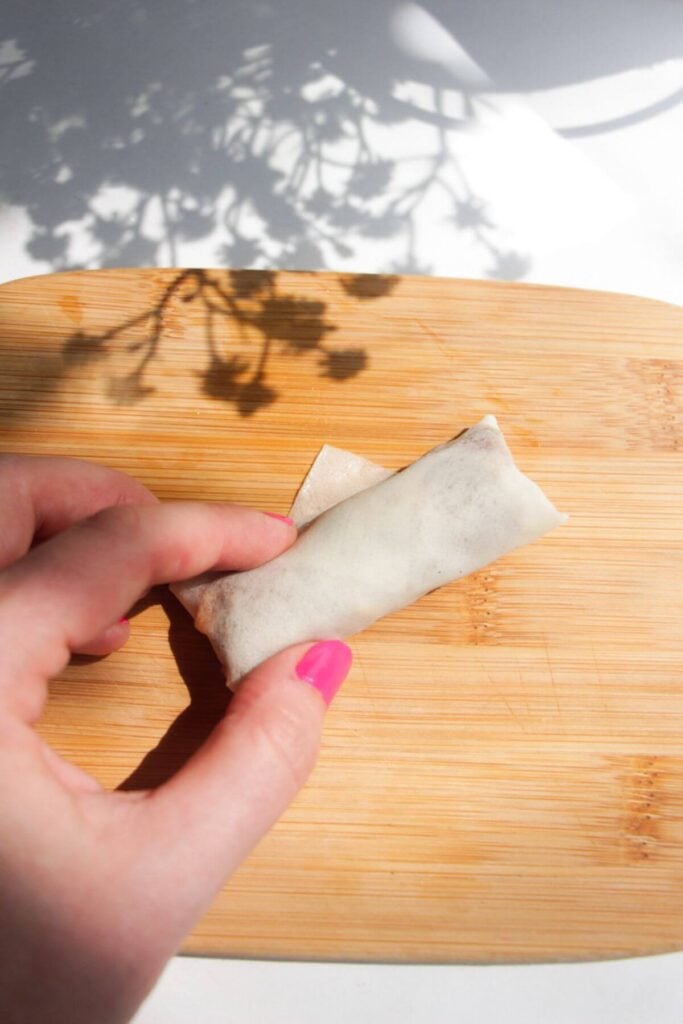
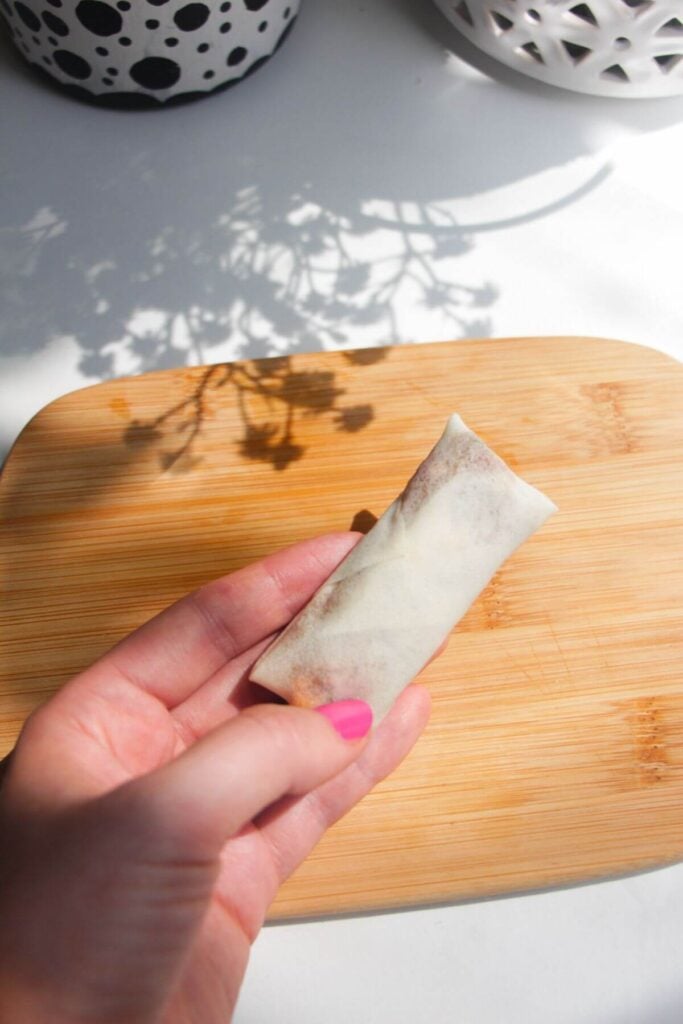
Lay out a spring roll wrapper on a wooden board, then spoon some of your cheeseburger filling in one corner. Roll up the filling, folding the wrapper like an envelope and using a little water to seal. PRO TIP: If you make mini rolls, I recommend double wrapping them, to prevent any leakage.
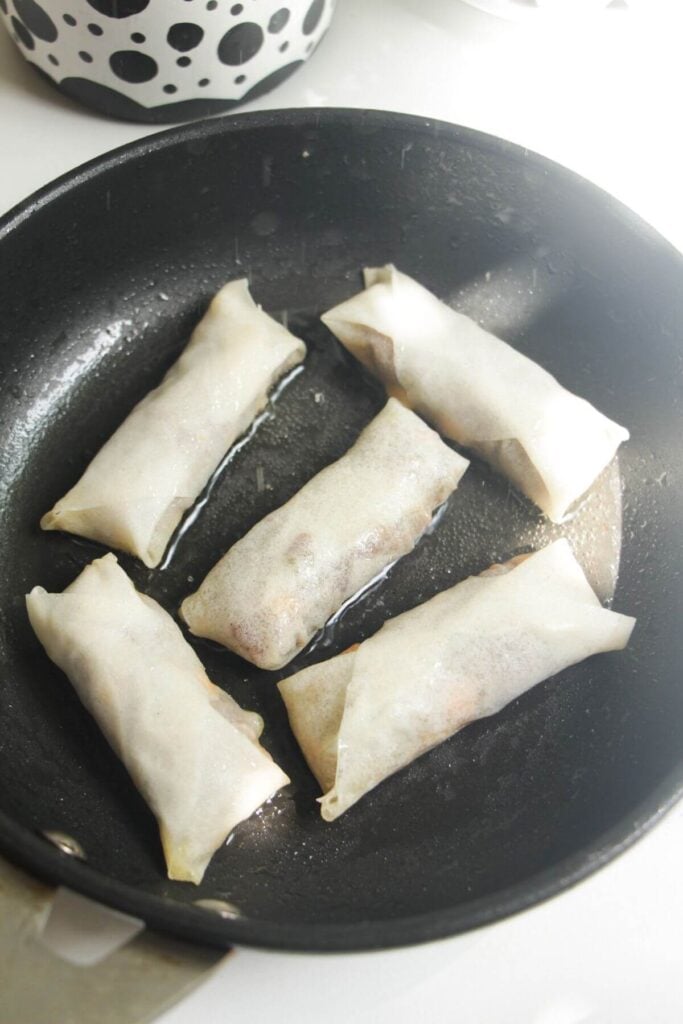
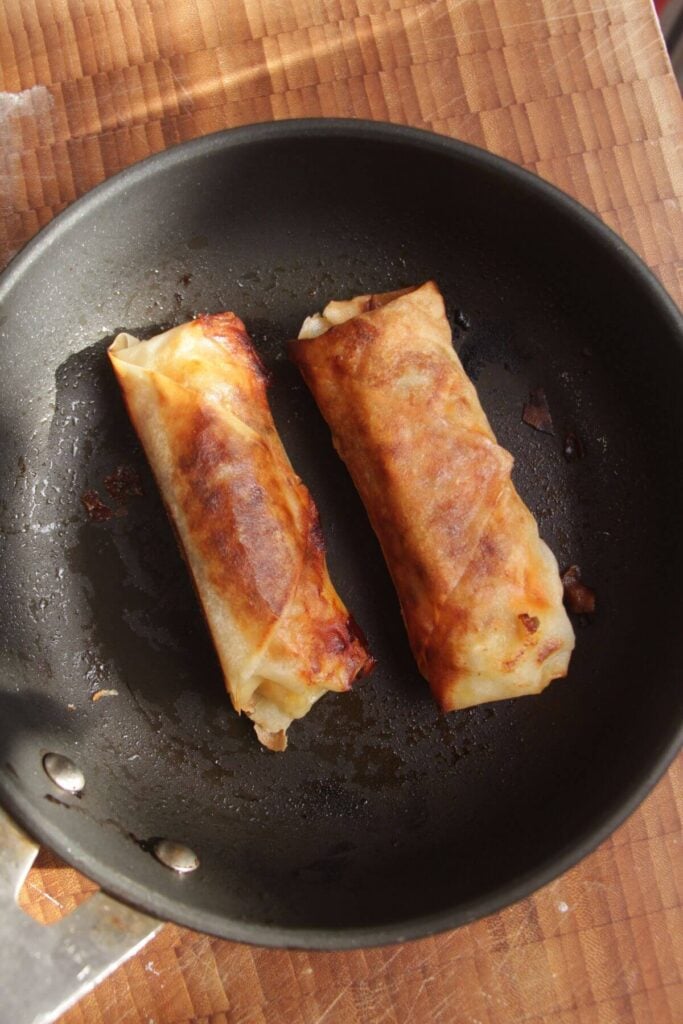
Cook in the air fryer, in the oven or on the stovetop until golden and crispy, then serve with burger dipping sauce on the side.

Cheeseburger Spring Rolls FAQs
You can mix the cheeseburger filling a couple of days before you want to make the rolls, then just fold and cook when you’re ready. You can also form the spring rolls the night before you want to cook them and keep them (covered) in the fridge.
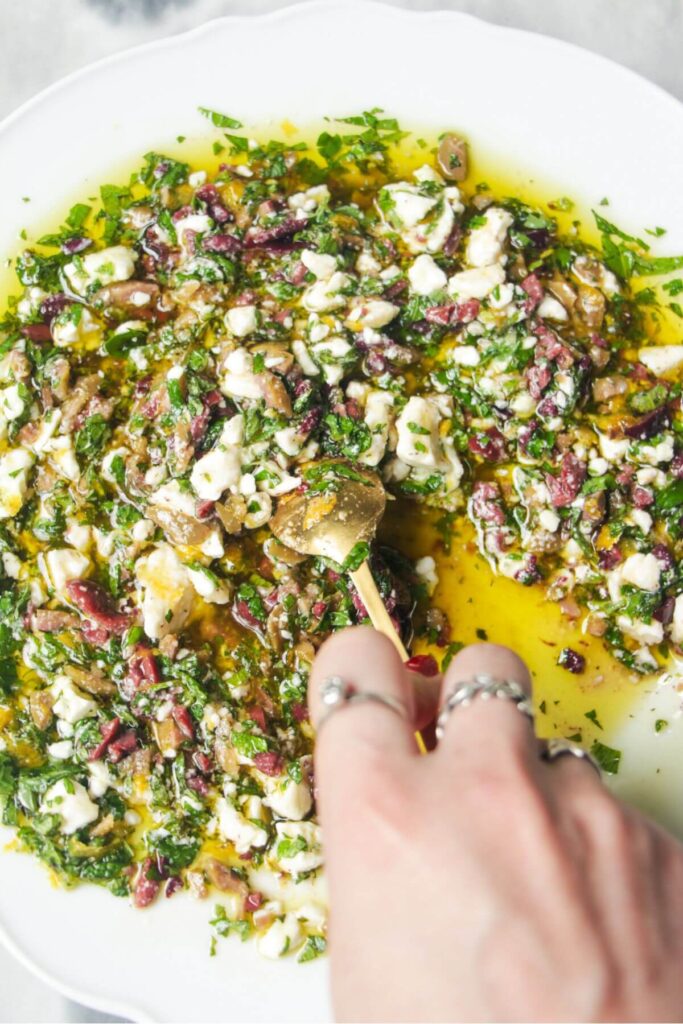
I love to pair them with a classic Big Mac copycat sauce, or you could go for creamy whipped feta, 2-minute gochujang aioli, egg-free garlic aioli, spicy whipped cottage cheese dip or even a green goddess dip.
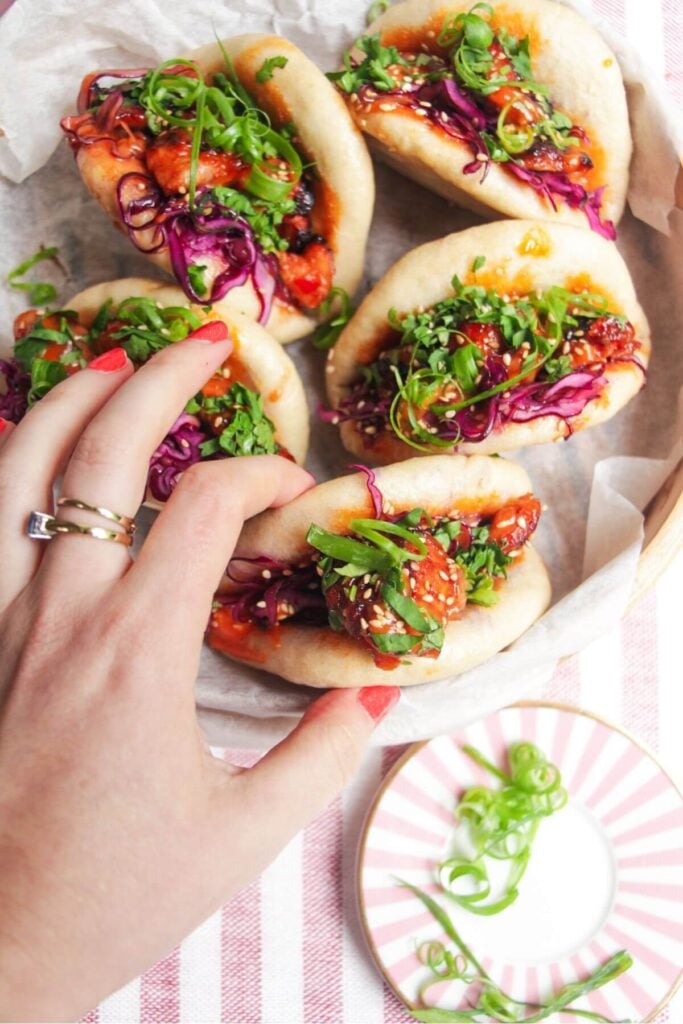
Like this Recipe? Try these Fun Party Food Ideas Next
If you make this recipe, I’d love to hear from you! You can leave a recipe rating and a comment below. And remember to tag @DishedByKate on Instagram, Facebook and TikTok if you’ve made one of my recipes. Seeing your recreations really makes my day 😊.
Print
Crispy Cheeseburger Spring Rolls
- Total Time: 30 minutes
- Yield: 8 servings 1x
Description
Super crispy, ultra juicy, with THREE easy options for how to cook them (and no deep-frying or having to cook the filling first) these gorgeous cheeseburger spring rolls are the ultimate crowd-pleasing party appetizer. Inspired by the viral Disney version, they’re quick and easy to prep ahead of time.
This mixture will make roughly 12 large, or 24 mini spring rolls.
Ingredients
For the cheeseburger filling –
- 1lb/500g ground beef
- 1/2 cup caramelized onions, finely chopped (or use caramelized onion relish)
- 1/2 cup pickles, finely chopped
- 1 cup cheddar cheese, finely diced or grated
- 1 tablespoon Dijon mustard
- 1 teaspoon fish sauce
- 1 teaspoon salt
- Black pepper
- Spring roll wrappers
- Olive oil
For the burger dipping sauce –
- 1/2 cup Greek yogurt ( or egg-free garlic aioli or regular mayo)
- 1 tablespoon Dijon or American mustard
- 1 tablespoon tomato ketchup
- 1 garlic clove, crushed (or 1 teaspoon garlic powder)
- 3 pickle slices, finely chopped
- 1 teaspoon pickle juice (or white wine vinegar or apple cider vinegar)
- 2 teaspoons smoked paprika
Instructions
- Mix your filling. Add your ground beef, ½ cup of chopped caramelized onions (or relish), ½ cup of chopped pickles, 1 cup of diced or grated cheese, 1 tablespoon of Dijon mustard, 1 teaspoon of fish sauce, 1 teaspoon of salt and a good grind of black pepper to a large bowl. Mix well to ensure the seasoning is evenly distributed throughout the beef.
- Make your burger dipping sauce. Mix ½ cup of Greek yogurt with 1 tablespoon of American mustard, 1 tablespoon of tomato ketchup, crushed garlic, chopped pickles, pickle juice and 2 teaspoons of smoked paprika. Set aside for now.
- Prepare your spring roll wrappers. Lay your spring roll wrapper on a wooden board or clean kitchen surface with one of the corners facing you. PRO TIP: You can make mini or large spring rolls. If you’re making mini rolls, just slice your wrappers into smaller squares and continue with the recipe.
- Roll the spring rolls. Arrange a heaped tablespoon of the cheeseburger mixture in a thick rectangle, about 1 inch from the corner of the wrapper facing you. Carefully roll the wrapper over the mixture, continuing until the mixture is in the middle of the wrapper. At this point, press down firmly with your fingers on both exposed ends of the mixture in the wrapper. Fold the wrapper over itself on both edges, like an envelope.
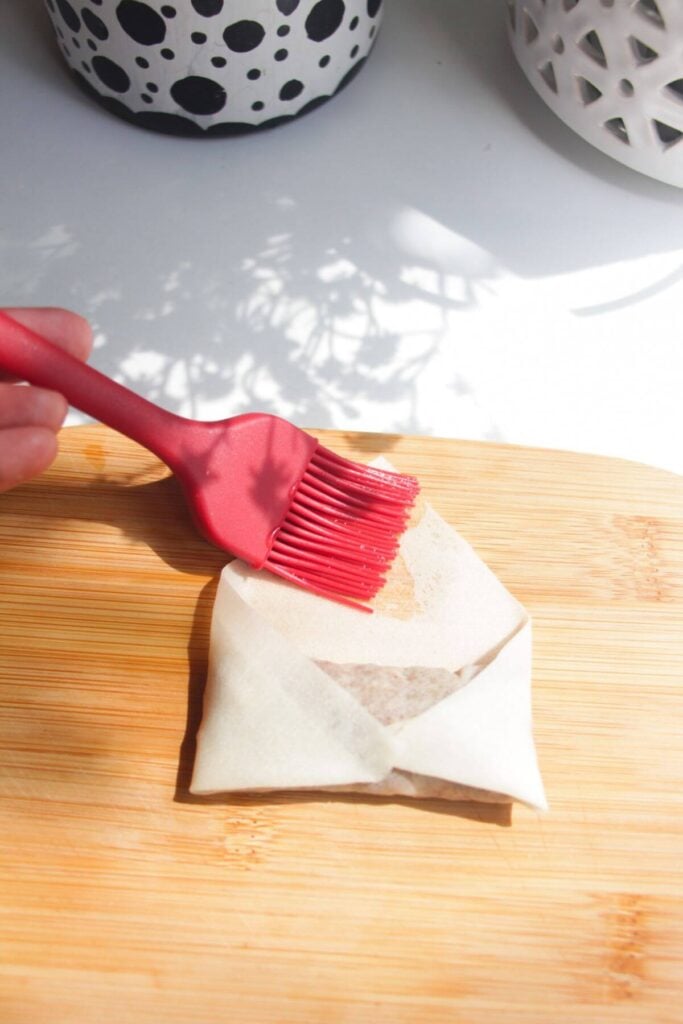
- Seal the spring rolls. Brush the exposed wrapper with water, and continue to roll the spring roll, pressing to seal. PRO TIP: If you’re making mini rolls, I recommend doing a double layer of the wrapper. This will prevent any potential leakage when you cook them. You should be fine if you’re using large wrappers for larger spring rolls.
- Cook the spring rolls. In the air fryer: Place the rolls into the basket of your air fryer (use it unlined to help prevent the rolls from going soggy) and spray with oil. Cook at 400°F/200°C for 15 minutes, rotating the rolls halfway through the cooking time. On the stovetop: Drizzle roughly a tablespoon of olive oil into a large, non-stick pan and set over medium-high heat. Arrange the spring rolls in the pan and cook, flipping every couple of minutes, until golden and crispy (roughly 10 minutes). In the oven: Heat your oven to 400°F/200°C and line an oven tray with parchment paper OR use a wire rack (this will help to prevent them from becoming soggy). Arrange the rolls on the tray, leaving a little space in between each. Brush each with oil and bake for 25 minutes, until golden and crispy, flipping the rolls halfway through cooking. PRO TIP: I like the oven option the least because the rolls are most prone to getting a little soggy – if you can, cook them on a wire rack to prevent the fogginess.
- Garnish and serve. Arrange the crispy spring rolls on a serving platter, and serve with the burger dipping sauce on the side. You can slice any larger rolls in half if you like.
Notes
PREP AHEAD: You can mix the cheeseburger filling a couple of days before you want to make the rolls, then just fold and cook when you’re ready. You can also form the spring rolls the night before you want to cook them and keep them (covered) in the fridge.
STORAGE INSTRUCTIONS: Any leftovers will keep for 3 – 4 days in the fridge – it’s best to reheat them in the air fryer for about five minutes if you’d like to keep their crispiness, otherwise you can pop them in the microwave until piping hot.
SERVING SUGGESTIONS: While I love these with the burger sauce, you can pair them with any sauce you like. Egg-free garlic aioli, spicy gochujang aioli, whipped spicy feta or whipped cottage cheese is also great.
- Prep Time: 10
- Cook Time: 20
- Category: appetizers
- Method: oven
- Cuisine: american
Nutrition
- Serving Size: 2 large rolls
- Calories: 687
- Sugar: 10.5g
- Sodium: 1809.6mg
- Fat: 21.7g
- Saturated Fat: 9.7g
- Unsaturated Fat: 9.9g
- Trans Fat: 0g
- Carbohydrates: 71.2g
- Fiber: 2.9g
- Protein: 48.3g
- Cholesterol: 120.9mg