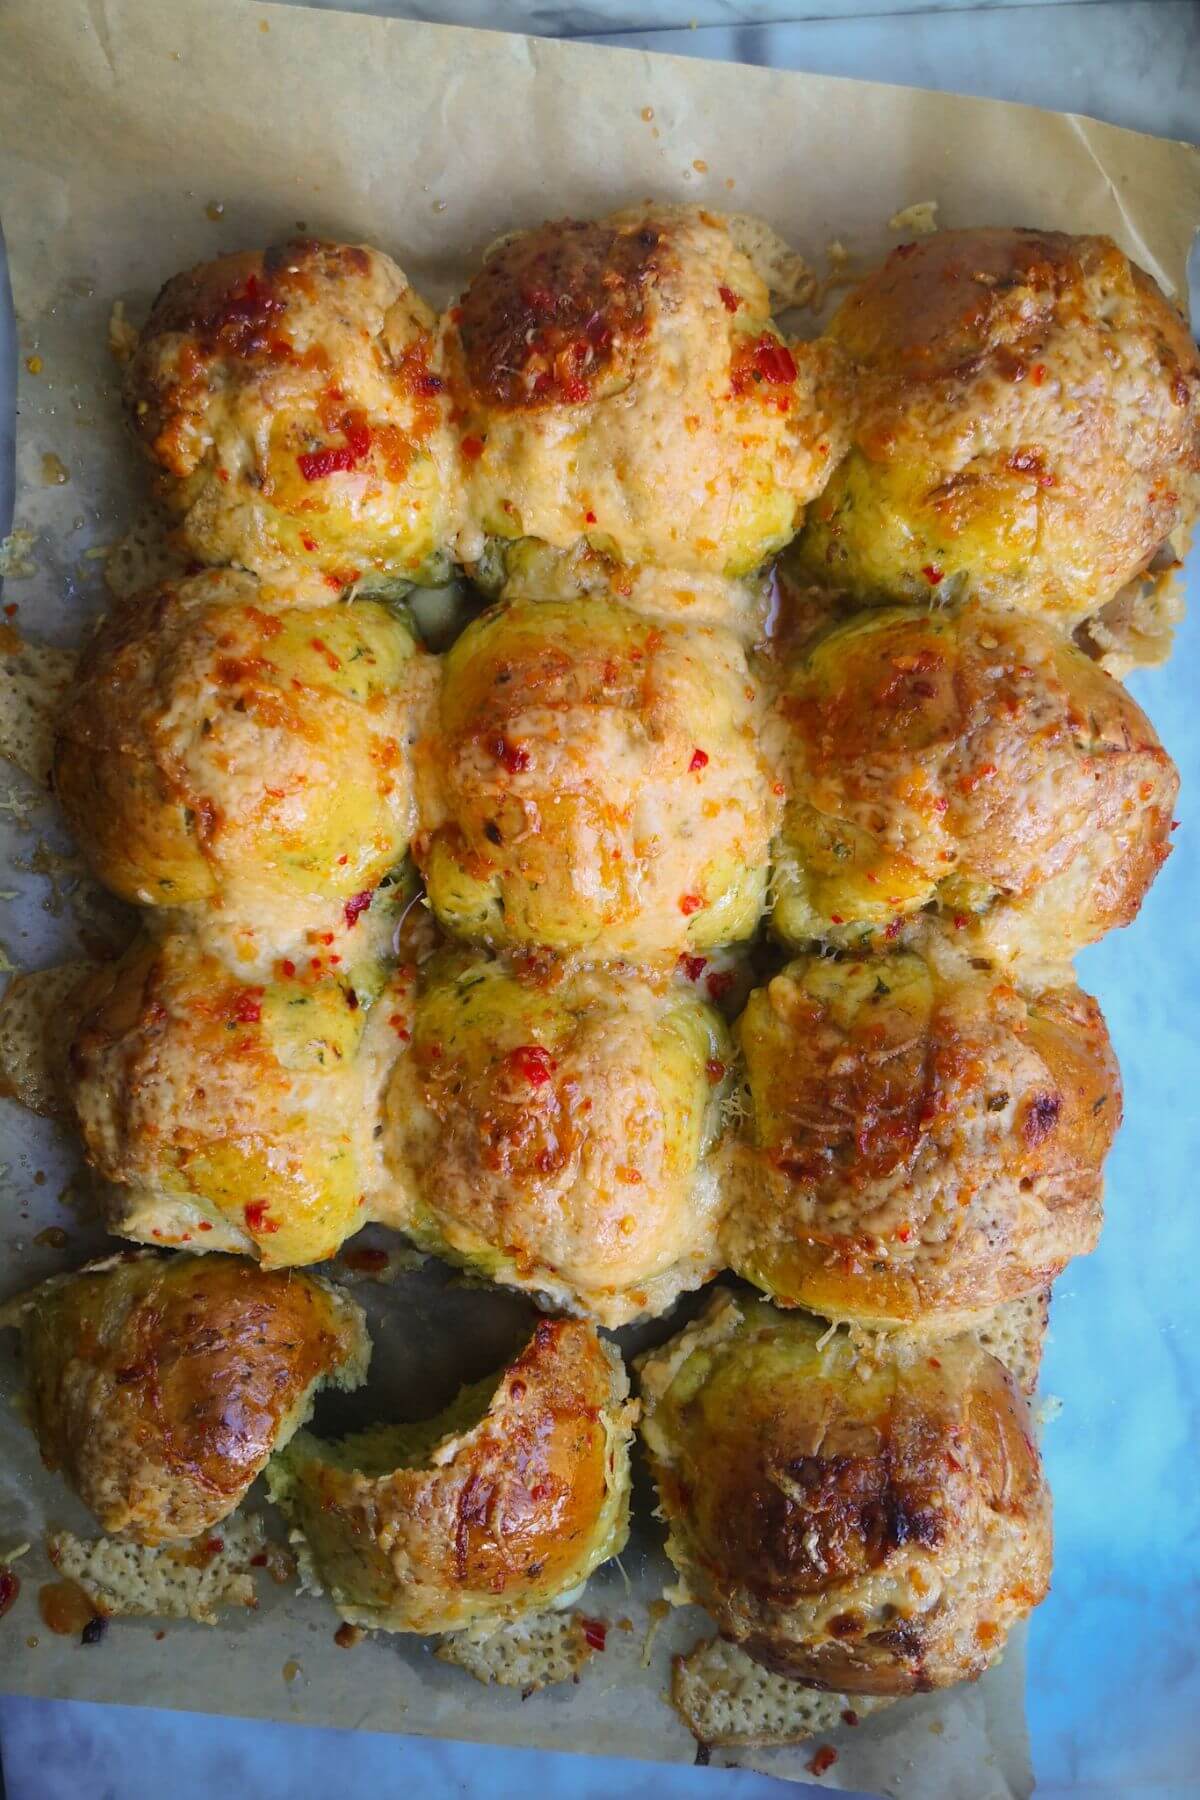
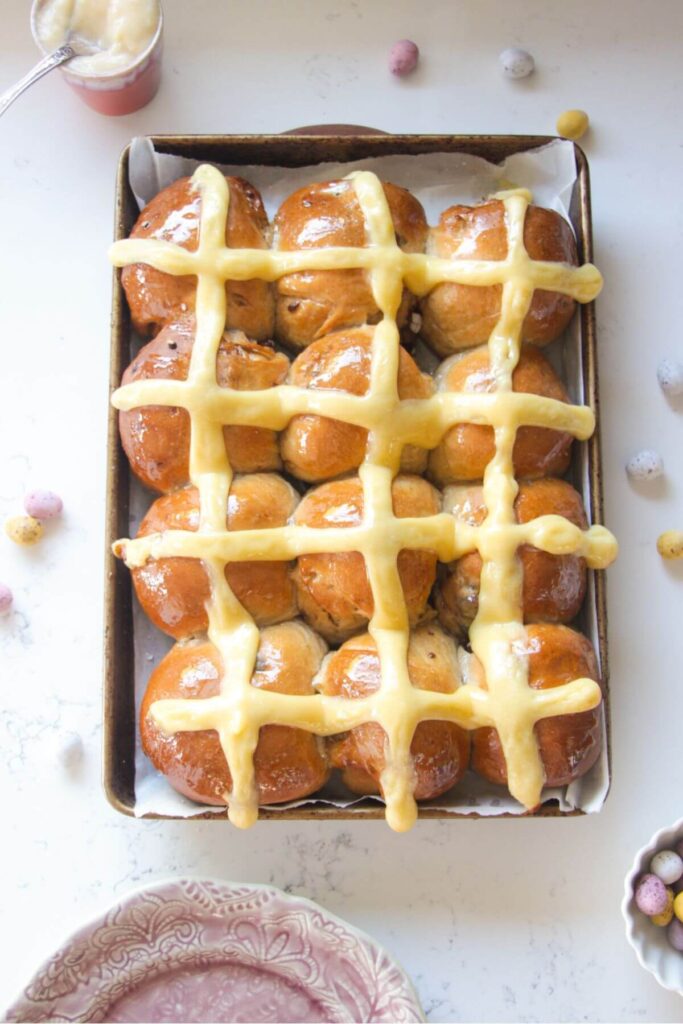
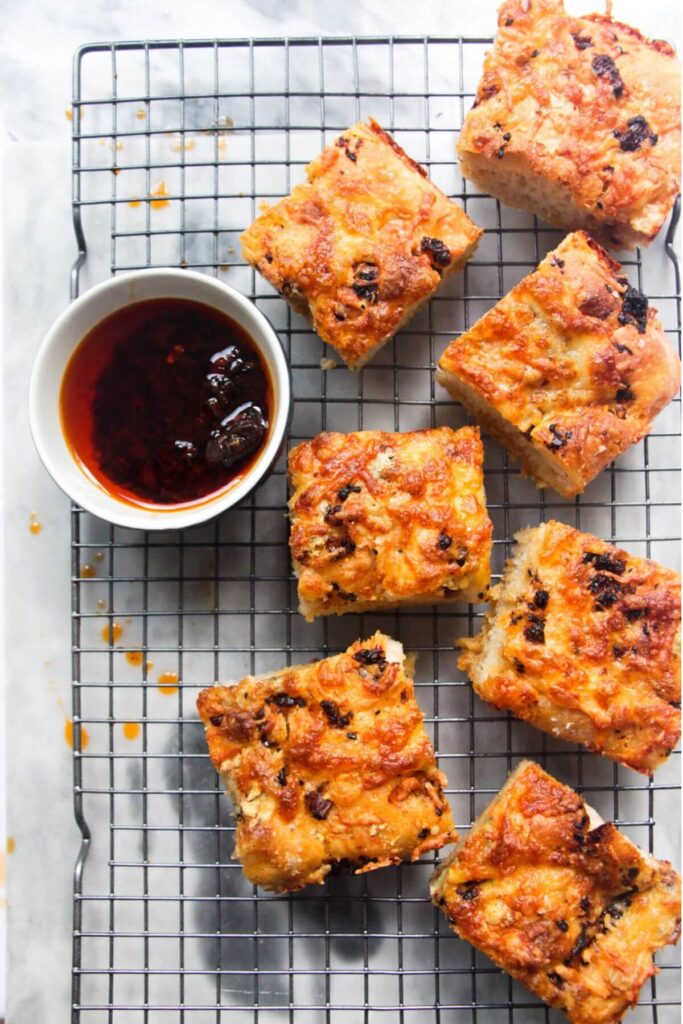
These ultra cheesy, super soft wild garlic hot cross buns are the perfect celebration of wild garlic season AND Easter. Finished with gooey, luxurious cheesy bechamel crosses and a sweet chilli jam glaze, these buns are a very special way to use up your wild garlic.
When wild garlic season meets Easter, magical things happen. Wild garlic is one of my FAVOURITE ingredients and because it’s only available for – at a maximum – a month or two a year, I love to make the most of it and get creative with ways to use it.
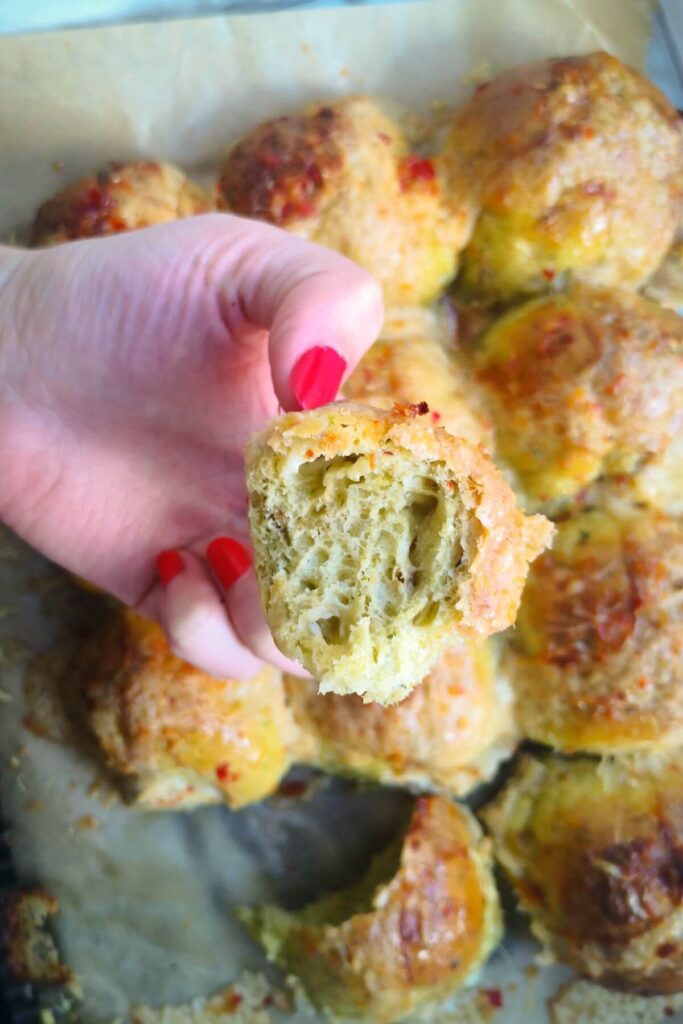
Wild garlic pesto and wild garlic butter are classic staples to make, but these buns? Outrageously good. Thanks to the quick wild garlic milk we’ll blitz up, they’ve got that lovely subtle wild garlic flavour and are stuffed with gooey cheese. Instead of a regular water flour cross, we’re going to make a cheesy bechamel sauce that just adds to the gorgeous cheesiness and takes the buns to the next level. Essentially, this is cheesy garlic pull-apart bread but made even better.
I’m using the tangzhong method here, to make sure the buns are SUPER soft and stay that way. That just means making a quick flour and wild garlic milk paste before adding the rest of the ingredients and making the dough.
Ingredients
- Wild garlic (ramps). This wonderful, seasonal leafy delight is only around for a few weeks a year in spring. It’s got a gorgeous, subtle hint of garlic and I can’t get enough of it when I can get my hands on it. If you’re lucky, you can forage for it in parks, but you can also pick it up at farmer’s markets and some online retailers – in the UK, Able & Cole, Riverford and Ocado tend to stock it.
- Bread flour. You can use plain flour for these buns, they won’t be quite as light and fluffy, but it will still work well.
- Milk. I’m using regular, whole milk here which I recommend, but you could also use semi-skimmed or skim milk. I’ve not tested this with plant-based milk, but I suspect soy or oat milk would work too.
- Instant yeast. I love using instant yeast because you can add it straight in with the other dry ingredients, but you can also use active yeast. If you do, you’ll need to sprinkle it on top of the wild garlic milk mix (the milk not used in the tangzhong paste), and let it sit for 10 minutes. After this time, it should be frothy and bubbly (a sign it’s alive!) You can then go ahead and continue with the recipe. If you try to add active yeast directly into the dough, it won’t rise properly and you’ll end up with strange, grainy bits in your buns.
- Cheese. I’m using a combination of mozzarella (for the stretch factor) and cheddar (for flavour). You can mix this up based on what you have and what you like. Blue cheese, parmesan, gruyere, gouda, Havarti or Edam would also be great.
- Sweet chilli jam. I’m using my absolute favourite sweet chilli jam recipe here for the glaze, but you can use regular sweet chilli sauce too.
How to make them
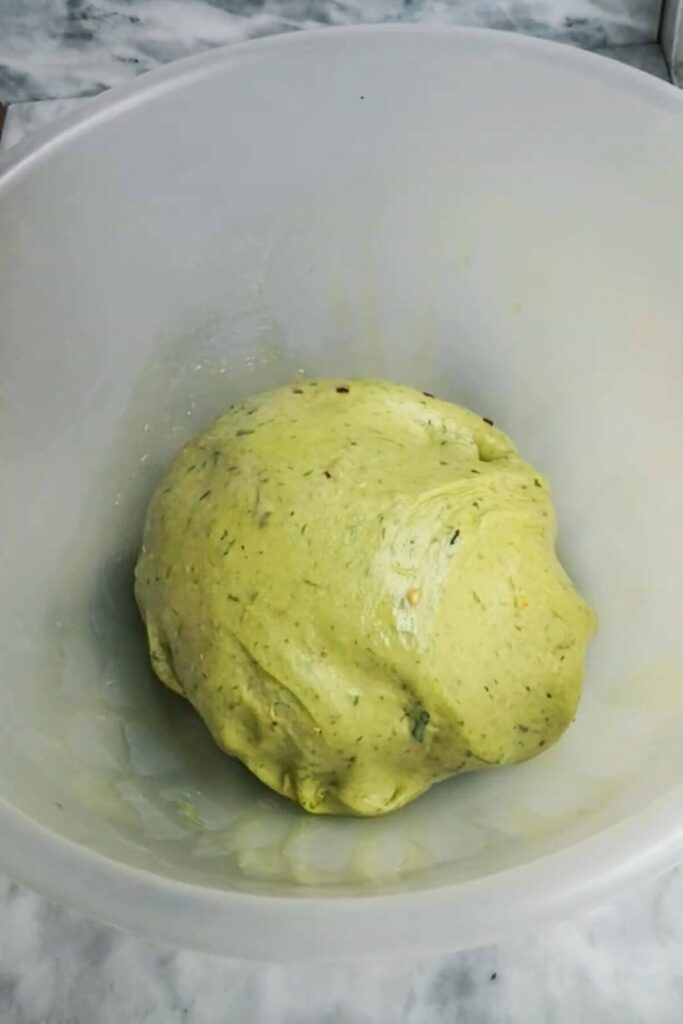
Blitz your wild garlic leaves with milk in a blender, then add a little of the milk mixture to a small pot with some flour to make the tangzhong paste. This is a technique used to keep bread super soft in the days after it’s baked. Add the tangzhong to your stand mixer bowl, along with the rest of the dough ingredients. Knead for about 12 minutes, until the dough is smooth and supple.
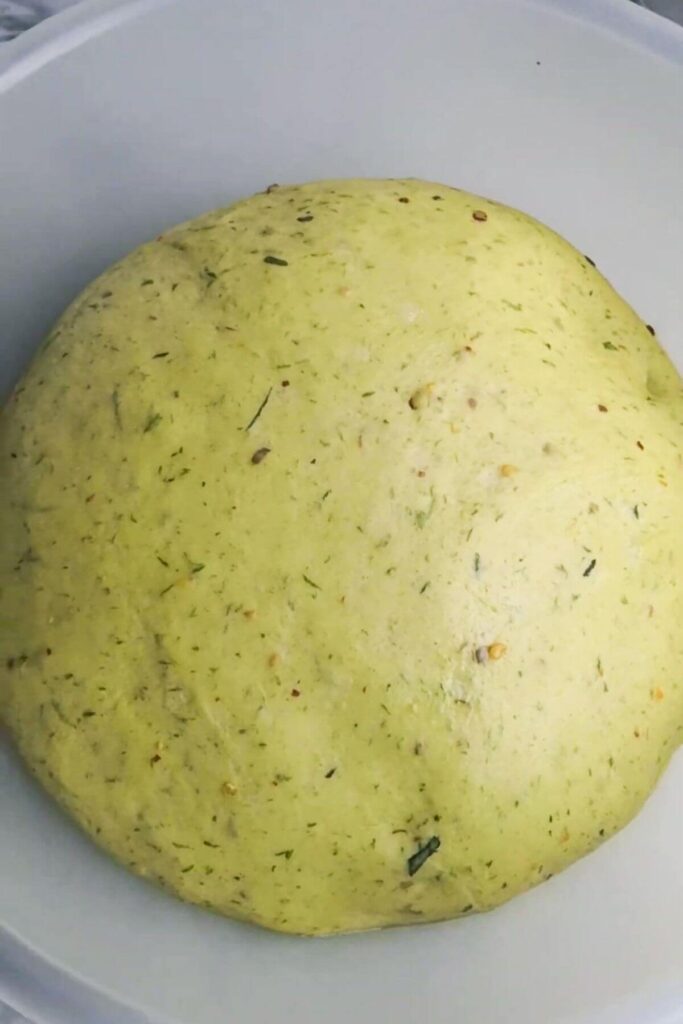
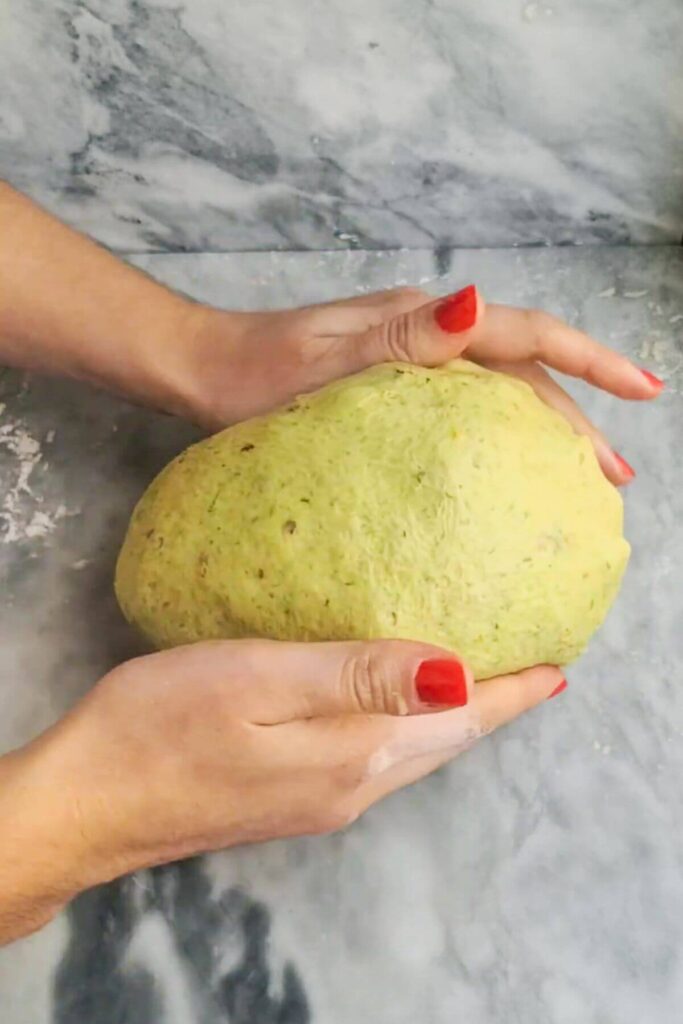
Once the dough looks lovely and puffy and has doubled in size, it’s time to fold in the cheese and form the buns.
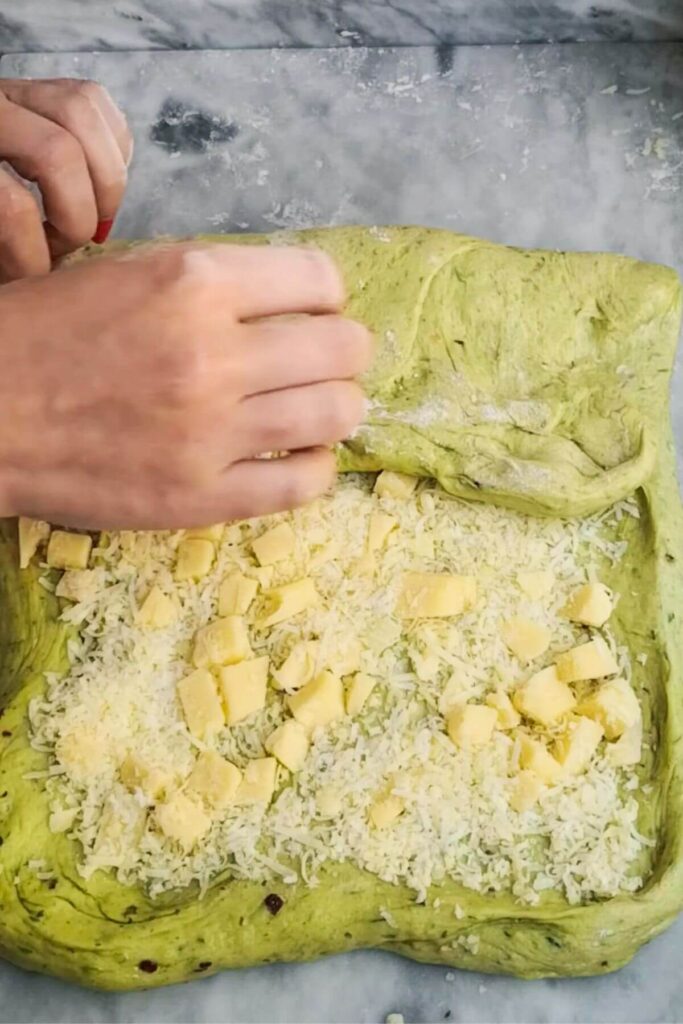
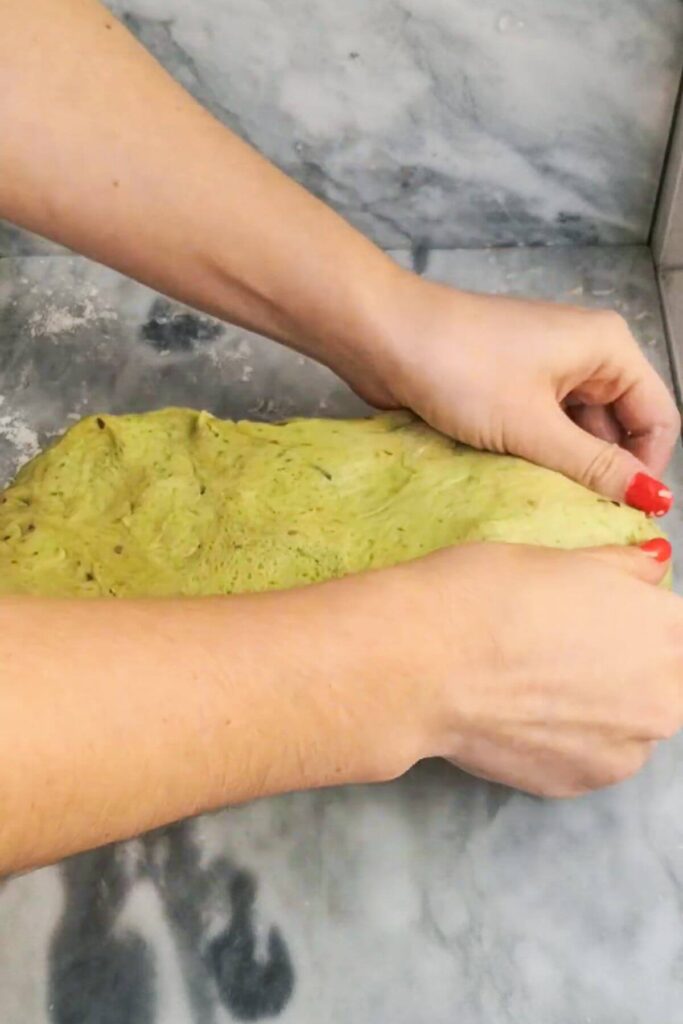
Press the dough out into a large rectangle, then scatter the cheese all over. Fold up a third of the dough, fold another third on top, seal the ends and then roll up into a cylinder. Use your hands to form a ball. Don’t worry if some cheese falls out when you’re doing this – you can just pop it back in.
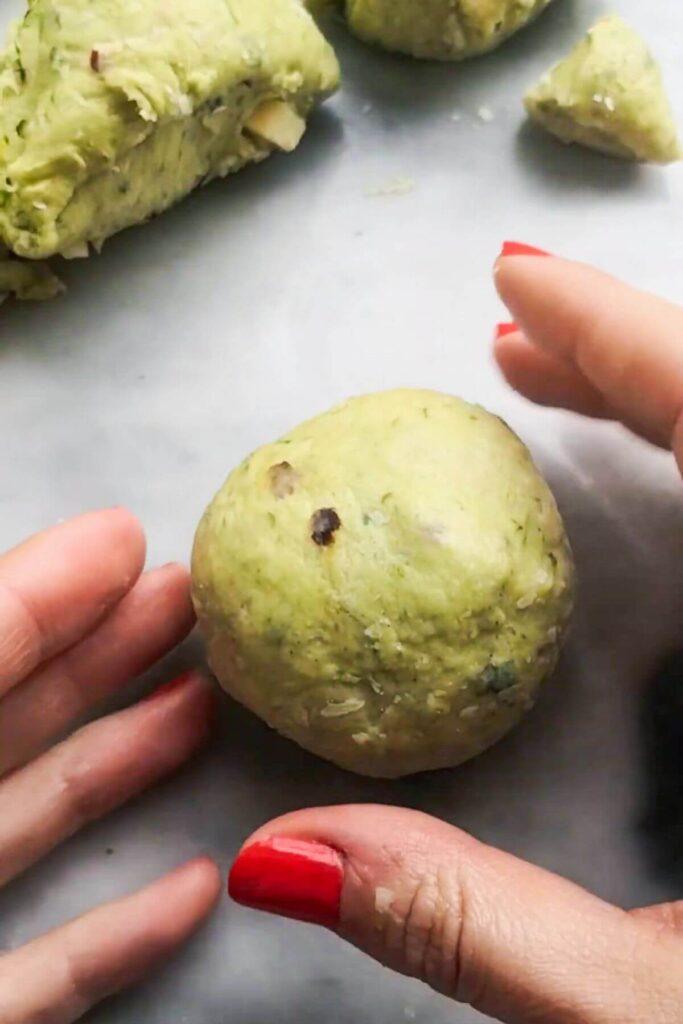
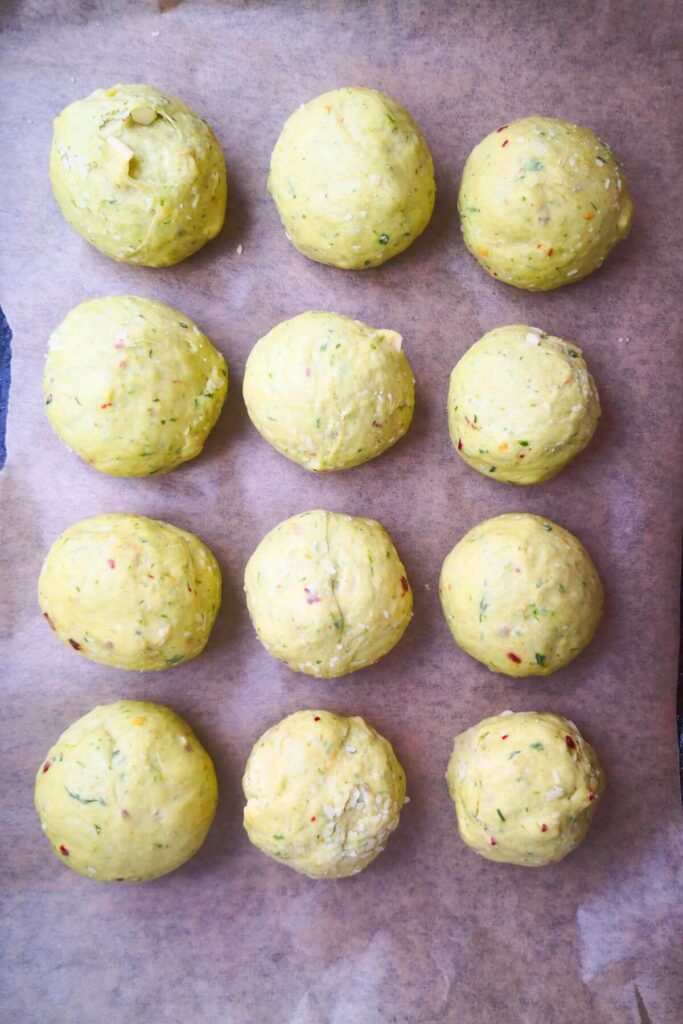
Divide the dough into 12 roughly equal pieces – I like to use a scale to get precise but you don’t have to. Roll the dough pieces into small balls and place them on a baking paper lined oven tray.
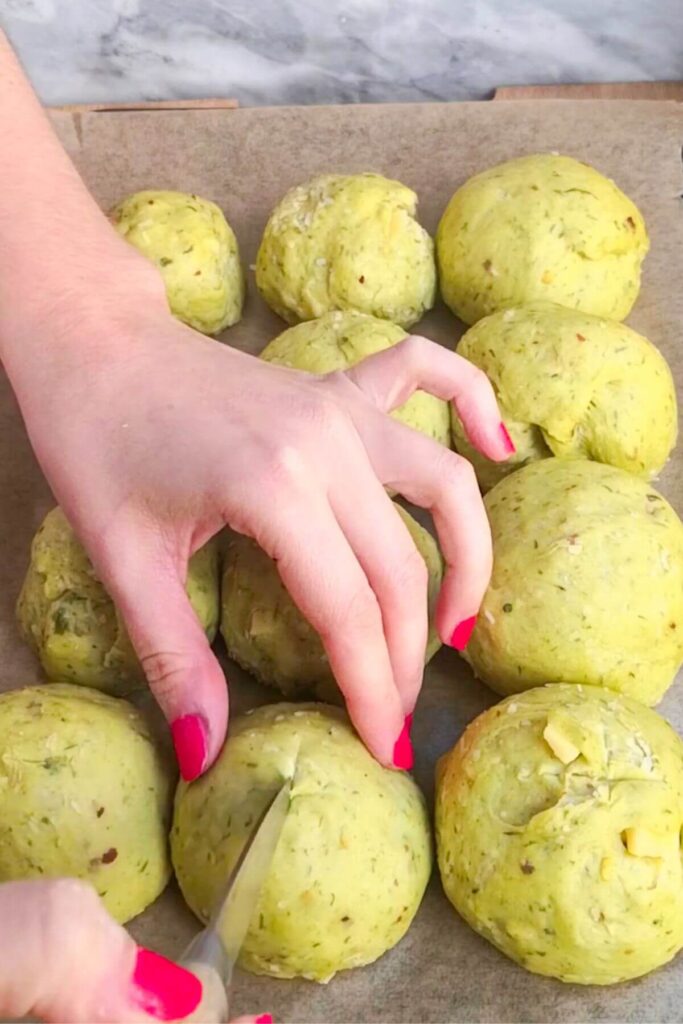
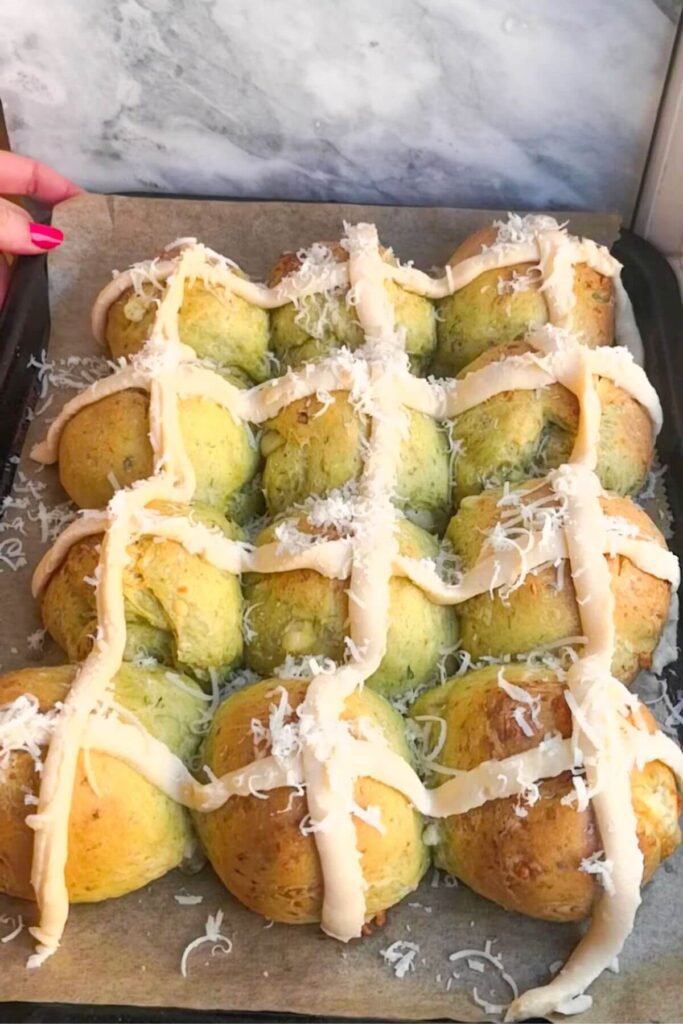
Let them rise again until they’re puffy and are about 2/3 bigger. Slash a cross into the tops of your buns so that the cheesy bechamel cross has somewhere to settle, then bake for 15 minutes. Remove from the oven, pipe on the bechamel crosses and bake for another 15 minutes.
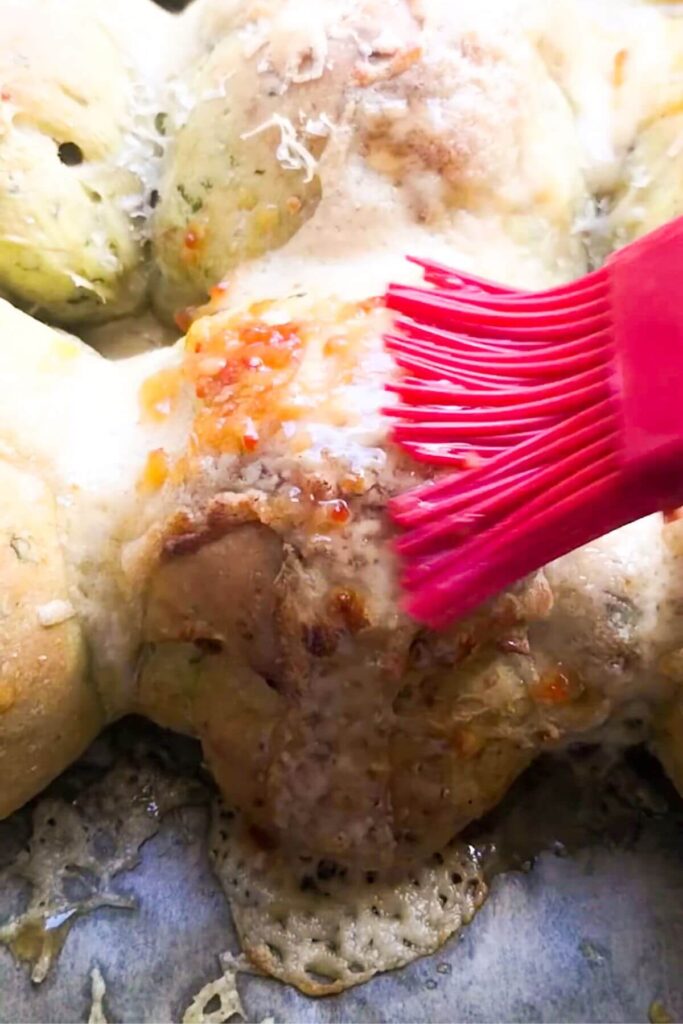
Brush the buns with the sweet chilli jam when they’re warm, then enjoy while hot, oozy and gooey.
Got a question?
Regular garlic won’t act the same as wild garlic does in the recipe – instead, replace wild garlic leaves with baby spinach leaves and add 2 cloves of crushed garlic to the dough mixture for the garlic flavour.
They’ll keep well for 3 days, stored in a covered container at room temperature. You can pop them into the toaster to freshen them up after the first day if you like. They freeze well too – I like to slice them in half, then pop them into zip-lock bags to freeze. That way, you can defrost them straight in the toaster.
I’m using a combination of mozzarella (for stretchiness) and cheddar (for a lovely cheesy flavour). But you could really use whatever cheese you have to hand – gruyere, Havarti, Edam, provolone, parmesan or blue cheese would be great too.
Baking is all about precision and grams are the best way to ensure you get the results you should when following a recipe. Cups just aren’t accurate enough and can vary hugely, based on how you pack in things like flour. I use a cheap digital scale from Amazon and I really recommend picking one up, you’ll find you use it so much. Plus, it means fewer dishes because you can just measure everything as you add them to your mixing bowl.
Like this recipe? Here are more baking ideas you might enjoy
If you make this recipe, I’d love to hear from you! You can leave me a comment below.
Print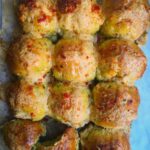
Cheesy Wild Garlic Hot Cross Buns
- Total Time: 2 hours 20 minutes
- Yield: 12 buns 1x
- Diet: Vegetarian
Description
These ultra cheesy, super soft wild garlic hot cross buns are the perfect celebration of wild garlic season AND Easter. Finished with gooey, luxurious cheesy bechamel crosses and a sweet chilli jam glaze, these buns are a very special way to use up your wild garlic.
Ingredients
For the buns –
- 1/2 cup wild garlic leaves, chopped
- 250g whole milk
- 425g bread flour
- 7g instant yeast
- 1 teaspoon salt
- 1 teaspoon chilli flakes
- 50g melted butter
- 1 egg
- 1/2 cup cheddar cheese, grated
- 1/2 cup mozzarella cheese, grated
- 1/4 cup sweet chilli jam
For the cheesy béchamel –
- 2 tablespoons butter
- 2 tablespoons plain flour
- 1 cup milk
- 1 tablespoon miso paste (options)
- 1/2 cup grated cheese (I use cheddar)
- Salt to taste
Instructions
- Make the wild garlic milk mix. Add the chopped wild garlic leaves and 250g milk in a blender and blitz until pale green.
- Make the tangzhong. Add 25g of the bread flour and 90g of the wild garlic milk to a small pot over low heat. Stir continuously for a couple of minutes, until thick paste forms. Transfer to the bowl of a stand mixer.
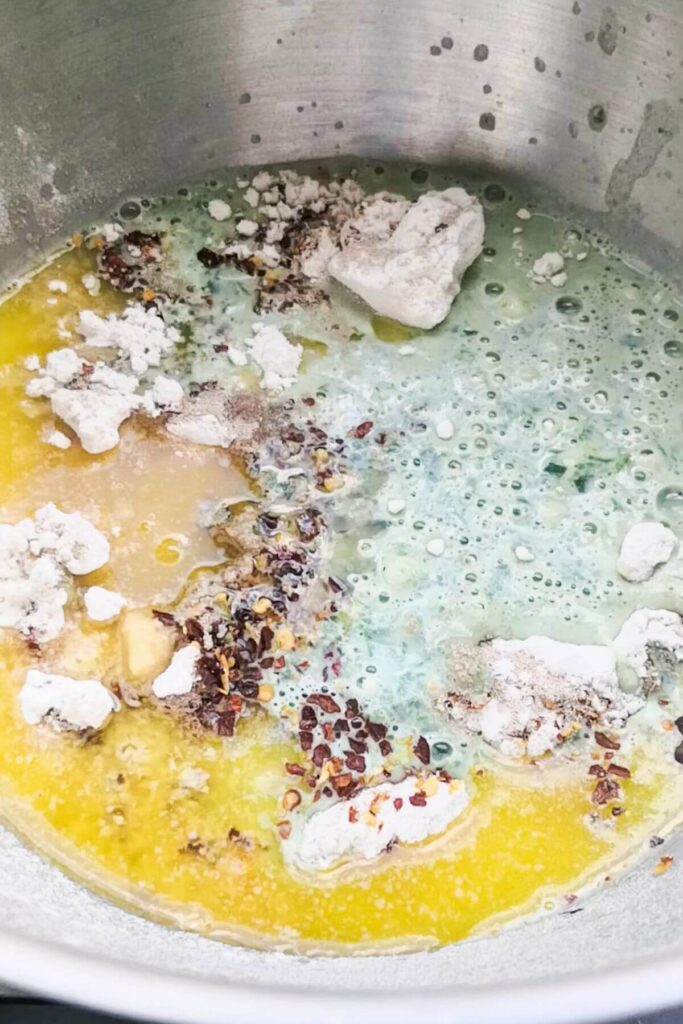
- Mix the dough. Add the rest of the bread flour, 1 teaspoon salt, 7g instant yeast, 1 teaspoon chilli flakes, the egg, 50g of melted butter and the rest of the wild garlic milk to the bowl of your stand mixer. Attach the kneading hook, and knead at medium speed for about 12 minutes, or until the dough is smooth, supple and pulling away from the sides of the bowl. Cover the bowl with clingfilm, then set the bowl in a warm place to rise. You want the dough to have doubled in size – this can take anywhere from 45 minutes to 1 1/2 hours, depending on the heat and humidity in your kitchen. I like to take a photo of the dough as I cover it, so I can easily compare and see how it’s going.
- Make the cheesy bechamel. While the dough is rising, melt 2 tablespoons of butter in a small pan over medium heat. Add 2 tablespoons of flour, whisking to combine into a paste (roux) and keep whisking to cook out the raw flour for a few minutes. Turn the heat to low and slowly pour in the milk, whisking as you go. Keep whisking as the sauce thickens and starts bubbling – this will take about 5 minutes. Add 1 tablespoon of miso paste (if you’re using it), then 1/2 cup of cheese, stirring as it melts into the sauce. Taste the sauce, and add a little salt if you think it needs it. Remove from heat, then transfer it to a piping bag (or use a zip lock bag) and let it cool.
- Shape the buns. Lightly flour a clean, flat surface, then turn the risen dough out onto it. Form it into a rectangle, about 45cm/18″ long and 15 cm/6″ wide. Scatter the grated mozzarella and all but 2 tablespoons of the grated cheddar all over the dough. Press the cheese into the dough, then fold one-third up onto itself, fold the other third on top, and rotate the dough so the exposed edges are facing you. Roll the dough up into a cylinder, then turn it over and use your hands to rotate it, to form a ball. Divide the dough into 12 pieces (roughly 80g each). Press a piece lightly down, then bring the edges up and pinch them closed. Turn it over, and roll it into a ball with your hands. Place on a lined baking tray (roughly 30cm/12″ long and 20cm/8″ wide), then repeat with the rest of the dough. Lightly cover the tray with clingfilm, then let rise again until they’ve risen by about two-thirds. They should be looking very puffy and slowly spring back if you press into them. Again, this very much depends on the heat of your kitchen so take a photo.
- Bake the buns. About 15 minutes after you cover the shaped buns, heat your oven to 180C/360F fan. Slice small crosses into the top of your risen buns, so the bechamel sauce has a place to settle when you pipe it on. Bake the buns for 15 minutes, then remove them and pipe on the bechamel crosses. Scatter the reserved cheese on top of the crosses, then pop them back into the oven for about 15 minutes, until the buns are looking golden and the cheese is melty and oozy. Remove from the oven and let cool for about 5 minutes, then brush on the sweet chilli glaze and dig in while the cheese is still hot and gooey.
Notes
STORAGE INSTRUCTIONS: The buns will keep well for 3 days, stored at room temperature. You can pop them in the toaster if you like, to freshen them up after the first day. They also freeze well. Slice them in half, then you can store them in ziplock bags and defrost easily in the toaster.
INGREDIENT NOTES: It’s important you’re using instant yeast when following this recipe as written. If you only have active yeast that’s fine, but you’ll need to activate it first. Scatter it over the wild garlic milk (the milk that’s not used for the tangzhong), and let it sit for 10 minutes. It should look foamy and bubbly. At this point, you can continue with the recipe. Swap out the cheese if you like – gruyere, Havarti or blue cheese would also be great.
MORE WILD GARLIC RECIPES: Try making wild garlic pesto, wild garlic butter, wild garlic risotto or wild garlic mac and cheese.
- Prep Time: 20
- Rising time: 90
- Cook Time: 30
- Category: baking
- Method: oven
- Cuisine: british
Nutrition
- Serving Size: 1 bun
- Calories: 522
- Sugar: 5.6g
- Sodium: 1136.4mg
- Fat: 20.4g
- Saturated Fat: 11.3g
- Unsaturated Fat: 7g
- Trans Fat: 0g
- Carbohydrates: 63g
- Fiber: 2.8g
- Protein: 22.1g
- Cholesterol: 84.2mg