Kneading dough can sound more technical than it really is. This guide is here to help you understand what’s actually happening, how long kneading usually takes, what your dough should feel like, and how to tell when it’s ready. Once you know that, dough becomes much less intimidating.
Use this as your go-to reference whenever you’re making bread, pizza dough, bao buns, flatbreads, or any recipe that involves kneading dough.
Luckily, I’m going to break it all down for you.
The first thing to say is that you don’t need to know any fancy techniques to knead dough. It takes less than 10 minutes, and all you need are your hands, a little flour, and a flat surface. But let’s go back to the beginning.
Table of Contents
- What does kneading actually do?
- How to knead dough by hand
- A Kneading Tip to Remember
- How do you know when the dough is kneaded enough?
- My dough is sticky and hard to handle – how can I fix it?
- Can you over-knead dough?
- Do you always have to knead dough?
- Easy recipes to get you started
- Find your perfect recipe
What does kneading actually do?
In simple terms, kneading gives strength and structure to your finished bread. It develops the gluten in the flour to give you a smooth, strong dough that will rise beautifully and bake like a dream.
To get a bit science-y:
- Flour has two proteins that combine to form gluten strands (which gives you the springy, elastic feeling in dough).
- When you start with your dough, the gluten strands are knotted and mixed up.
- But when you start to knead, and the dough changes from rough and shaggy to smooth and soft, the strands come together.
- That develops the structure that traps air and lets the dough rise.
If you don’t knead your dough, or don’t knead it enough, you can end up with floppy dough that won’t rise well. It can spread out, flatten, and end up dense once it’s baked.
How to knead dough by hand
Let’s break this down step by step.
- Lightly flour your work surface, then tip the dough out onto it.
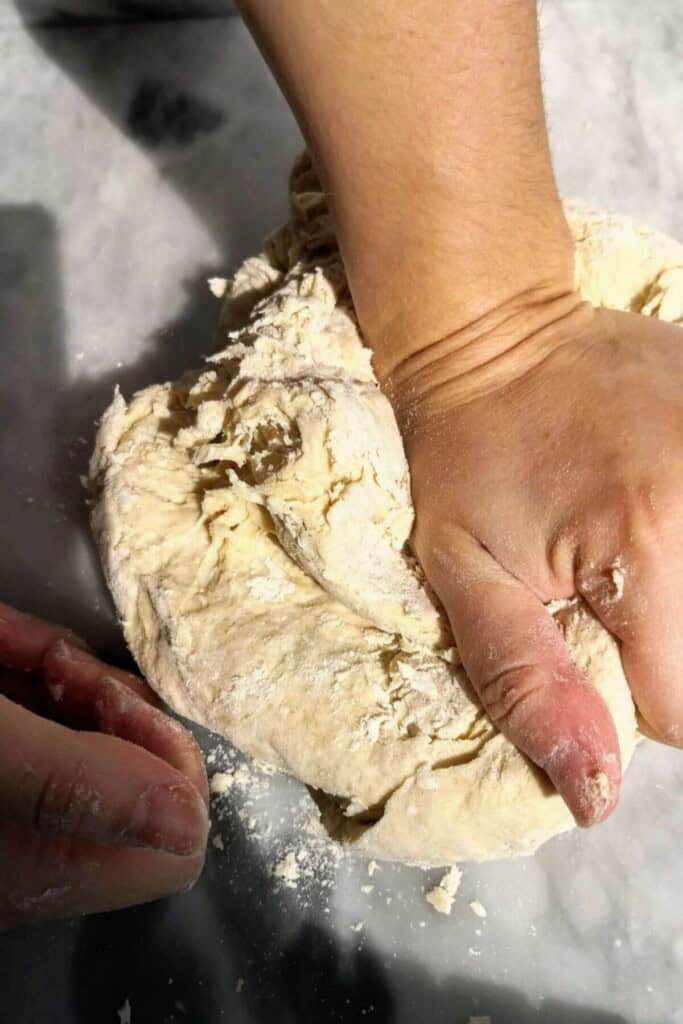
- Use the heel of your hand to push the dough away from you.
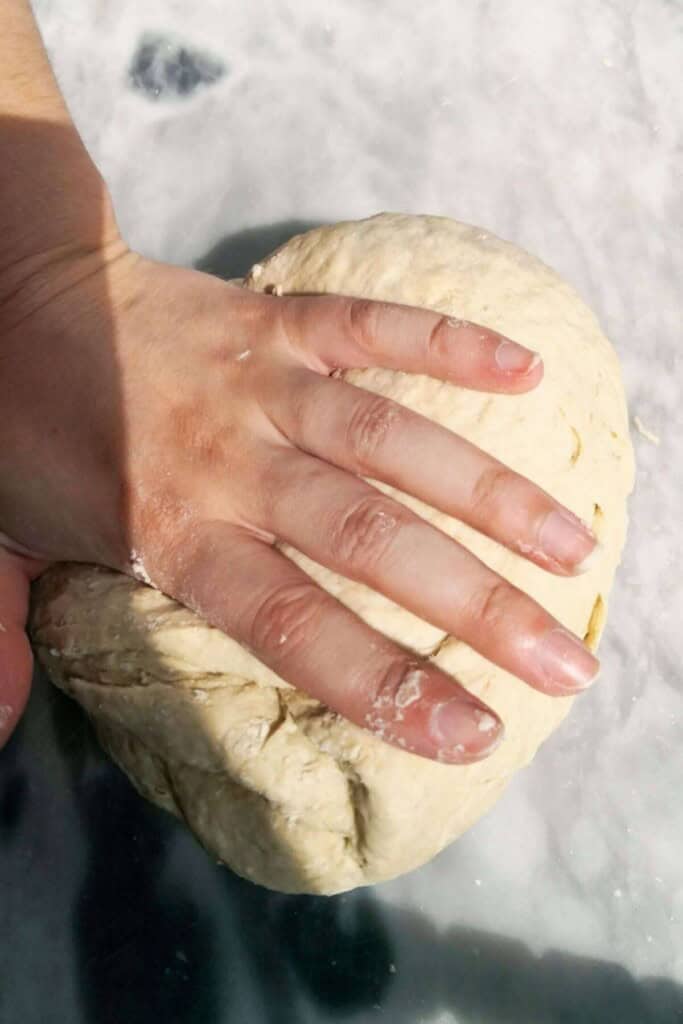
- Then fold the dough back over itself.
- Turn the dough slightly, then repeat the push, fold, turn motion.
- The dough will look a bit rough, shaggy, and sticky at first, but that’s normal. As you keep kneading, it’ll become smoother, more elastic, and easier to handle.
![]()
A Kneading Tip to Remember
It’s tempting to add a good amount of flour when you’re kneading, to counteract any stickiness.
But try not to add too much extra flour. A little dusting (a couple of tablespoons) is fine, but if you add too much, it can make the dough dry and tough.
How do you know when the dough is kneaded enough?
This, more than anything, was always my worry when I was starting with bread making. Even if a recipe gives you a guide on timing, dough is so temperamental, and I was never quite sure if it was right.
Most simple doughs take around 8 to 10 minutes to knead by hand, but this is a guide. Some will need less, some need more, and anything quite wet will be a bit different.
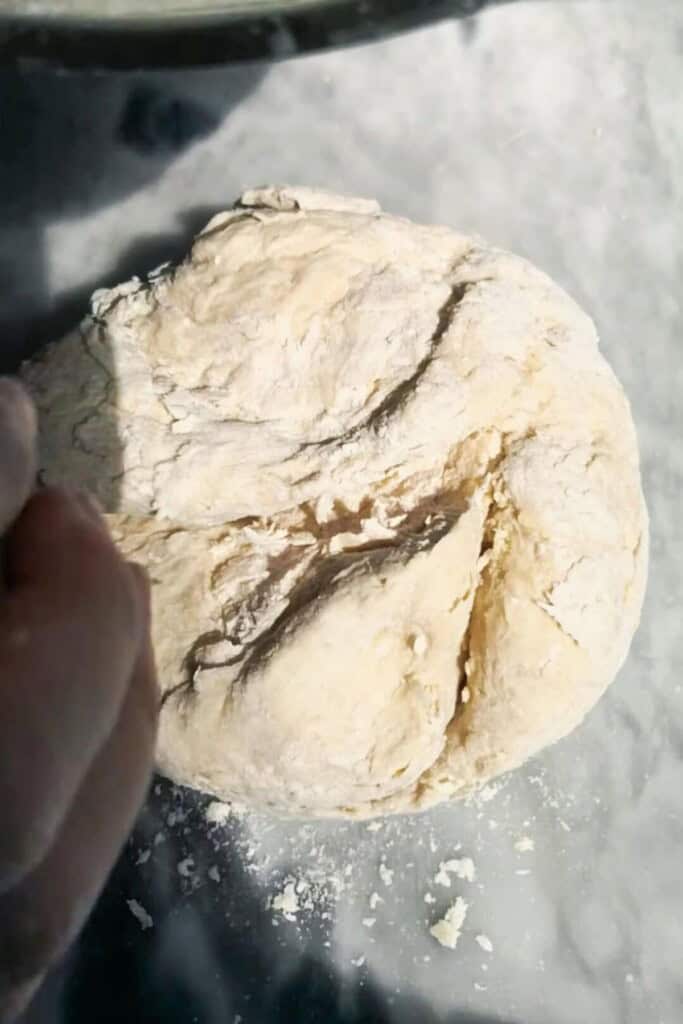
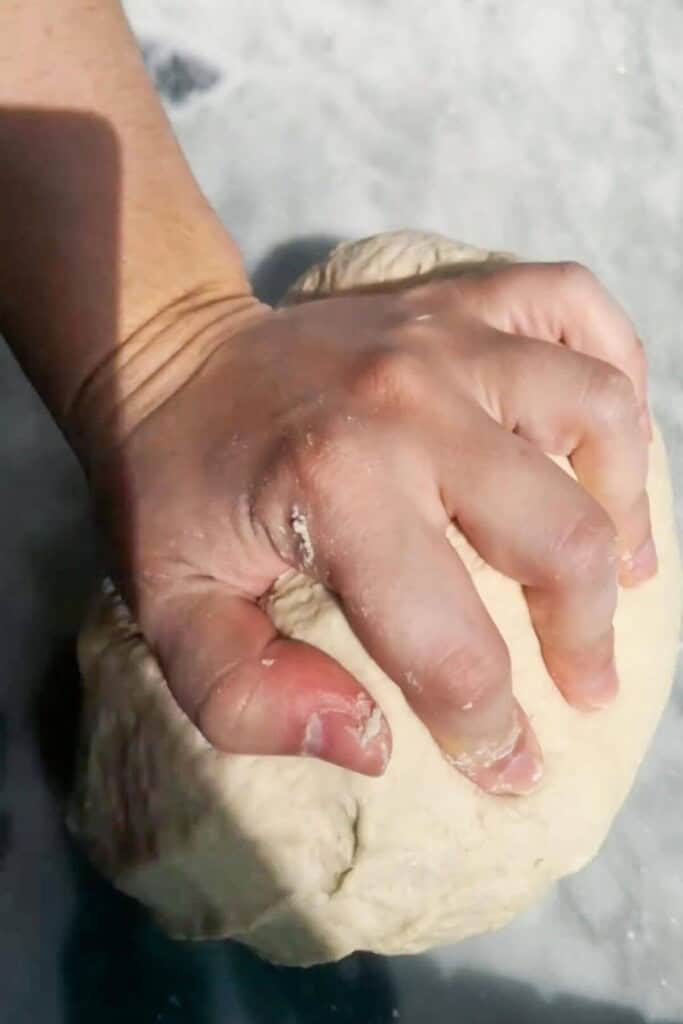
So rather than relying on the clock, I recommend looking for a few key signs. If it’s been kneaded long enough, your dough should:
- look smoother on the surface
- feel springy and elastic
- be a little firmer and hold its shape better
- stretch a little without immediately tearing
- spring back slightly when you press it.
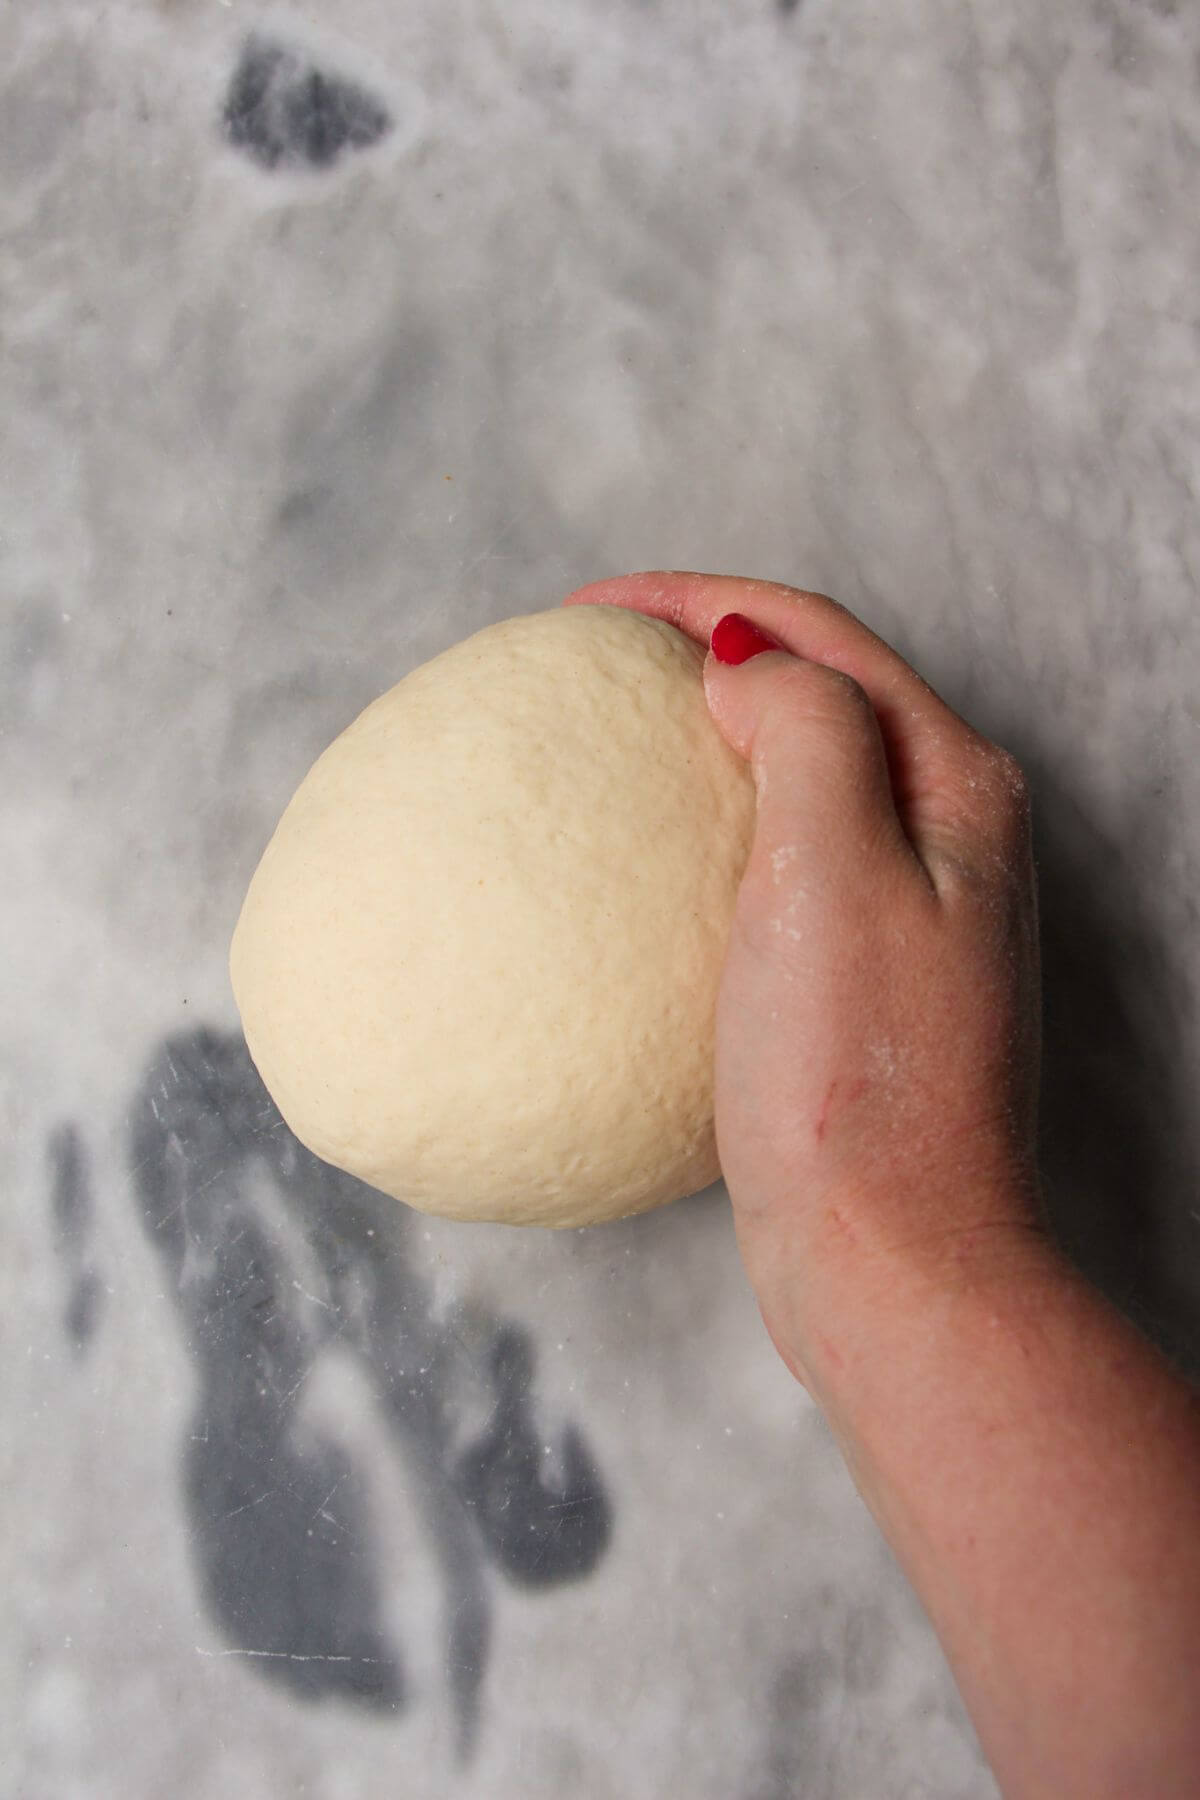
You can also use the windowpane test. Pull a small piece of dough (about a golf ball size) off, and gently stretch it out thinly, holding it up in between your hands.
If it stretches thinly enough to let light through before tearing, the gluten has been well developed, and it’s been kneaded enough.
But – don’t stress too much if your dough doesn’t pass that test perfectly. The main signs are smooth, elastic, and springy dough.
![]()
My dough is sticky and hard to handle – how can I fix it?
Sticky dough isn’t always a problem – especially if you’re making brioche or something similar – but it can make things difficult to work with.
If you find your dough is super sticky and very hard to handle, I recommend trying these tips first:
- Lightly flour both your hands and your work surface – a tablespoon is good to start with.
- Use a bench scraper (if you have one) to help you lift and fold the dough.
- Let the dough rest for 5 to 10 minutes. Pop it back in your mixing bowl and cover it. This gives the flour time to absorb moisture and relax, making it easier to handle.
I find a combination of these three tips works wonders if I’m having trouble with kneading.
Can you over-knead dough?
By hand, this is honestly pretty hard to do. You’ll most probably tire your poor arms out first!
It’s more likely to happen if you’re using a stand mixer and leave it in there too long or have it on a very high speed.
If the dough is super hard and tears easily, it’s over-kneaded and can result in a flat and dense bread once baked.
The best rule to follow is to stop kneading once your dough feels smooth, springy, and stretchy.
Do you always have to knead dough?
No! Some doughs need a lot of kneading, some need a little, and some truly don’t need any at all.
- Bread and pizza doughs usually need to be kneaded to help them build structure.
- No-knead doughs and sourdough tend to rely on time and hydration instead.
- Quick yogurt doughs usually only need a quick mix and a very short knead.
- Pastry and biscuit doughs shouldn’t be needed much, or they can become tough.
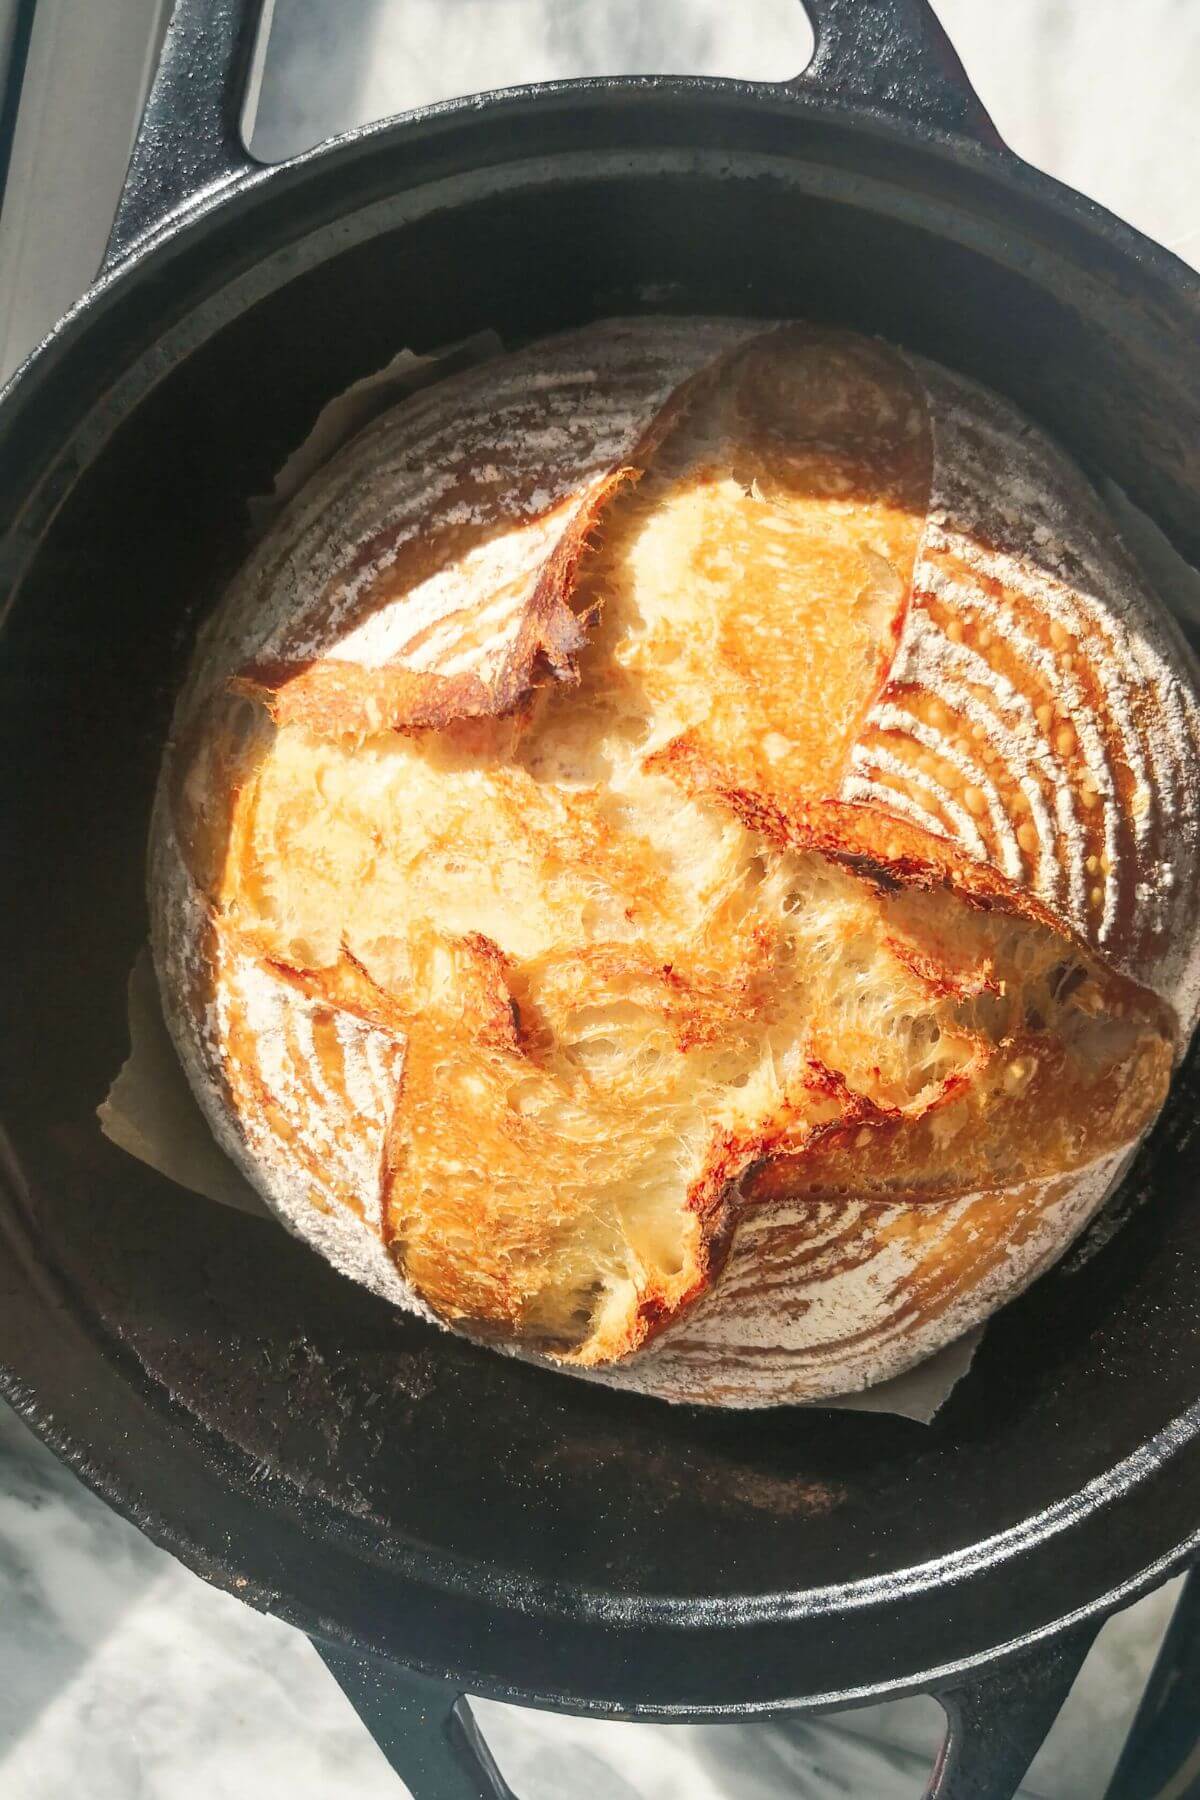
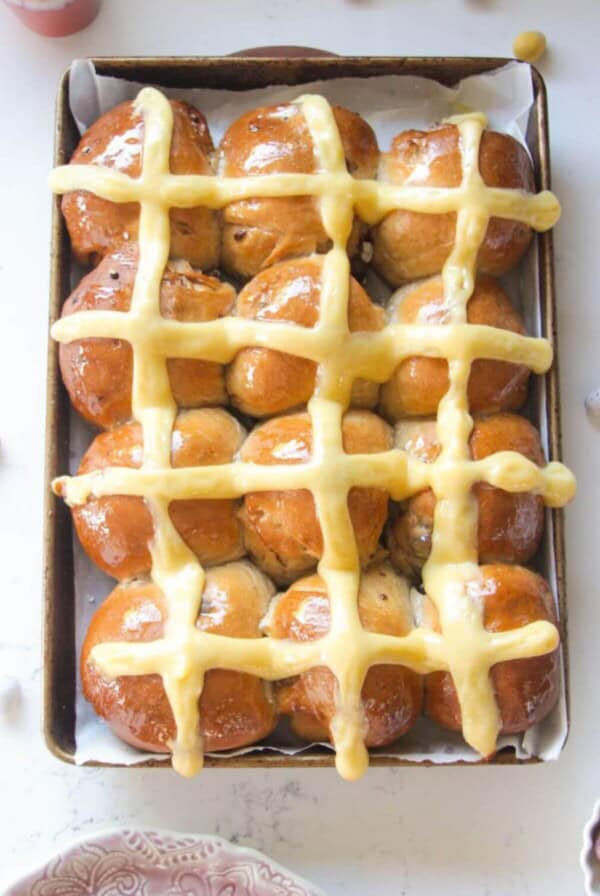
Easy recipes to get you started
Now you know how to knead, why not give it a go? Use this guide to help you make:


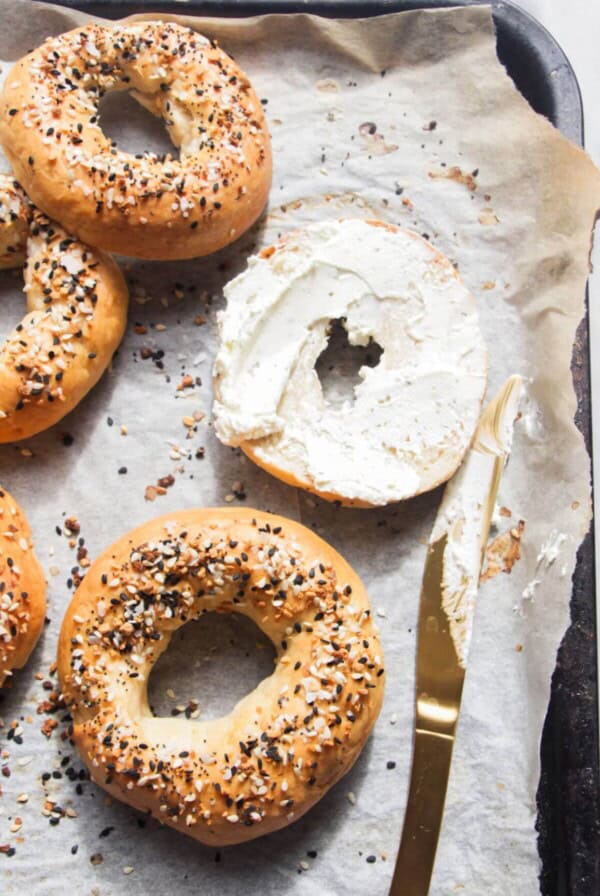
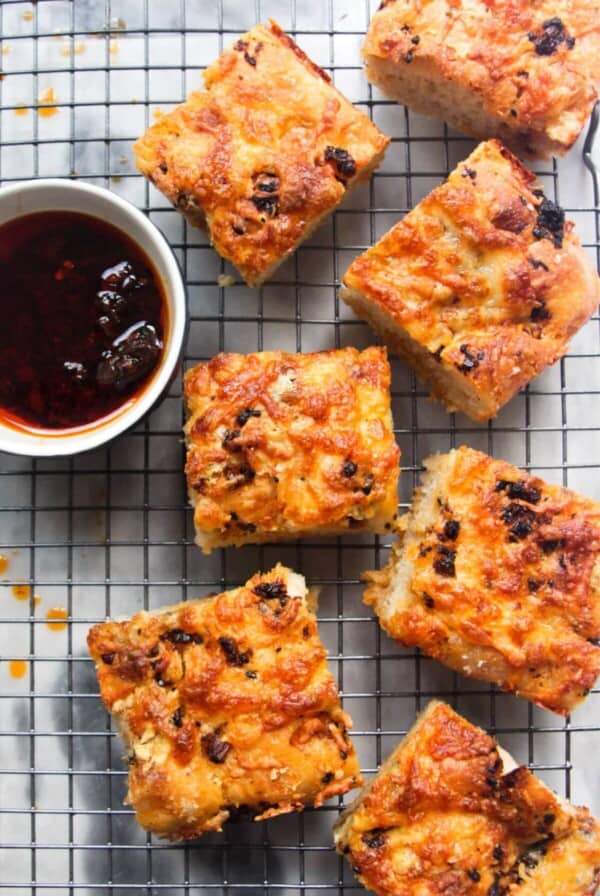

![]()
Find your perfect recipe
Looking for something specific? Just enter some keywords and hit the search button below.
TRENDING SEARCHES
smash dumpling tacos, greek yogurt bagels, butternut squash salad