
This easy sweet chili jam recipe is one you NEED in your repertoire. It takes just 30 minutes, is sweet, spicy, and so versatile. Watch it spice up salads, sandwiches, and cheese boards, or use it as a dipping sauce. Plus, it keeps for months and makes a wonderful gift.
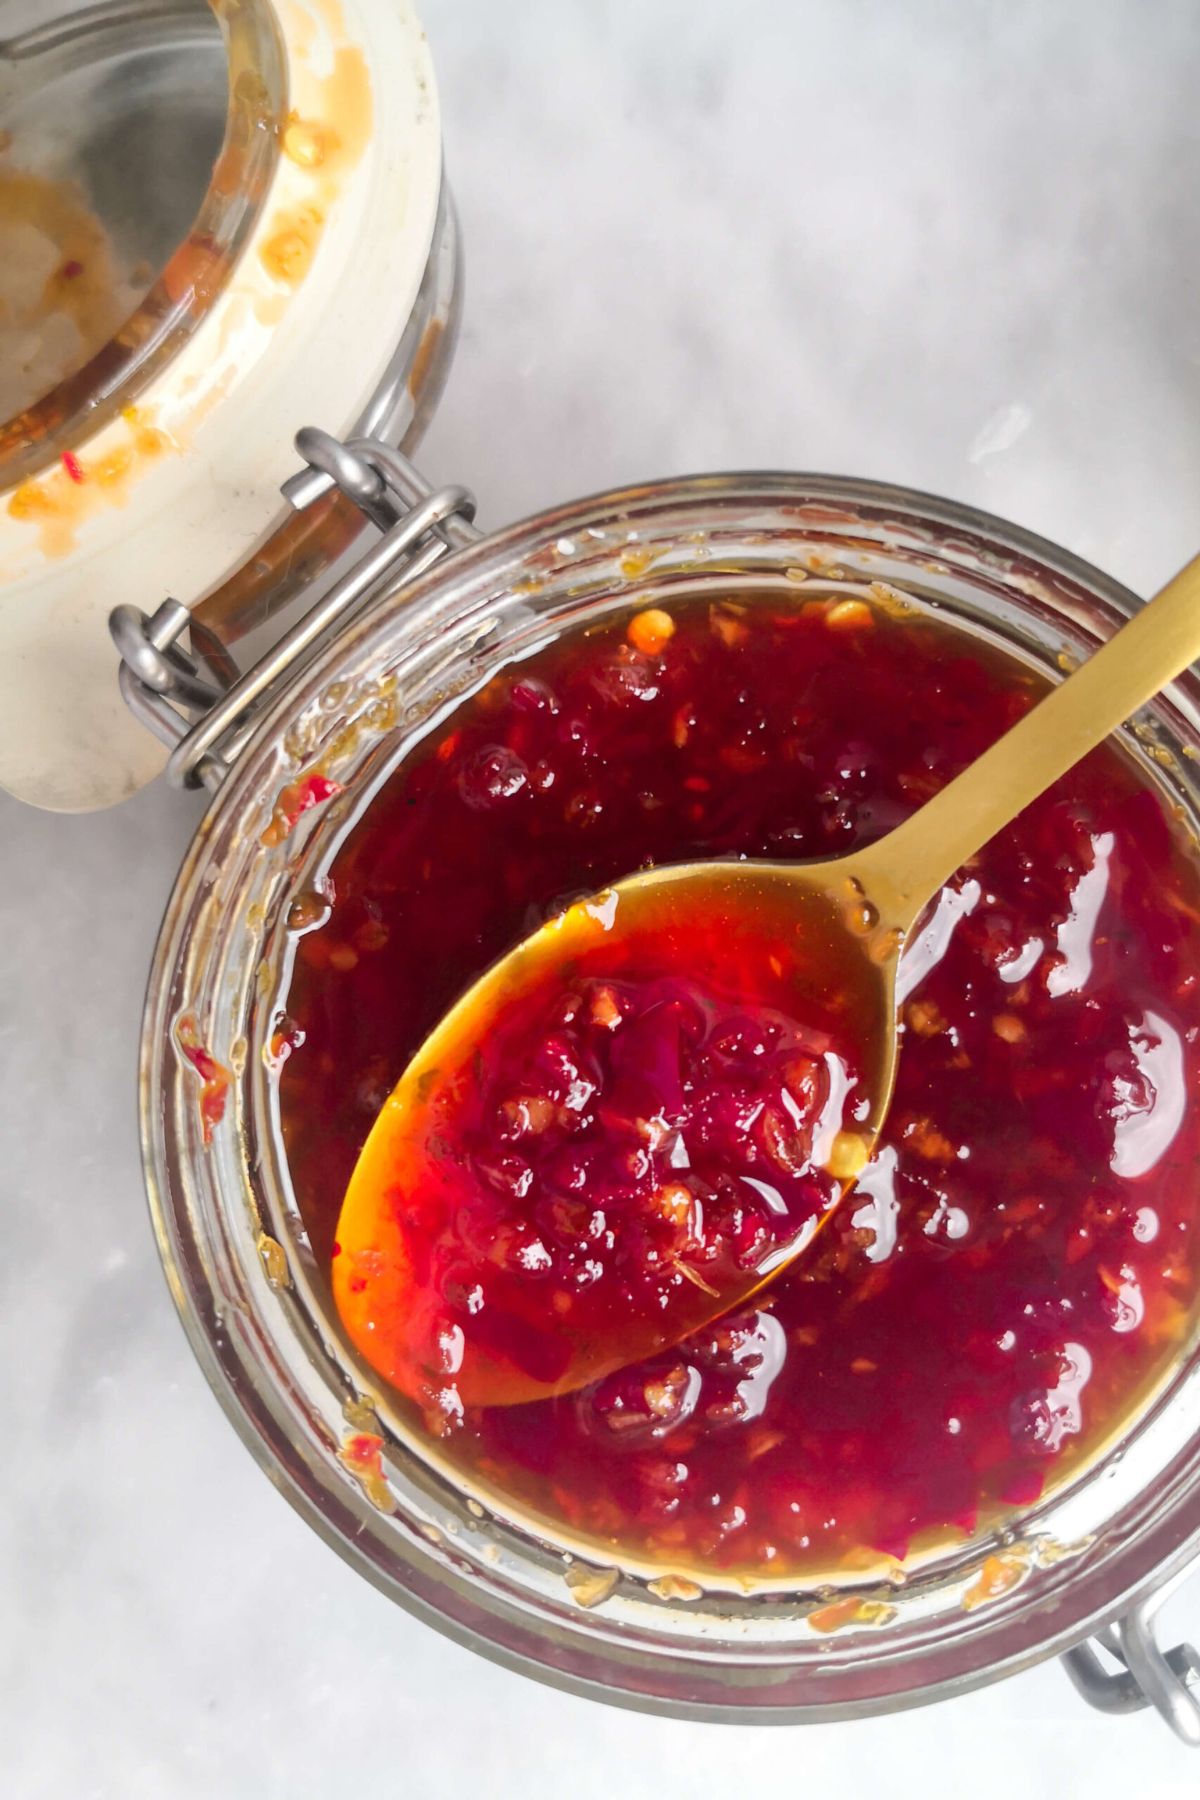
Jam can feel intimidating. Often it needs to cook down for hours, then cool, then be properly stored and sealed in jars. The whole process can take a literal day, and I don’t know about you, but I just don’t have time for that!
But this insanely delicious and easy sweet chili jam recipe solves that problem. It takes 30 minutes at most to make, from start to finish. It’s as simple as throwing chili, ginger, and garlic in a food processor and then cooking that with all the other ingredients for about 25 minutes. No long boiling time here.
And I can’t even explain how often I use this chili jam. It’s seriously DELICIOUS and an unbeatable way to jazz up any dish:
- I use it in salad dressings (like in this lovely crunchy Asian-style salad, crispy ramen noodle salad, Korean grilled chicken crispy rice salad, or this fresh, juicy peach and halloumi salad).
- Drizzle it over grilled miso chicken or miso chicken poke bowls,
- It adds gorgeous depth to my go-to five-minute peanut satay sauce, one-pot satay chicken noodles, one-pot satay meatballs, and baked satay dumplings.
- It makes a brilliant dipping sauce for chicken and mushroom potstickers, juicy pork dumplings, or cheesy gochujang pizza dumplings.
- Throw it in sandwiches (or two-ingredient dough Greek yogurt bagels or high-protein cottage cheese bagels) with cheese for the most unreal grilled cheese you’ve ever had!
Why You’ll Love this Sweet Chili Jam
- Ready in just 30 minutes. No long simmering and no fuss. Blitz, cook, and jar in the time it takes you to heat your oven and sterilize your jars.
- Perfect sweet and spicy balance. Not too spicy, not too sweet – with complexity from the garlic, ginger, lime, and fish sauce.
- Endlessly versatile. It’s the ultimate way to elevate any dish – from salad dressings and sandwiches, to cheese boards, dumplings, and pizza.
- Fabulous for gifting. It keeps for months, and is super easy to scale up (I always make a big batch for the holidays!)
Ingredients You’ll Need
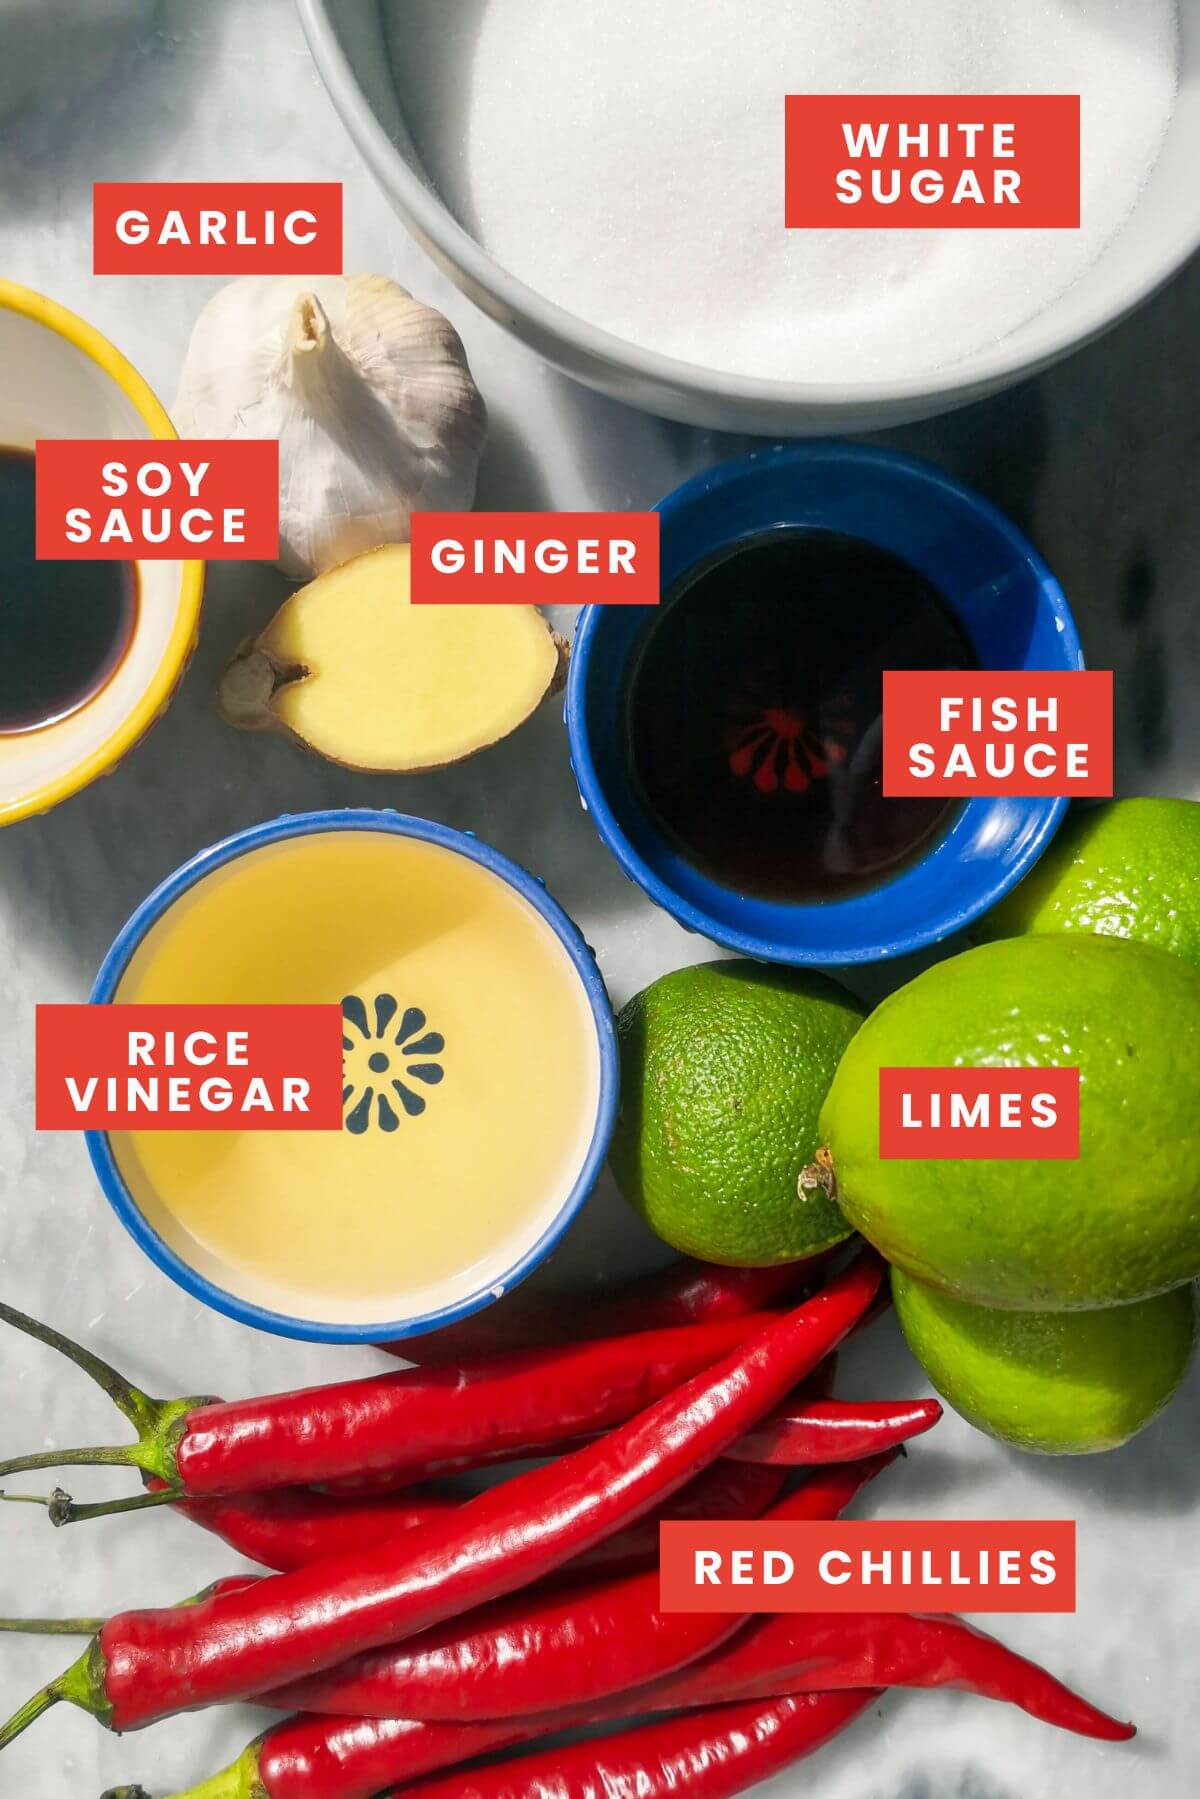
- Long red chilies. Try to use longer chilies in this recipe (they tend to be milder than the smaller ones). If in doubt, give the chili a little taste before you use it. I do de-seed the chilies in this recipe, but for ease, you could keep them in. Just be aware that it will make the jam spicier. You can also use frozen, chopped chilies for ease.
- Fish sauce. I ADORE the savory depth fish sauce brings to literally anything, so I use quite a bit here. It smells a little scary, but I promise it doesn’t taste fishy at all in the jam. You just get a wonderful salty, deep flavor that you can’t replicate with salt alone. You can use a vegan alternative if you want to keep it vegan, or use 1 tablespoon of light soy sauce (or tamari) and 1 tablespoon of lime juice instead.
- Rice vinegar. This recipe uses Asian-style flavors, which is why I love using rice vinegar. It works perfectly here, but you could use white wine vinegar or apple cider vinegar if you don’t have any.
There are also two pieces of essential equipment you’ll need for this recipe:
- Food processor. This is to blitz the chilies, garlic, and ginger into a paste. It just makes it a lot easier (and quicker) to do it this way, but if you don’t have one, you can chop everything finely with a knife.
- Sterilized glass jars. These are essential if you’re looking to store your chili jam for a long period. You can use a plastic container if you don’t have anything, but you’ll need to store this in the fridge straight away. I’ll show you how to do this a little further down the page if you’re unsure! I also have a full post all about how to sterilize jars if you’d like more information.
How to Make Sweet Chili Jam
This is a step-by-step photo overview of how to make the chili jam. The full instructions with the ingredients list and quantities are at the bottom of the page for you.
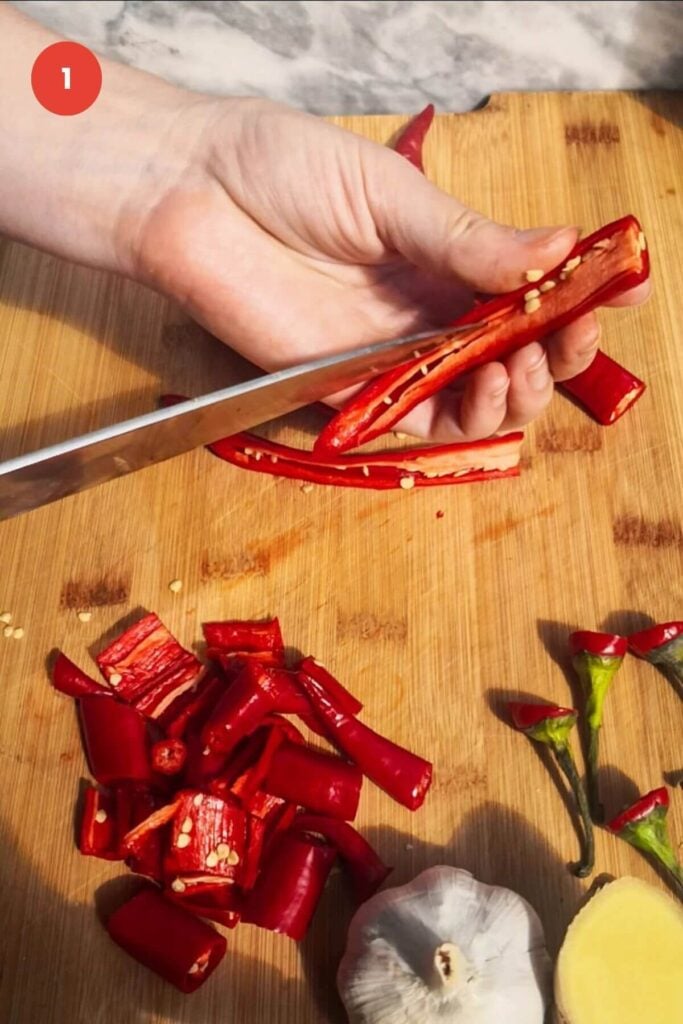
- Start by de-seeding and roughly chopping your chilies (you can leave the seeds in if you like, for a spicier jam).
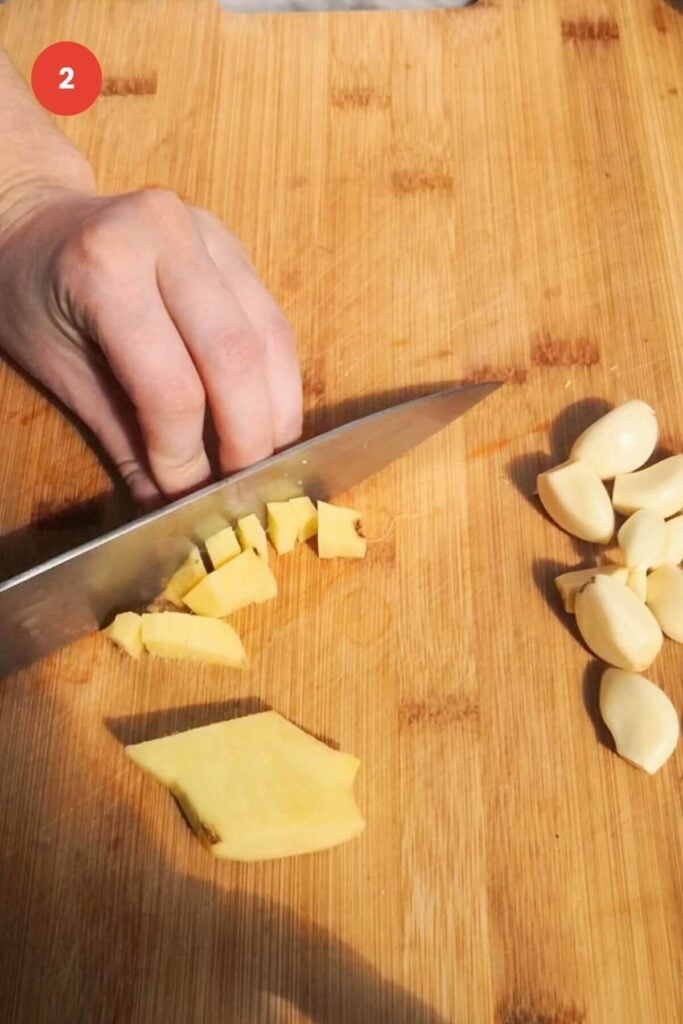
- Peel your garlic and roughly chop your ginger.
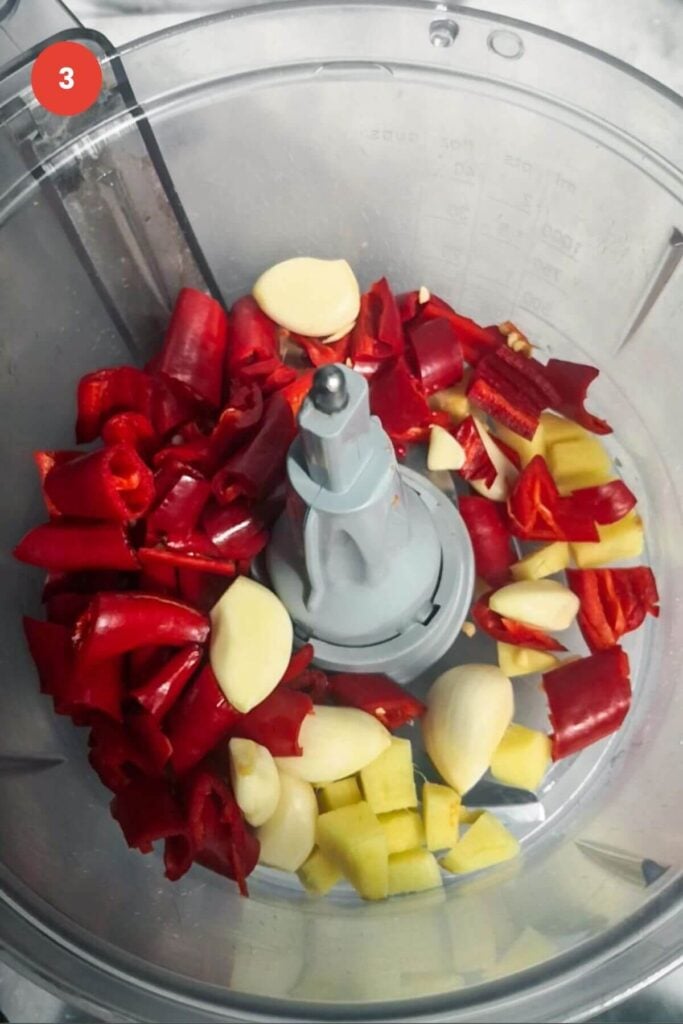
- Add the chilies, ginger, and garlic to the bowl of a food processor or chopper.
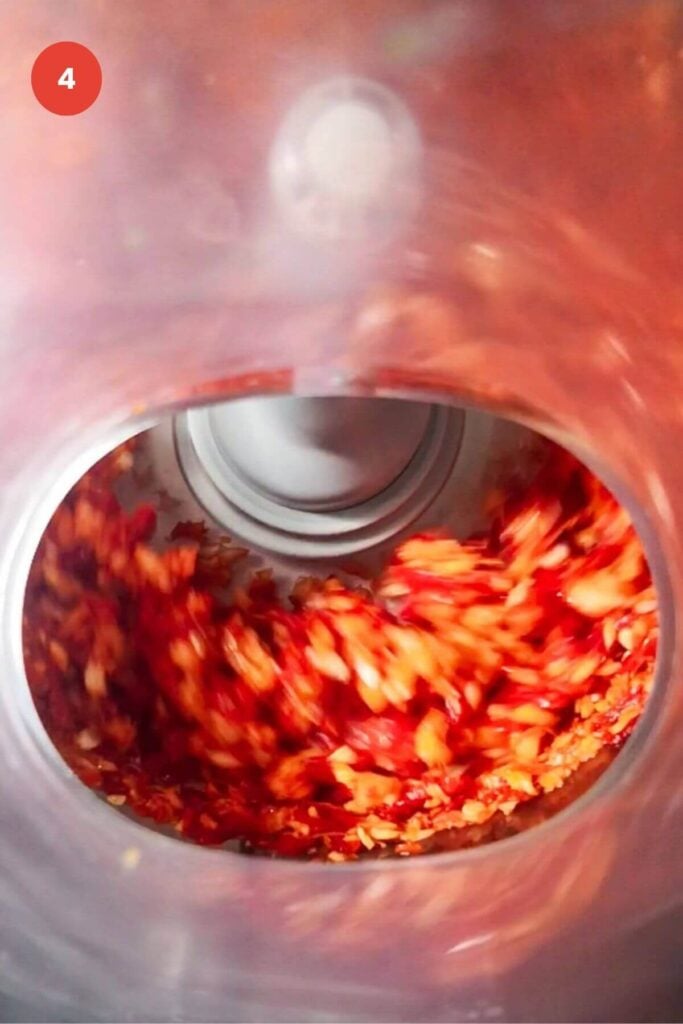
- Blitz the ingredients into a thick paste.
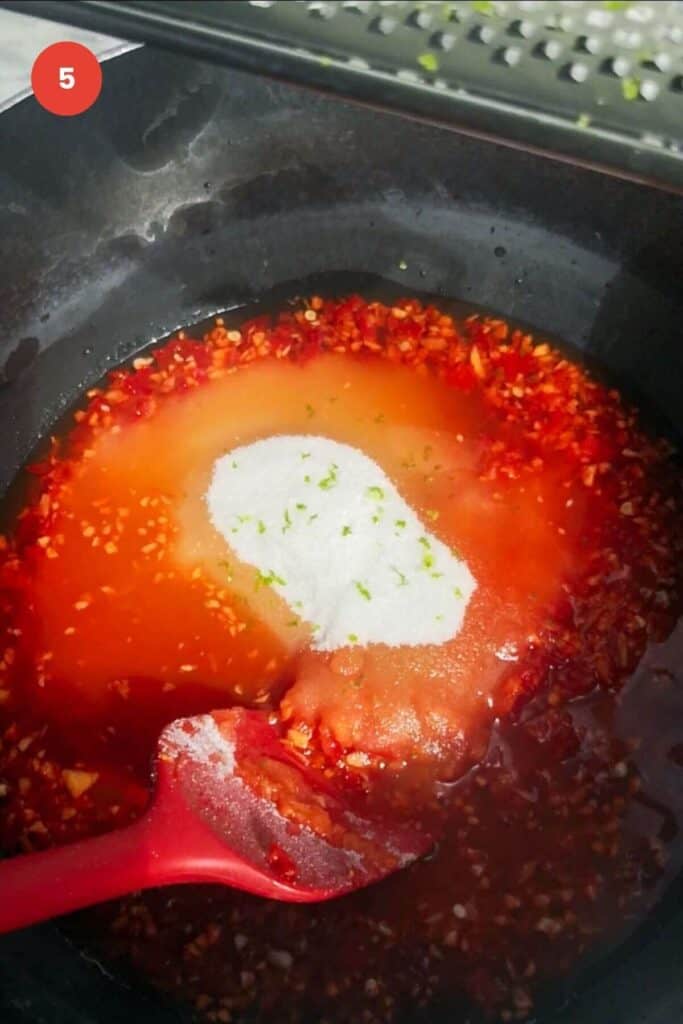
- Add the paste to a pot along with all the other ingredients. Stir until the sugar dissolves.
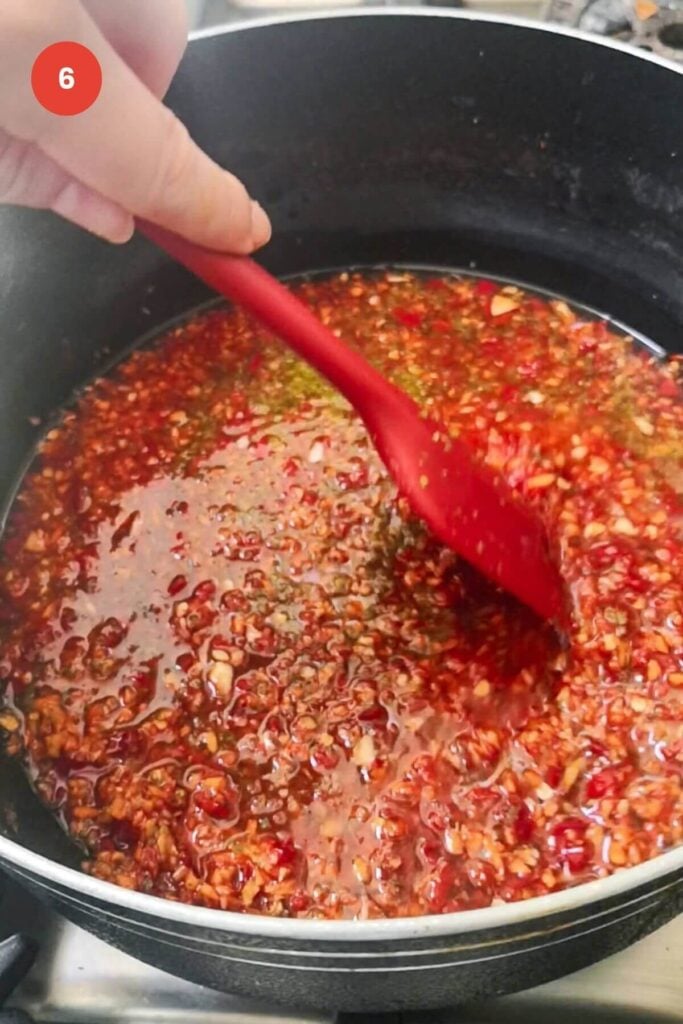
- Reduce the heat and let the jam simmer, stirring occasionally.
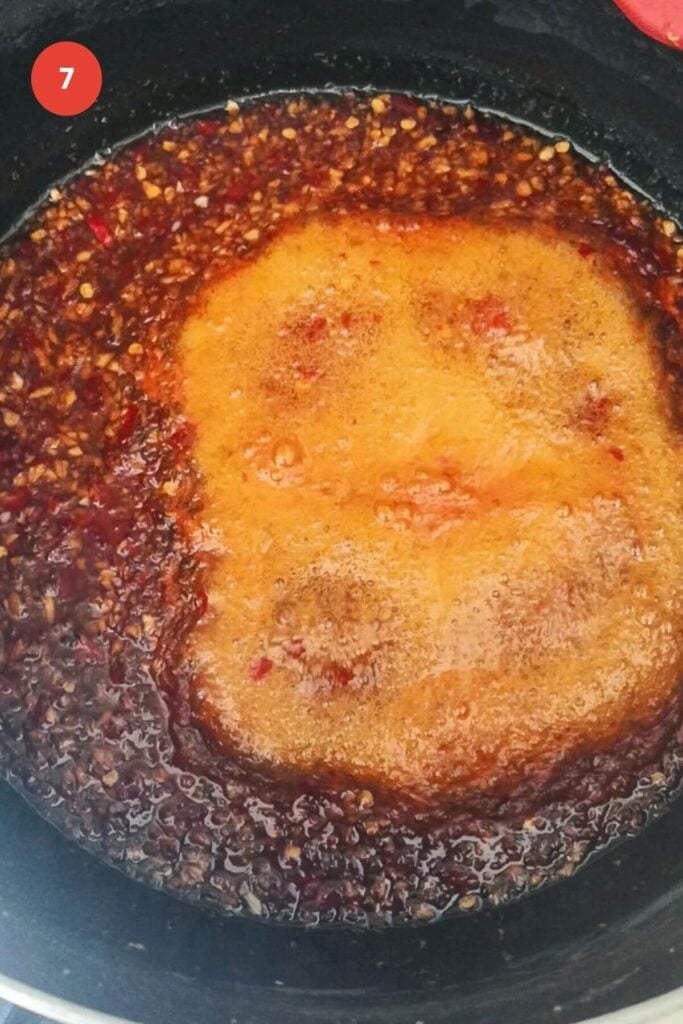
- It will be bubbling, sticky, and look deeply red. Once thickened, remove from the heat.
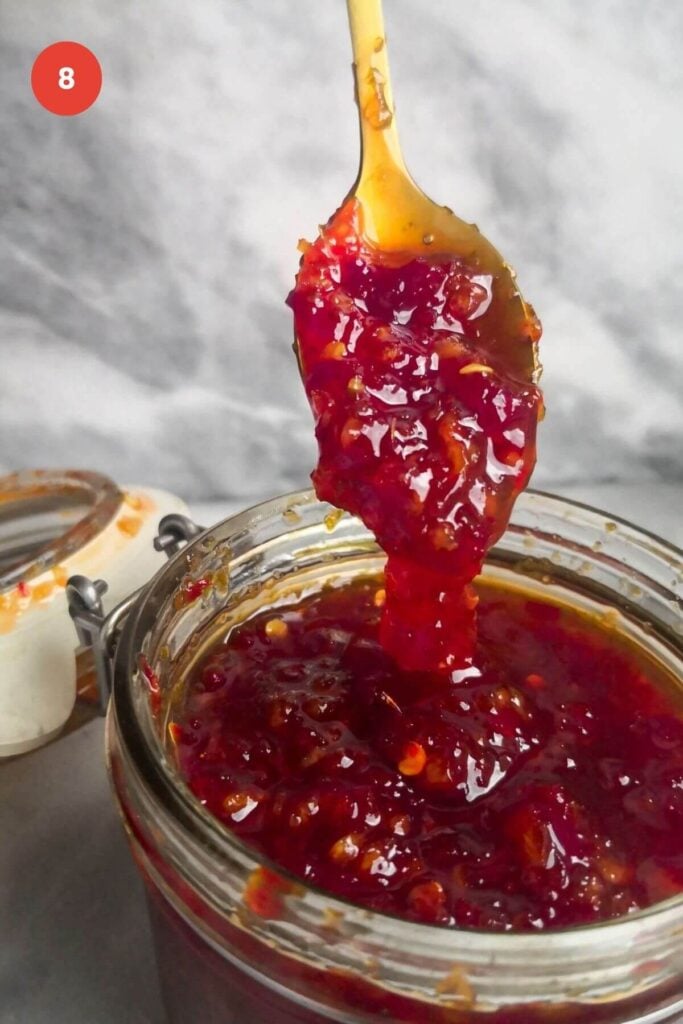
- Spoon into sterilized glass jars and seal.
How to Sterilize Glass Jars
This is a key component for making any preserve shelf-stable at room temperature. Just remember, once you open it, you’ll want to store it in the fridge.
Here’s the simplest way to sterilize your jars:
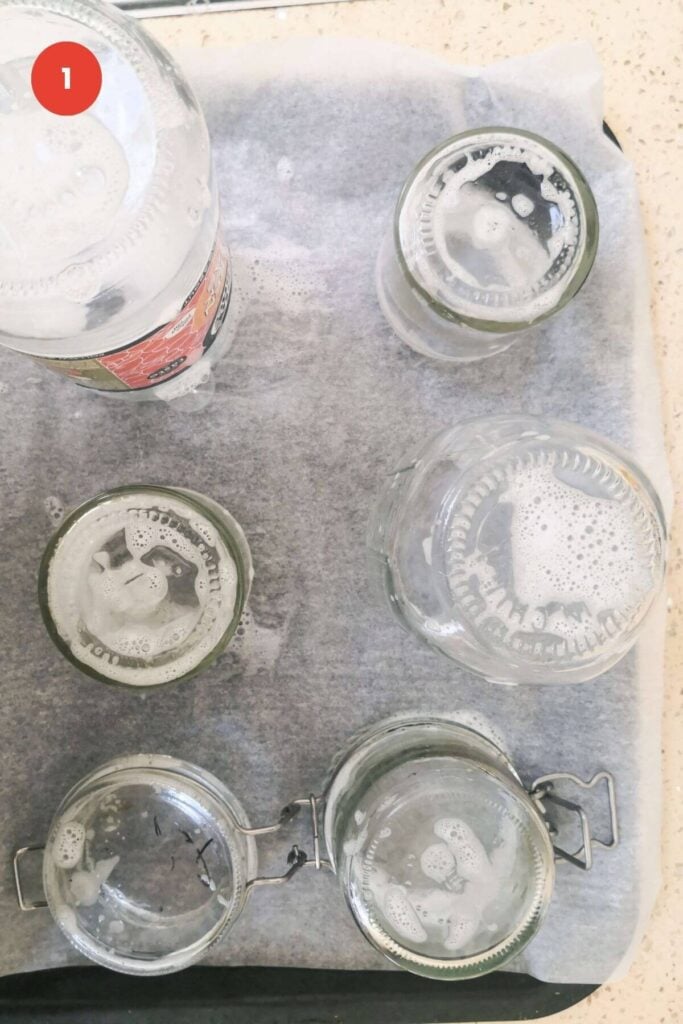
- Wash your jars and lids in hot, soapy water. Rinse them well, but don’t dry them. Place them upright on a baking tray or baking sheet.
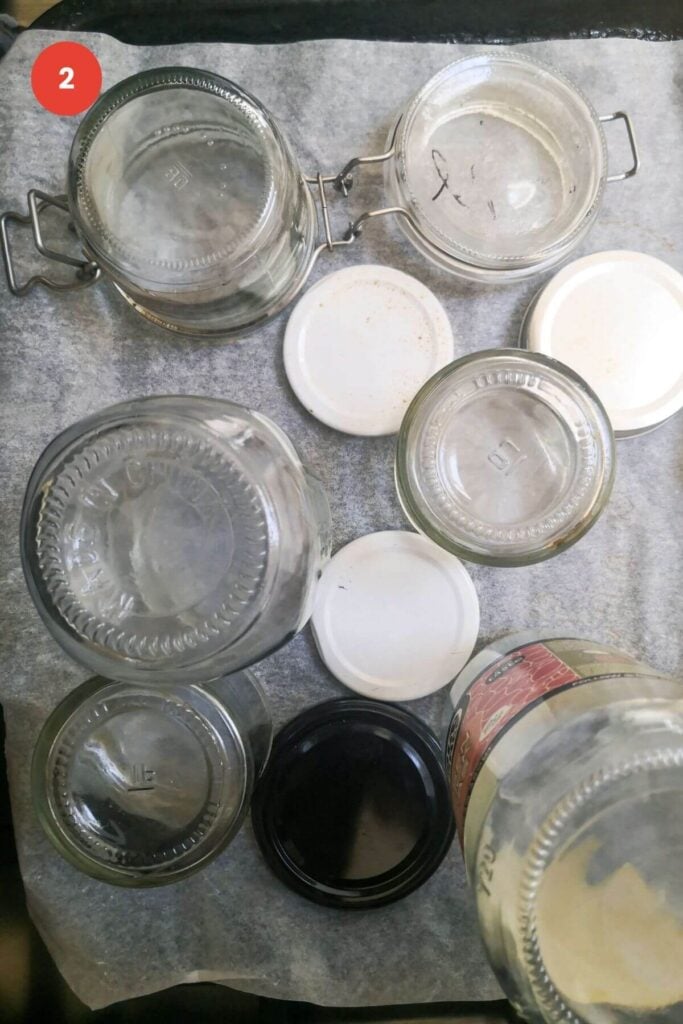
- Heat in the oven at 320°F/160°C fan (or 340°F/170°C conventional) for 20 minutes. Turn the oven off and leave them in there until you’re ready to fill them.
You can also run them through an empty dishwasher on the hottest cycle to sterilize them.
I like to do this while the chili jam is simmering, so they’re ready for filling once the jam is done. If you’d like more details, I have a full guide on how to sterilize jars.
PRO TIP: If your jars have a rubber ring around the lids, remember to take them off before putting them in the oven!
REMEMBER: Glass reacts to sudden temperature changes, so make sure you’re not adding hot jam to cold jars, or cold jam to jars straight out of the oven, as they can shatter. I discovered this the hard way..!
Five Ways to Use Chili Jam
- It forms a key part of the sweet chili dressing in this crunchy chopped Asian salad.
- Try sweet chili jam glazed halloumi for the perfect summery appetizer.
- Use it in a grilled cheese for the best cheesy snack.
- Drizzle it over grilled chicken poke bowls, baked salmon poke bowls, this salmon sushi bake, or mini baked salmon sushi cups.
- Use it as a dipping sauce with chicken and mushroom potstickers, drizzle it over smash dumpling tacos or mini crispy dumpling cups.
Sweet Chili Jam FAQs
I think it has the perfect level of heat! It’s softened with the sugar, so it’s really quite mild. If you’re worried, you can take two chilies out and add one roughly chopped red pepper instead.
When stored in sterilized jars, chili jam will last for months at room temperature, unopened. Once you open it, store it in the fridge and it will still last for months. Just make sure you’re always using a clean spoon when you’re getting anything out of it to prevent cross-contamination.
This recipe actually doesn’t use that much sugar for the quantity you end up with, but you can try to reduce the sugar if you like. Just be aware that the jam’s consistency will change and won’t be as sticky and ‘jam-like’ as you’d expect. This comes from sugar. It will be more liquidy and the sugar also helps the jam keep as long as it does.
I definitely recommend using the fish sauce for the amazing depth of flavor you get from it, but if you really don’t like it or are vegan, replace the fish sauce with 1 tablespoon of soy sauce/tamari and 1 tablespoon of lime juice.
Like this Recipe? Here are More Sauces You Might Enjoy
If you make this recipe, I’d love to hear from you! You can leave a recipe rating and a comment below. And remember to tag @DishedByKate on Instagram, Facebook and TikTok if you’ve made one of my recipes. Seeing your recreations really makes my day 😊.
Print
Easy Sweet Chili Jam (30 Minutes)
- Total Time: 30 minutes
- Yield: 2 cups 1x
- Diet: Low Fat
Description
This easy sweet chili jam recipe is one you NEED in your repertoire. It takes just 30 minutes, is sweet, spicy, and so versatile. Watch it spice up salads, sandwiches, and cheese boards, or use it as a dipping sauce. Plus, it keeps for months and makes a wonderful gift.
Ingredients
For the sweet chili jam –
- 1 whole head of garlic, cloves peeled
- 2 oz (60g) fresh ginger, peeled and roughly chopped (or use 2 tablespoons of crushed ginger/ginger paste)
- 6 long red chilies, de-seeded and roughly chopped (keep the seeds for a spicier jam)
- Zest of 2 limes
- 2 1/4 cups (450g) superfine (caster) sugar
- 1/2 cup rice vinegar
- 1/3 cup water
- 3 tablespoons of fish sauce (or vegan alternative)
- 1 teaspoon of light soy sauce (or tamari)
Equipment –
- Food processor, chopper, or blender
- Glass jars to store
Instructions
To sterilize your jars –
- Wash your jars and lids with hot soapy water, then stand upright on an oven tray. Pop into the oven at 320°F (160°C) for 20 minutes, and that’s it, they’re ready to use! PRO TIP: Glass reacts to extreme temperature changes, so don’t add hot chili jam to a cold jar or the glass may shatter. Adding hot jam to warm jars will be fine. I like to sterilize my jars as the jam is simmering, and this works out well timing-wise.
For the chili jam –
- Blitz the garlic, ginger, and chili. Add the peeled garlic cloves, roughly chopped ginger, and 6 de-seeded and chopped chillies into the bowl of a food processor. Blitz for 2 minutes, until a thick paste forms. You may need to scrape down the sides of your bowl a couple of times to make sure everything is mixing evenly.
- Combine the garlic, ginger, and chili paste with the other ingredients. Add the chili, ginger, and garlic paste to a large pot and add the zest of 2 limes, 2 ¼ cups sugar, ½ cup rice vinegar, ⅓ cup water, 3 tablespoons of fish sauce, and 1 teaspoon of light soy sauce. Set the pot over medium heat. Stir until the sugar dissolves (you’ll be able to feel this with your spoon – initially it will feel quite heavy and be harder to stir, and when the sugar dissolves, it’ll become more liquidy).
- Simmer the chili jam. At this point, reduce the heat to medium-low and leave the jam to simmer for about 25 – 30 minutes. Check on the jam and stir it occasionally to make sure nothing is sticking to the bottom and it’s cooking evenly. It will start bubbling up – this is what you want. You want the liquid to reduce by roughly a third so that the jam looks thick, sticky, and deeply red.
- Transfer the jam into jars. Spoon the hot jam into the warm, sterilized jars, leaving around a little space at the top. Seal the jars with their lids. You can store the chili jam in the sterilized jars for months at room temperature, then store it in the fridge once you’ve opened it. REMINDER: Don’t spoon your hot jam into cold jars as the glass may shatter – if your jars are cold, leave the jam to cool on the stovetop for about 30 minutes, and then transfer it to the jars.
Notes
STORAGE INSTRUCTIONS: Always use a clean spoon when getting jam from the jar. This will prevent cross-contamination and ensure the jam lasts longer. You can keep it in the fridge for months in this way after opening.
SUBSTITUTIONS: If you’re vegetarian or vegan, you can switch out the fish sauce for an extra tablespoon of light soy sauce and 1 tablespoon of lime juice, or use a vegan alternative. For ease, I often use frozen chopped chilies – you can throw them straight into the pot (there’s no need to defrost).
I love making this chili jam as gifts for my friends over Christmas, and the holidays – the recipe is easily scaled, so you can make a big batch and prepare as many jars as you like. Just make sure you share storage instructions when you give the jars as gifts.
The recipe makes approximately 500ml of sweet chili jam (depending on how long you let it reduce!) While jar sizes vary wildly, I find this is usually enough to fill 1 medium jar (300ml to 400ml), with a little extra, or 2 smaller jars. If you want to be exact with it, just check the capacity of your jars, then divide the total yield (say 500ml), by that number.
I have a whole guide that shares more about how to sterilize jars if you’d like to explore that further.
- Prep Time: 5
- Cook Time: 25
- Category: sauces
- Method: stove top
- Cuisine: asian
Nutrition
- Serving Size: 30g
- Calories: 118
- Sugar: 28g
- Sodium: 172mg
- Fat: 0g
- Saturated Fat: 0g
- Unsaturated Fat: 0g
- Trans Fat: 0g
- Carbohydrates: 30g
- Fiber: 0.25g
- Protein: 0.6g
- Cholesterol: 0mg

Perfect
So pleased you enjoyed Brenda! I’m about to make a big batch for Christmas presents x
I’m just making your lovely recipe I thought I’d give it a go I do hope it turns out for me, thank you.
Just lovely!
Hi, can I just double or triple the amounts for same consistency. I use a lot more chilli for extra heat, but still want a nice jam. Thanks, Paul
Hi Paul! Yes you can, I often double/triple it when I make it to get a big batch 🙂 Thanks so much, Kate
Hi Kate,
Just hoping to clarify the amount of sugar for this recipe. The ingredients list says “150 grams (250g)”. Which is the correct amount?
Hi Guy, thanks for flagging this – it seems to be a problem with the auto conversion from US to metric measurements (I think you’ll have M highlighted at the top of the recipe if you’re seeing 150g?) If you click over to US you’ll see the cup measurements with the correct metric measurements alongside them that I measured myself, so 250g is the correct amount. Am flagging the error with my web team xx Kate
how long does the jam last or do you need to do a canning bath
Hi Carol! If you’ve sterilized your jars, there’s no need for the canning bath. The jam lasts months and months in sterilized jars at room temperature 🙂 xx Kate
Hi there,
Can you use a sugar sweetener like Stevia instead of castor sugar? If so, is it a straight swap?
Hi Helen! Sadly stevia won’t work as a straight swap here – the sugar doesn’t just sweeten here — it helps the jam thicken and become that sticky jam texture. Stevia doesn’t have the same properties, so the texture wouldn’t be the same. You could reduce the sugar quantity though if you want a lower sugar version, but it will be a looser sauce. Something like chia seeds or xanthan gum can also help with thickening, but I haven’t tested that so I’m not exactly sure how it would work! x Kate
Love this recipe can’t wait to try.
Looking forward to trying this recipe in a couple days, instructions are easy to understand and the step by step photos also help
How many jars do you get from this recipe please
Thanks
Liz
Hi Liz! Great question 😊 This recipe makes (roughly) 500ml of chili jam in total, depending on how long you let it reduce. Jar sizes vary so much, but as a guide that’s usually 1 medium sized jar (about 300 – 400ml) with a little extra, or 2 smaller jars if you’re splitting it up.
If you want to be exact, just check how many mls your jars hold and divide the total amount (about 500ml) by that number. I hope that makes sense xx Kate 💕