This is my proper pizza night dough – the one I make when I want a light, airy base with those gorgeous, Neopolitan-inspired puffy, bubbly edges. There’s no kneading, no sourdough starter, and nothing too complicated. Just a simple four ingredient dough, a couple of stretch-and-folds, and a little time doing most of the work for you.

Table of Contents
- No-Knead Pizza Dough, at a Glance
- Light, Airy Pizza Dough of Dreams
- Ingredients You’ll Need
- Why this Dough Gets SO Light and Bubbly
- How to Make No-Knead Pizza Dough
- Kate’s Dough Rising Tip
- Top Tip for Getting a Bubbly Pizza Crust
- Easy Pizza Cooking Tip
- How to Make the Dough Work Around Your Schedule
- How to Cook the Best Pizza at Home
- Why I Recommend Using a Scale
- No-Knead Pizza Dough FAQs and Troubleshooting
- Three Pizza Recipes to Try
- Easy No-Knead Pizza Dough Recipe
No-Knead Pizza Dough, at a Glance
⏰ Time: About 3 hours same-day, or up to 2 days in the fridge to develop flavor
🍕 Makes: 2 large pizzas or 3 smaller pizzas
🛒 Key ingredients: All-purpose or bread flour, instant yeast, salt, water
🧠 Skill level: Easy, but slightly hands-on
🙌 No kneading: Just 2 quick rounds of stretch-and-folds
🔥 Oven temp: As hot as your oven will go, ideally 500°F / 250°C
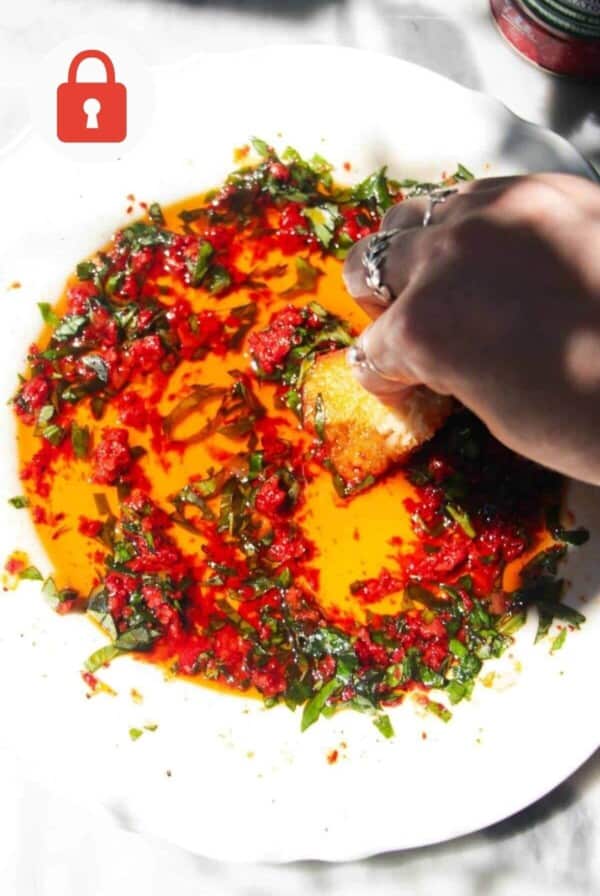
🍽️ Serve with: Your favorite pizza toppings, a big salad, or pizza-inspired bread dipping oil
💃 Perfect for: Weekend cooking, better-than-takeout nights, parties and entertaining, game day
Light, Airy Pizza Dough of Dreams
Ok, I didn’t set out to make a dough that fooled my friends into thinking it was sourdough but I guess that’s what this is?!
I have played around A LOT with pizza dough recipes. And I’ve never been 100% happy with the ones I’ve tried. Maybe they’ve been tricky to handle, lacking flavor, sometimes dense and just really not hitting ALL the notes I’m after.
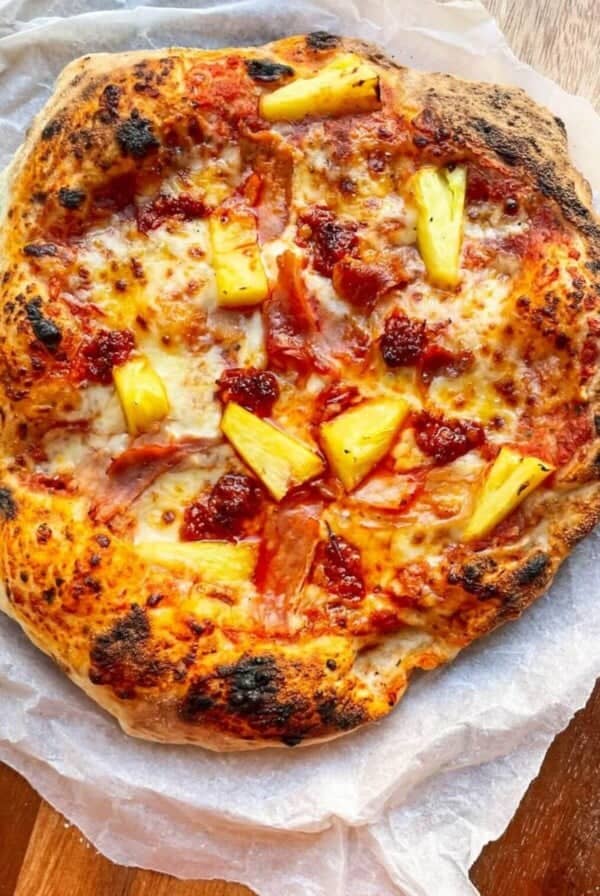
I want my pizza to be like the ones you get in Italy. That means a super flavoursome, chewy, airy crust with a thin base that can hold toppings well.
Whether you’re cooking in your oven, or you have an Ooni pizza oven (I’m lucky enough to have one and it’s AMAZING), this dough will work wonderfully and give you the perfect pizza every time.

Ingredients You’ll Need
You just need FOUR ingredients to make this base, and they’re things you might already have on hand.
- Flour. You can use regular all-purpose flour, bread flour or 00 flour.
- Instant yeast. I like instant yeast because it’s super easy to use, but use active yeast if that’s what you have. If you do, you’ll need to ‘bloom’ the yeast before you add it to the other ingredients in a little water.
- Salt. Essential for flavor.
- Water. Make sure it’s lukewarm, as that’ll help the yeast activate and the dough will rise quicker.
Why this Dough Gets SO Light and Bubbly
If you’re wondering why the dough doesn’t have to be kneaded but still turns out light and airy, it’s because it has a high water content – or high hydration. That just means the water content relative to the amount of flour is high.
The result is that it can be mixed easily and still get that glorious puffy crust we’re after. I’m using a similar technique to my easy no-knead focaccia – giving the dough a couple of ‘stretch and folds’ to develop strength without actually kneading. So not only does this taste AMAZING, but it’s incredibly easy to pull together.
The biggest secret though is to not handle the dough too much. You want to let those wonderful air bubbles do all the heavy lifting. If you use a rolling pin, you’ll deflate the bubbles that are there to make your dough light and puffy. That’s why you really don’t need to do much to the dough when you’re shaping it – you’ll actually let gravity do most of the work. And don’t touch the crust..!

How to Make No-Knead Pizza Dough
This is a step-by-step photo overview of how to make the pizza dough – the full instructions with ingredient quantities is at the bottom of the page for you.
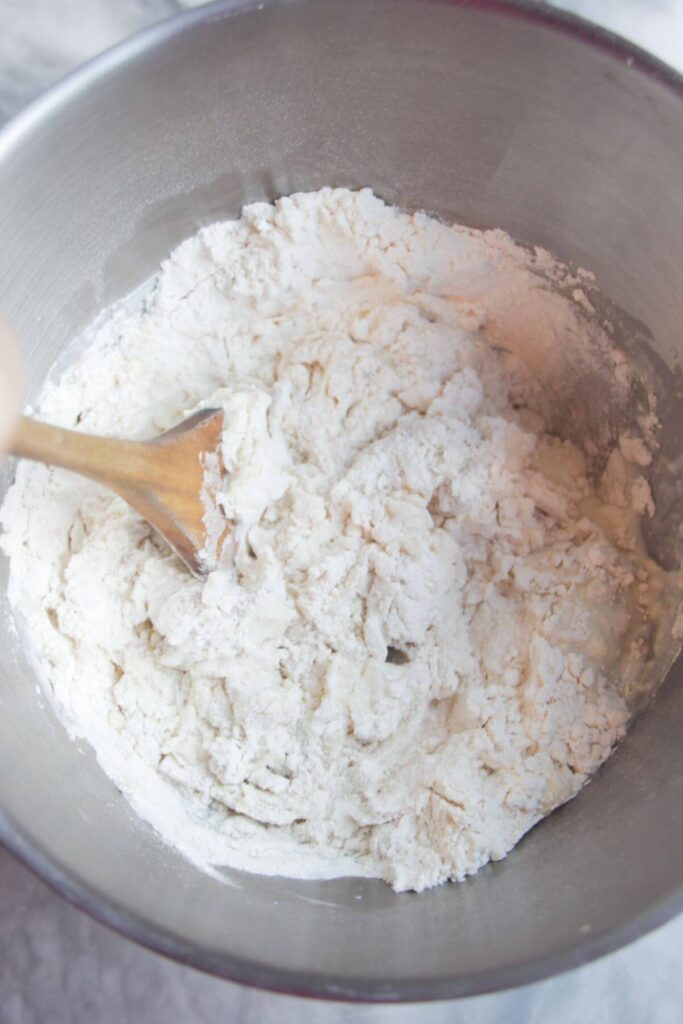
- Mix your flour, instant yeast, salt and water. You want to end up with a cohesive dough but it doesn’t have to be super smooth at this point.
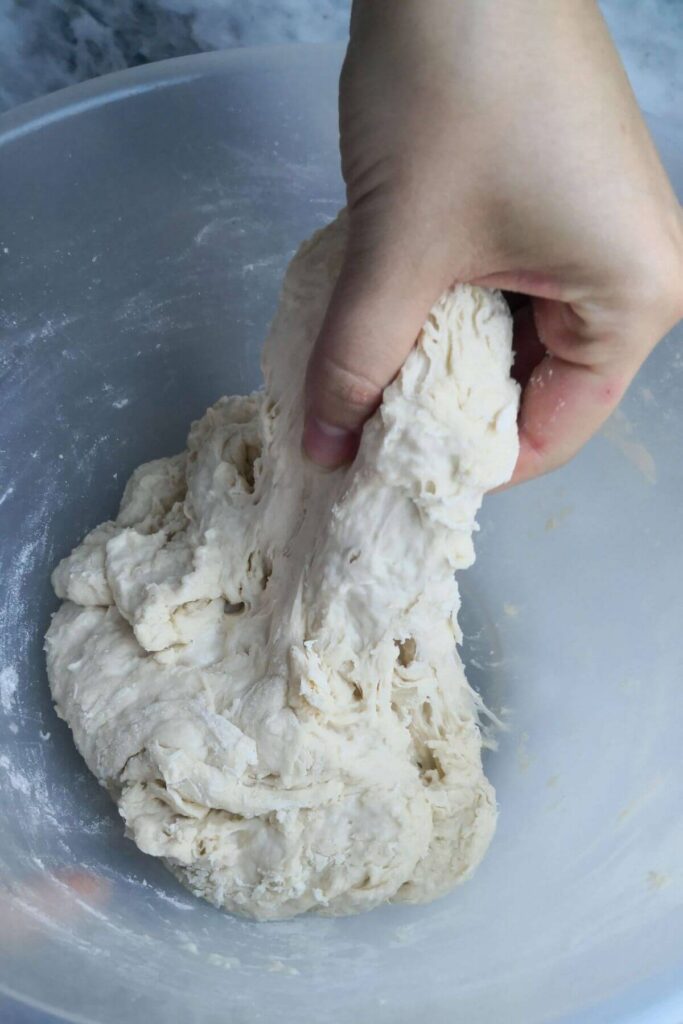
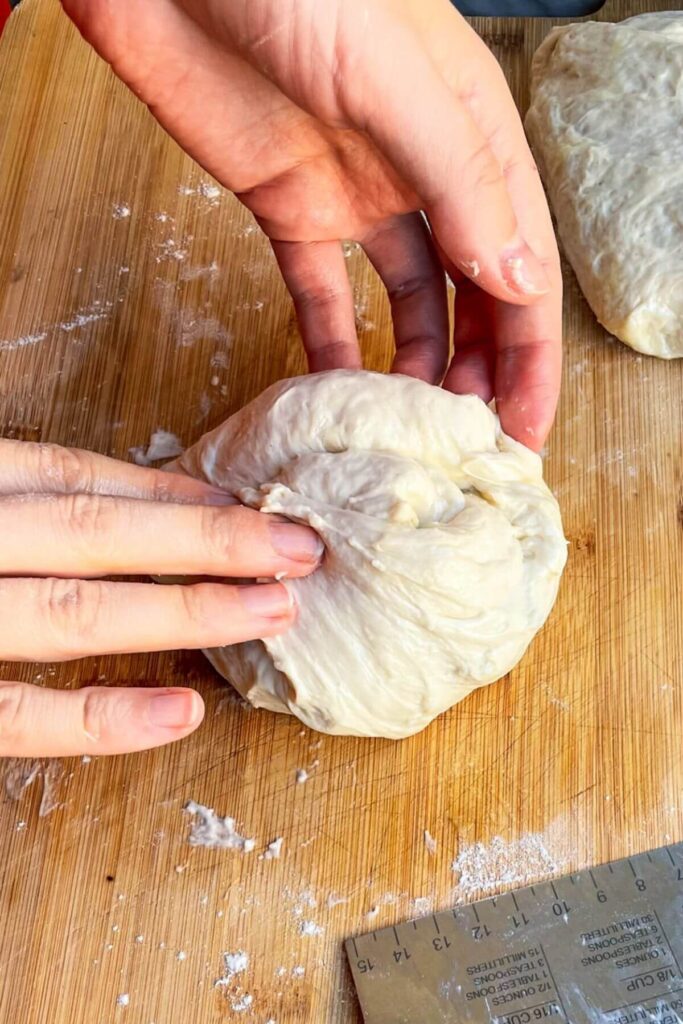
- Now perform the first round of ‘stretch and folds’ With your hand in a ‘C’ shape, scoop down the side of the bowl to reach underneath the dough. Gently pull the dough up until you start to feel resistance, then fold it back down over itself into the middle of the dough.
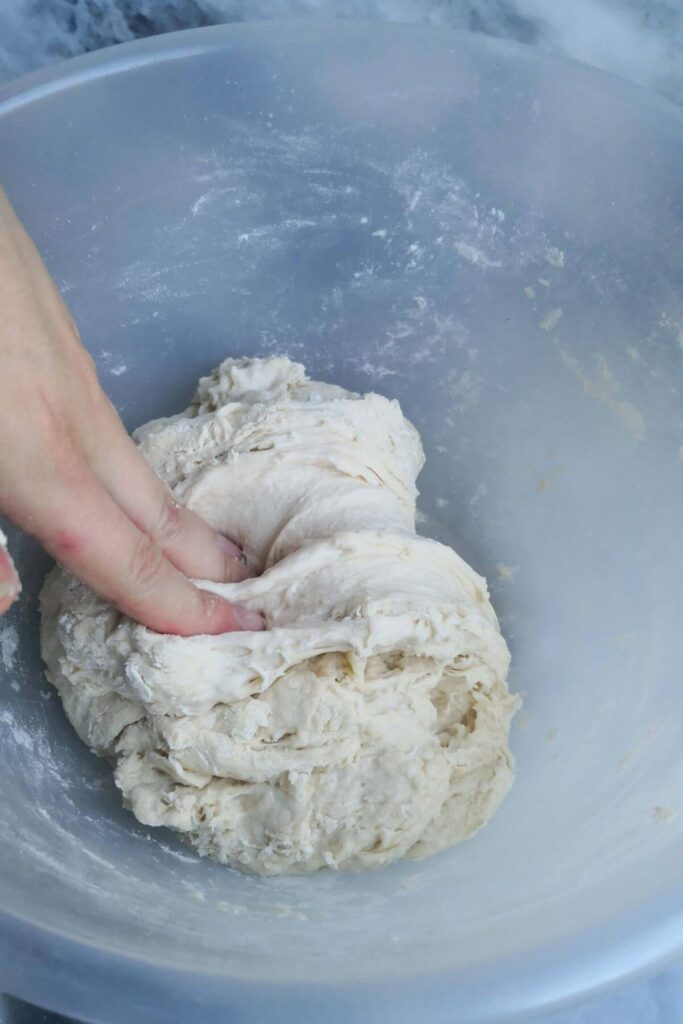
- Give the bowl a quarter turn and repeat on the other 3 sides. Repeat this one more time.
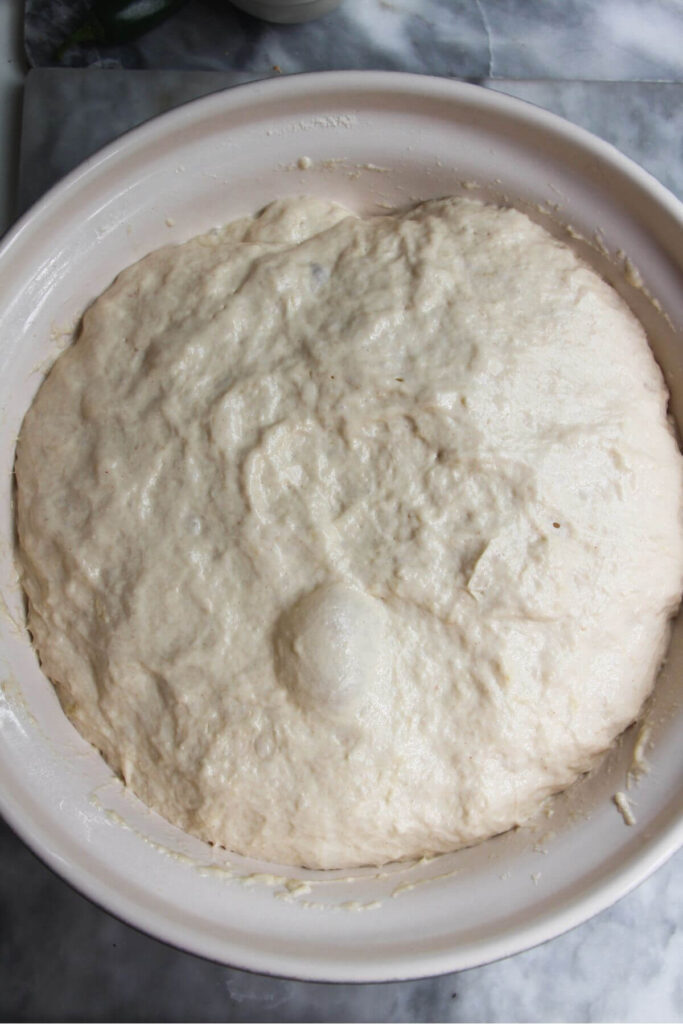
- Cover your bowl with plastic wrap and leave to rise. You want it to have doubled in size and be super bubbly and wobbly.
![]()
Kate’s Dough Rising Tip
Instead of relying on the clock, I like taking a photo of the dough on my phone as I leave it to rise.
That way, it’s very easy to see how much it’s risen – the time it takes will very much depend on the temperature of your kitchen. It can take as little as 40 minutes, and as long as 2 hours.
- Once it’s risen, turn it onto a lightly floured surface and divide it into 2 or 3 pieces, depending on the size of the pizzas you want to make. Form balls with the dough pieces. To At this point, get your toppings ready because you’re going to form your bases.
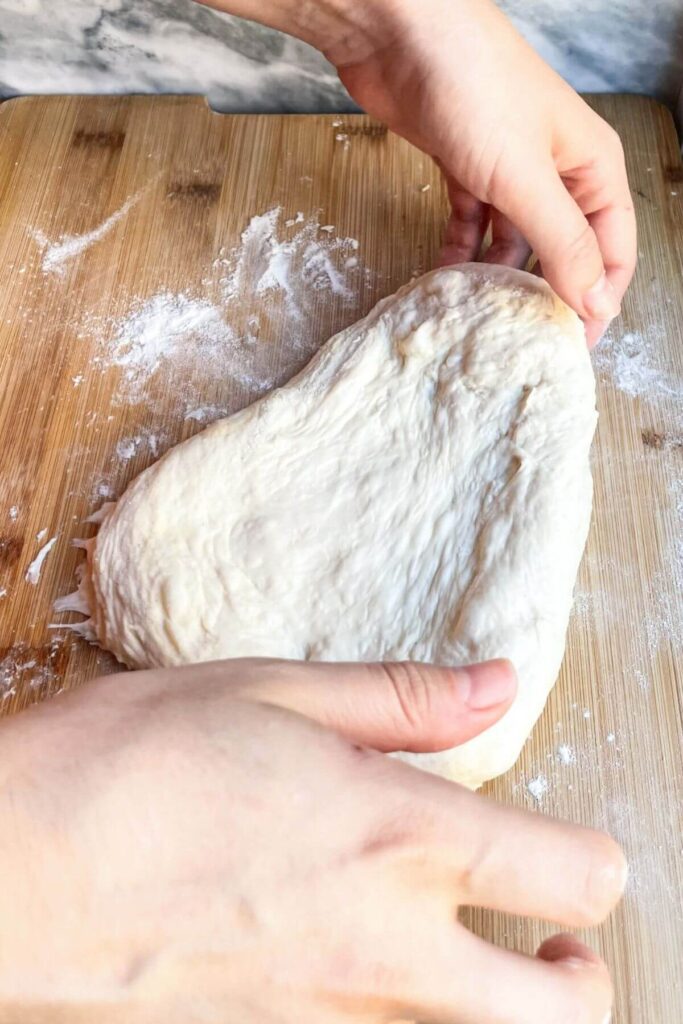
- Generously flour your surface, then gently press the middle of one of your dough balls into a small circle. With floured hands, pick the dough up carefully rotate the dough through your hands to move it all the way around. It’ll keep stretching as you do this.
![]()
Top Tip for Getting a Bubbly Pizza Crust
As I talked about above, you want to handle the dough as little as possible to get that lovely bubbly crust.
So don’t touch the crust when you’re shaping your pizzas! That’s why you’re pressing out the middle of the dough and then letting gravity stretch it. Not touching the crust at the edges means you’ll end up with a pillowy, puffy result after baking.

- It’s now ready to be topped. My biggest tip here to to go lighter on the toppings than you’d think. Think of a proper Italian pizza for guidance here.
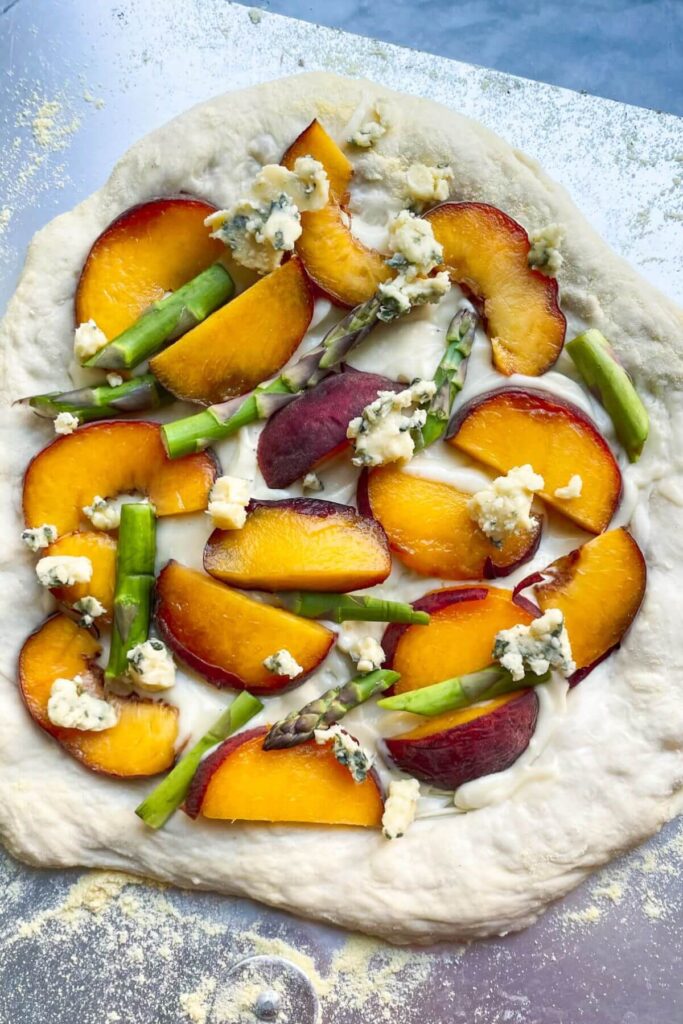
- Transfer your pizza onto your preheated cooking surface, and pop into your preheated oven.
![]()
Easy Pizza Cooking Tip
For ease, I like to top my pizza on a piece of parchment paper so I can easily slide it into the oven.
There’s nothing more disappointing than a topped pizza falling apart when you try to move it, or it turning into an accidental calzone.

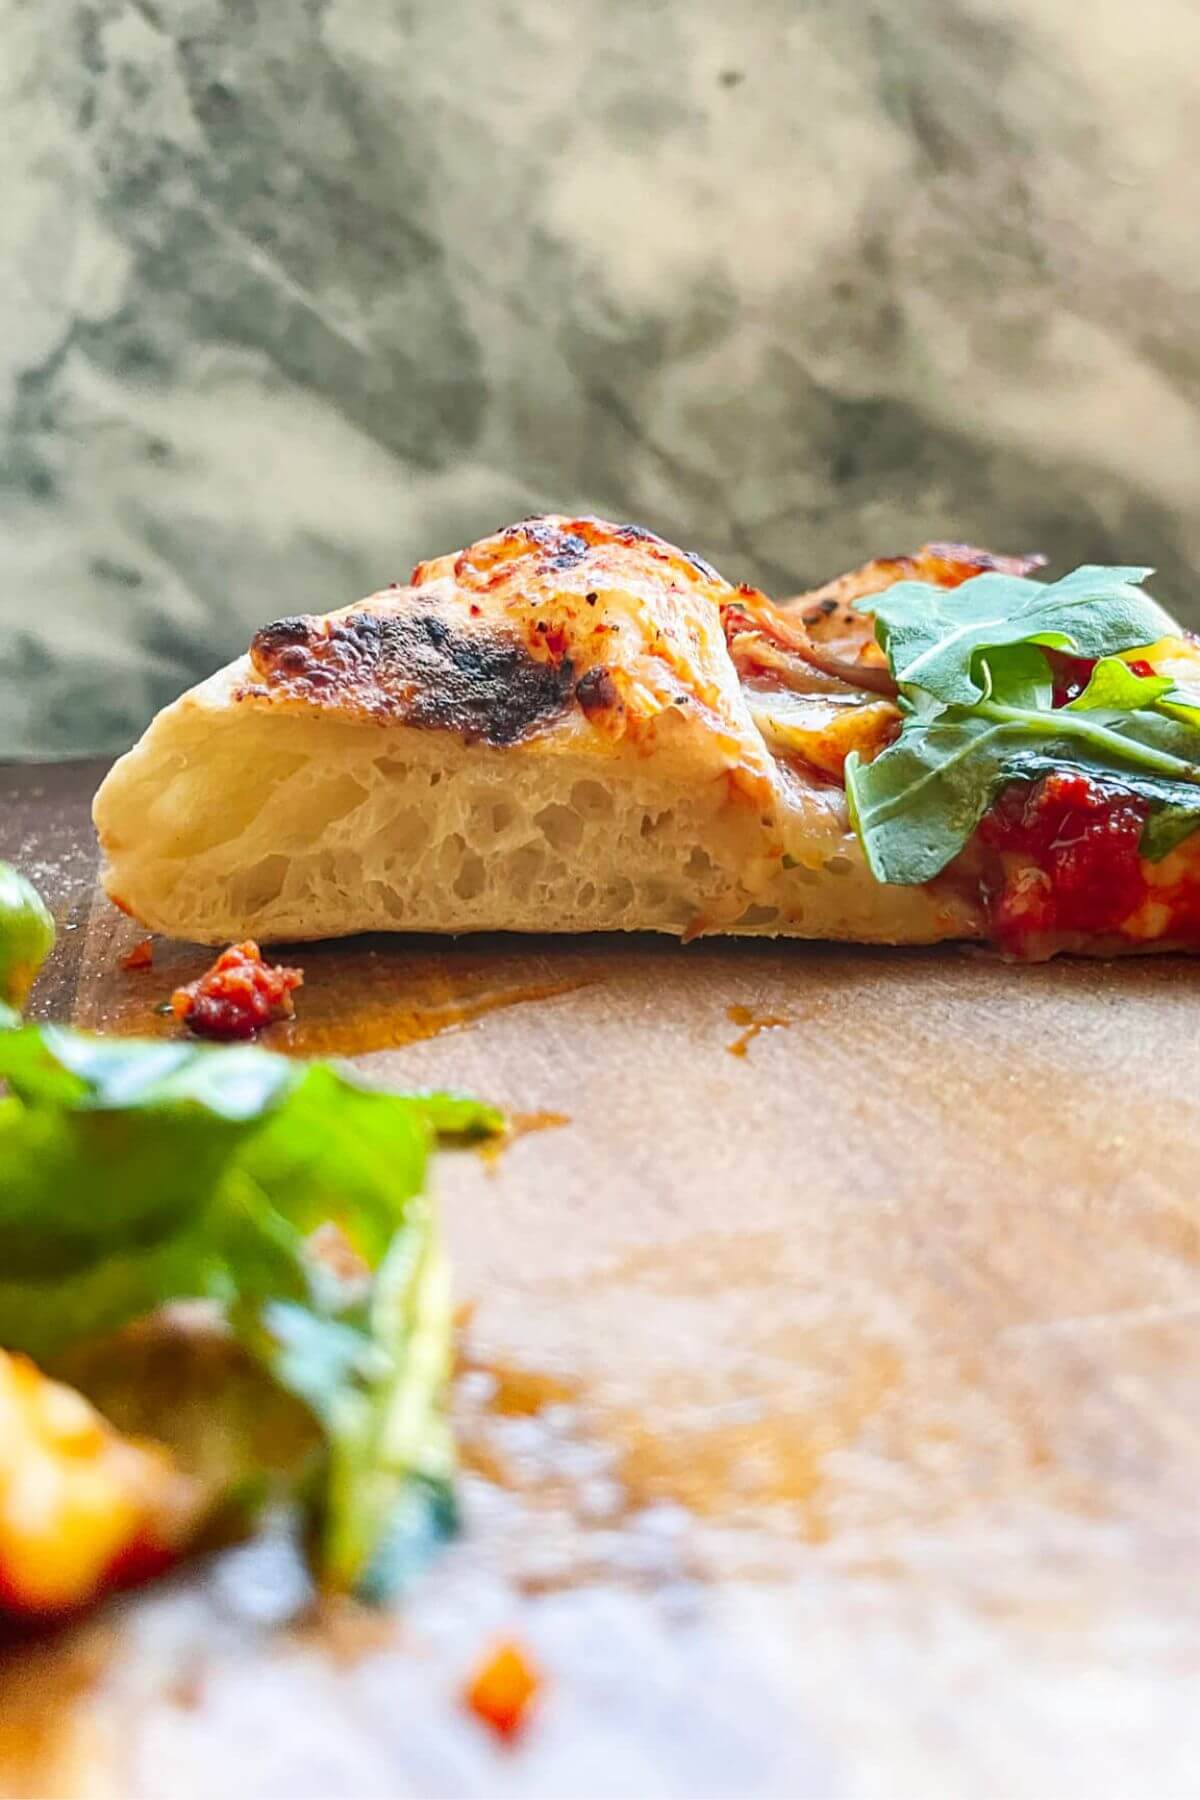
- Remove the pizza from the oven – it should be bubbling and have a lovely charred crust. Add any fresh garnishes, then serve while hot.
How to Make the Dough Work Around Your Schedule
This is a SUPER forgiving dough:
- If you want your pizza on the same day. Follow the recipe as written, and you’ll have gorgeous pizza ready within a couple of hours. I recommend you start making the dough 3 hours before you want to eat.
- If you want your pizza the next day (or the day after). Mix the dough, do the stretch and folds, then put the covered bowl in the fridge. When you’re ready to cook, take the dough out, shape, top and bake. You can keep the dough in the fridge for 2 days in this way.
- If you thought you wanted pizza the same day but actually your plans changed. If your dough has risen and you haven’t shaped the balls yet, pop the covered bowl in the fridge until you’re ready. If you’ve shaped the dough balls, pop them into lightly oiled, sealable containers and get them in the fridge too. Again, you can store them like this for up to 2 days.
And there are two added bonuses of giving your dough some fridge time:
- I find cold dough a lot easier to shape and work with. If you’re not used to high-hydration dough like this, you’ll probably find it easier to handle after being in the fridge.
- Fridge time allows the dough to develop even MORE flavor.
How to Cook the Best Pizza at Home
The main thing here is to make sure both your oven and whatever you’re cooking your pizza on are VERY hot. Ideally, you want your oven to be preheated for at LEAST 45 minutes, if not an hour, with whatever you’re cooking your pizza on inside.
I’ve tried three ways to cook pizza in the oven:
- Pizza stone. Stone retains heat incredibly well and gets really hot. That means when your base hits it, it’s going to start cooking quickly. The water will evaporate at speed, creating those airy bubbles we want. I find this to be the best of the three.
- Cast iron pan. Much like a pizza stone, cast iron retains heat really well and will get SUPER hot. That’s why it’s great for cooking bread and it works well here. This is my second choice for cooking pizza at home.
- An upside-down rimmed sheet pan. This is a little hack for a makeshift pizza stone. Turning a rimmed sheet pan over means you can easily slide your pizza onto it, without it getting stuck on or misshapen by the edges. It’s not going to retain heat QUITE as well as a stone or cast iron, but it will do the job.
I have a whole cheat sheet for making the best homemade pizza that breaks down all my tips and tricks, so have a look at that if you’re after more guidance.
Why I Recommend Using a Scale
I always use a digital scale when making anything bread-based, or doing any baking, because it means you’ll get accurate and precise measurements every time. A cup of flour, for example, can vary wildly in quantity depending on whether you scooped the flour into it, or spooned it in.
Often when you don’t get the results you’re after with baking, it’s because of this inconsistency.
Using a scale just means you’ll be able to get the best results every time so I really recommend using one if you can. They’re pretty affordable – I use this digital scale from Amazon.
No-Knead Pizza Dough FAQs and Troubleshooting
Pizza is traditionally made with 00 flour – that’s flour that’s been super finely milled.
I’ve used 00 flour, plain flour and bread flour in this recipe and have found them pretty interchangeable. Just choose any of those 3 and you’ll be absolutely fine.
I’m using instant yeast in this recipe – that’s yeast that can be added straight into the dry ingredients without having to be ‘bloomed’ in water first.
If you don’t have instant yeast and you’re using active, dried yeast, you’ll need to sprinkle it on top of 100ml of the water in the recipe and let it sit for 10 minutes to activate.
You’re looking for it to look foamy and cloudy. If you try to use active yeast like instant, you’ll end up with little granules of yeast throughout your pizza dough and it won’t rise properly.
You sure can. You can do this once you’ve shaped your dough into balls – freeze them in small, lightly oiled containers with a lid, or use a ziplock bag.
They’ll last for 3 months this way and you’ll just need to thaw them in the fridge overnight before using them.
Three Pizza Recipes to Try


If you make this recipe, I’d love to hear from you! You can leave a recipe rating and a comment below. And remember to tag @DishedByKate on Instagram, Facebook and TikTok if you’ve made one of my recipes. Seeing your recreations really makes my day 😊.
Easy No-Knead Pizza Dough
Ingredients
Method
- Mix the dough.Add 500g flour, 1 teaspoon of instant yeast, 2 teaspoons of salt and 375g lukewarm water to a large mixing bowl. Give it a good mix with a large wooden spoon or spatula, until it combines into a rough, shaggy, floury dough.
- Stretch and fold the dough.Here comes the one piece of work you’ll give to the dough (I love no-knead bread so much!) Wet your hands, then with one hand in a ‘C’ shape, scoop your hand down the edge of your bowl, to reach underneath the dough. Pull the dough up with your hand, then fold it down back onto itself. Give the bowl a quarter turn, and repeat this process. Cover the bowl and let it rest for 10 minutes. After this time, repeat the stretch and fold process one more time, then cover the bowl again with plastic wrap and leave it to rise until doubled in size.
- Shape your dough into balls.Turn the dough out onto a lightly floured surface (about 2 tablespoons of flour). Divide the dough based on the size of the pizza you’re after – cut it in half for 2 large pizzas, or in 3 for smaller pizzas. Using as much flour as you need, shape each piece into a ball.The easiest way to do this is to gently pull up one side of the dough a little, then fold it back on itself. Repeat with the other 3 sides, then flip the dough over. With floured hands, cup your hands around the dough and rotate the dough in a circle so that it forms into a ball, gently pulling the dough against the surface of the bench to create a little resistance so that it tightens up. You can see how I do this in the photos above the recipe.
- Heat your oven.About 45 minutes before you want to cook your pizza, turn your oven to its highest setting (that’s 250 for me) and put whatever you're cooking your pizza on in the oven too (whether that’s a pizza stone, cast iron pan or an oven tray).
- Shape your pizzas.To make sure you get a super puffy and bubbly crust, you want to handle the dough gently when you’re shaping it into a circle. DON’T use a rolling pin for this– if you do, you’re just deflating all the lovely, airiness you’ve worked so hard to create.Lightly flour your work surface, then gently press the middle of the ball out into a small circle, leaving about an inch for the crust (don’t touch it!) At this point, with floured hands, pick up the dough and let it hang off your hands. You’re using gravity to help the dough naturally stretch. Carefully rotate the dough through your hands, moving all the way around the dough. As you do so, the dough will stretch further.
- Top and cook your pizzas.Top your pizzas with your favorite toppings, then transfer them, on the parchment paper, to your pizza stone/cast iron pan/oven tray.Cook at the top of your oven for about 15 minutes, until the crust is golden and puffy and the toppings are bubbling.
- Add any fresh toppings and serve.Remove your pizzas from the oven, add any fresh garnishes, then cut and serve while the pizzas are hot and the cheese is lovely and oozy.


This was great, really easy and light just like you said 🙂