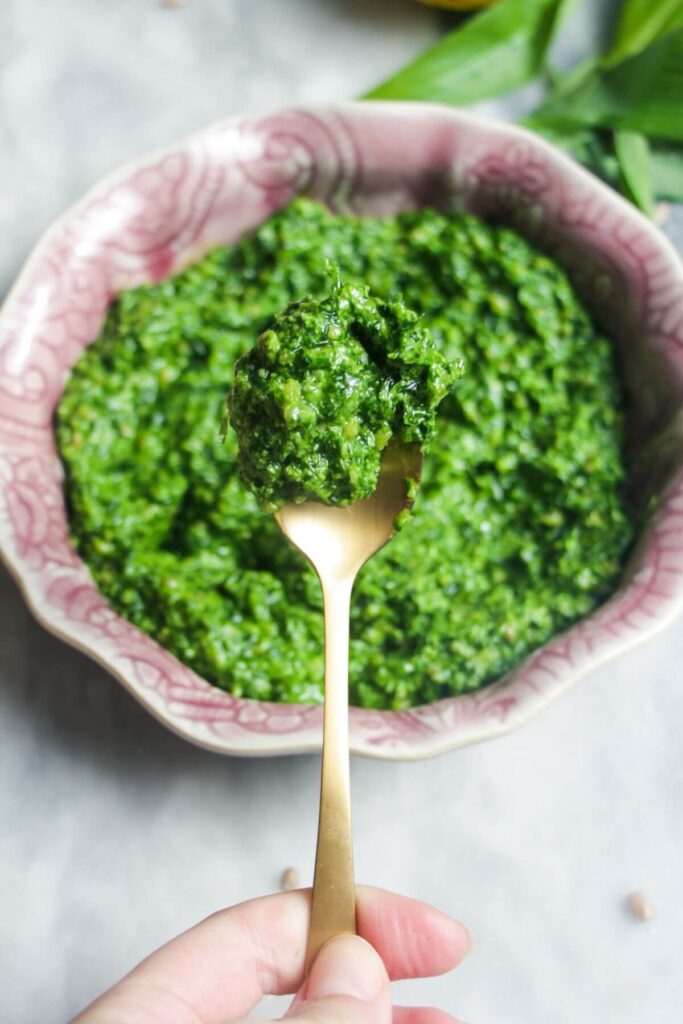
Fresh, vibrant, full of flavor, this easy basil pesto comes together in just 10 minutes – and it’s so much better than anything from a jar. With a handful of simple ingredients and a food processor, you’ll have a bright, herby sauce perfect for pasta, salads, sandwiches, roasted veggies, or grilled meat.
Fresh basil pesto has to be one of my all-time favorite sauces to make. Once you realize how easy it is to make yourself, you’ll never want to go back to the jarred stuff from the store, which always tastes a little flat in comparison.
One of the best things is how versatile it is. Toss it through pasta for a speedy weeknight dinner (or use it in this lovely make-ahead orzo pesto pasta salad), drizzle it over roasted veggies, or use it as a sandwich spread for an instant lunch upgrade.
I also love it swirled through creamy super smooth hummus or homemade labneh for a speedy appetizer, or use it to make this two-ingredient pesto whipped feta dip or basil pesto bread dipping oil, you can dollop it onto grilled chicken (try it with this lovely miso grilled chicken or sticky honey harissa grilled chicken), or use it to make these lovely one pot pesto chicken meatballs.
Basically, with a jar of basil pesto in your fridge, you’re never far from a delicious, easy meal.
Ingredients You’ll Need
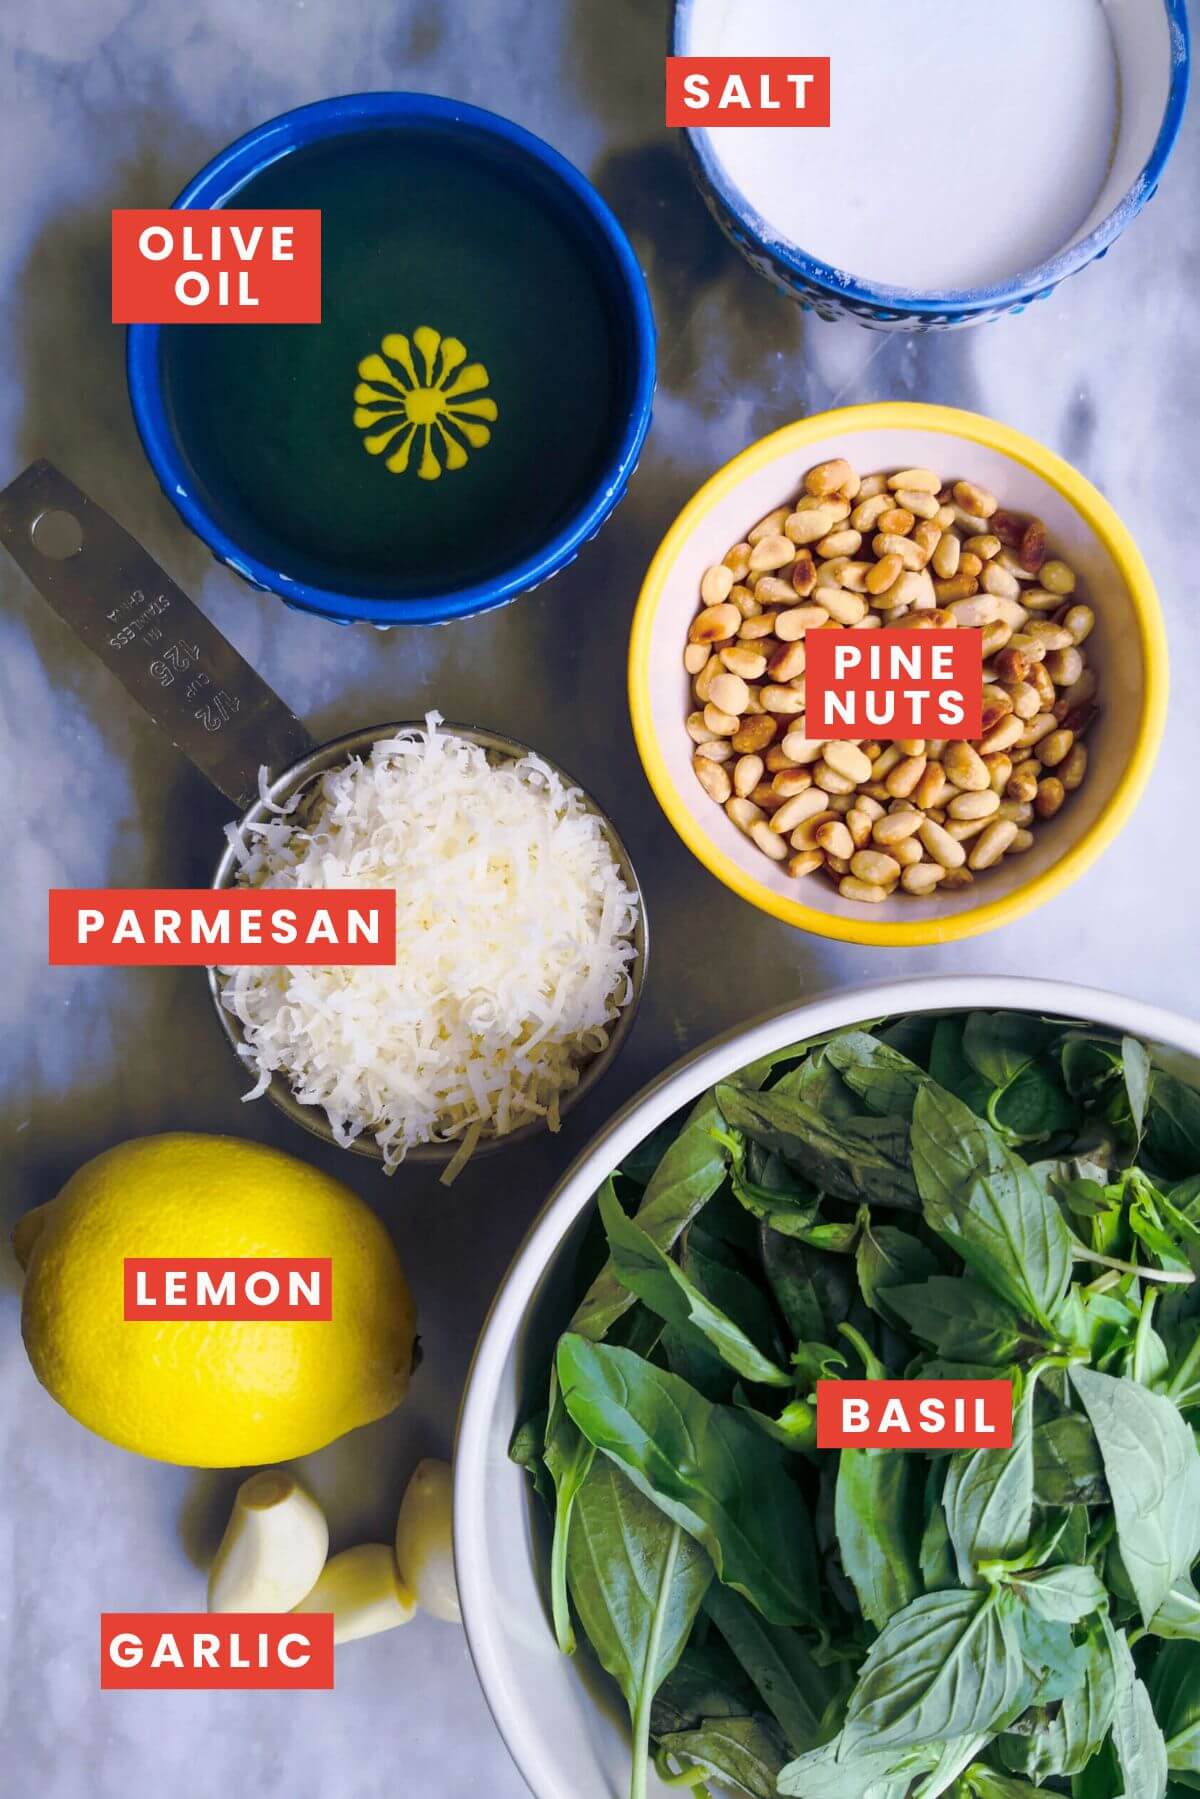
- Olive oil. Use a good quality extra virgin olive oil, because you’ll really taste it in the finished pesto.
- Fresh basil. You’ll need about 2 packed cups (roughly 60g) of basil leaves. Try to remove any longer, tougher stems, but don’t worry too much about trimming every one.
- Pine nuts. For a classic basil pesto, these lovely nuts are a must, but they tend to be quite expensive. Instead, you can use cashews, almonds, pistachios, sunflower seeds, or pumpkin seeds. Whatever you do, toast the nuts or seeds first in a dry pan for 2 to 3 minutes, until golden and fragrant. This makes the pesto extra nutty and flavorful.
- Parmesan cheese. Freshly grated Parmesan (roughly 50g) will give you the best texture and flavor. Pre-grated cheese often contains an anti-caking agent coating, which can make your pesto grainy. You can also chop your Parmesan into smaller chunks, instead of grating it, if you like (I often do this to save a little time).
- Fresh lemon juice. This really brings the pesto to life and helps to keep it vibrant and green. You can use bottled lemon juice if that’s all you have, but fresh is best.
- Garlic. If you like, you can chop or mince the garlic first, but because you’re blitzing everything in a food processor, you can throw in whole peeled cloves and it’ll work perfectly (and save time!)
Equipment note: I use a food processor for this recipe as I find it does a quicker and better job than my blender. You could use a blender if that’s what you have, but you may need to add a little extra olive oil to loosen things up and get the blades moving. You could also do it the traditional way with a pestle and mortar!
How to Make Basil Pesto
This is a step-by-step photo overview of how to make the pesto – the full recipe with instructions and ingredient quantities is at the bottom of the page for you.
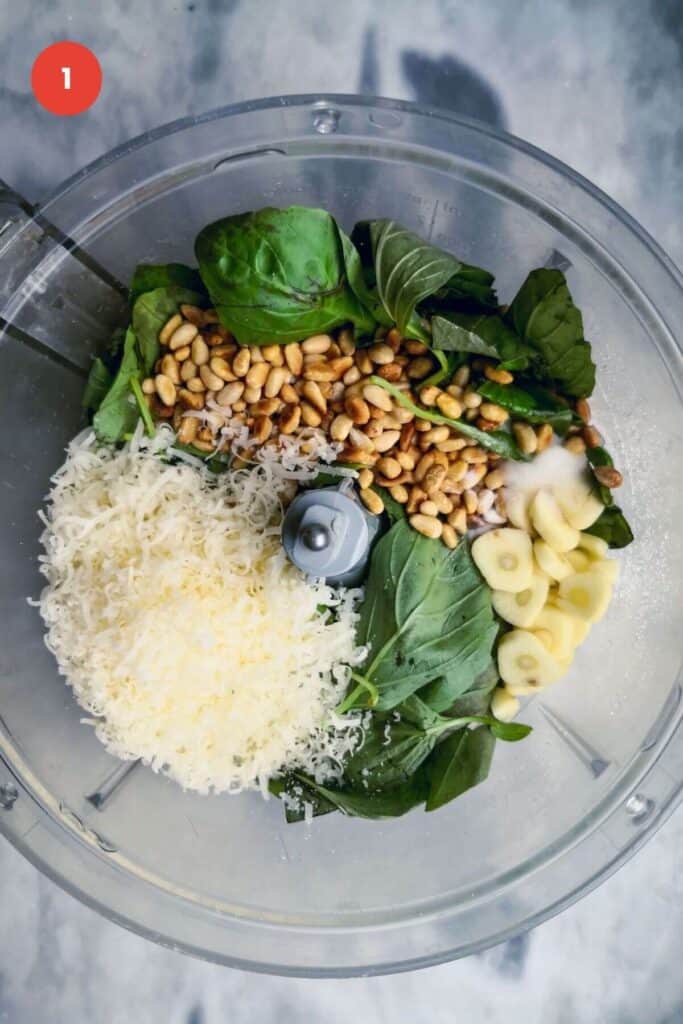
1. Add your basil leaves, Parmesan, lemon juice, toasted pine nuts, garlic, and salt into the bowl of your food processor.

2. Blitz for a minute, until everything is broken up and a chunky paste forms. Scrape down the sides.
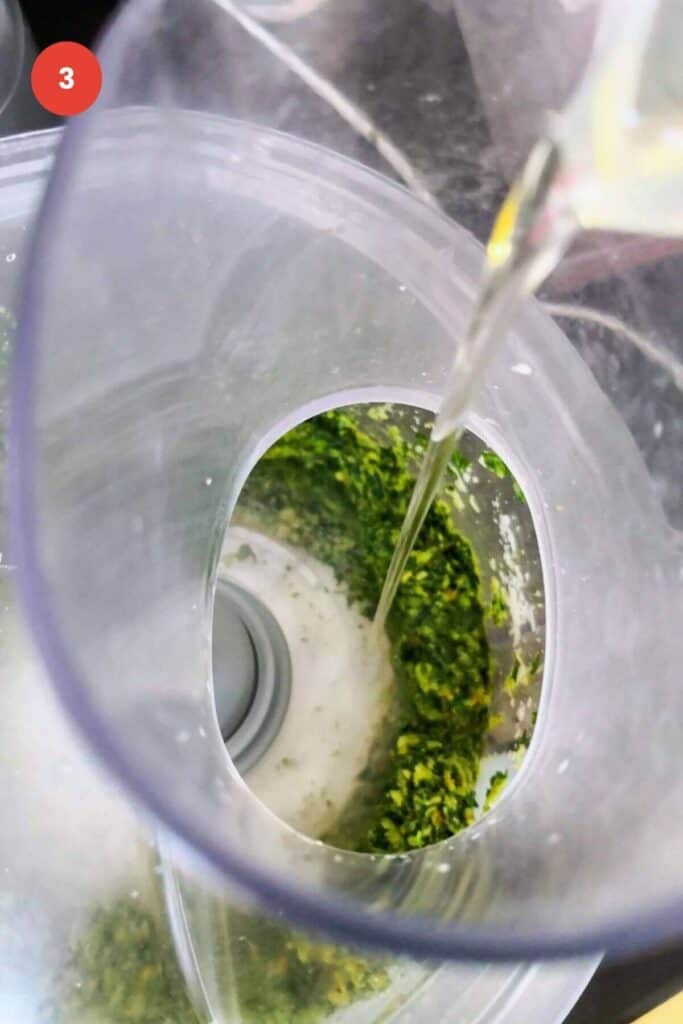
3. With the motor running, slowly pour in the olive oil. This allows the pesto to emulsify and form a cohesive sauce, without the oil separating.

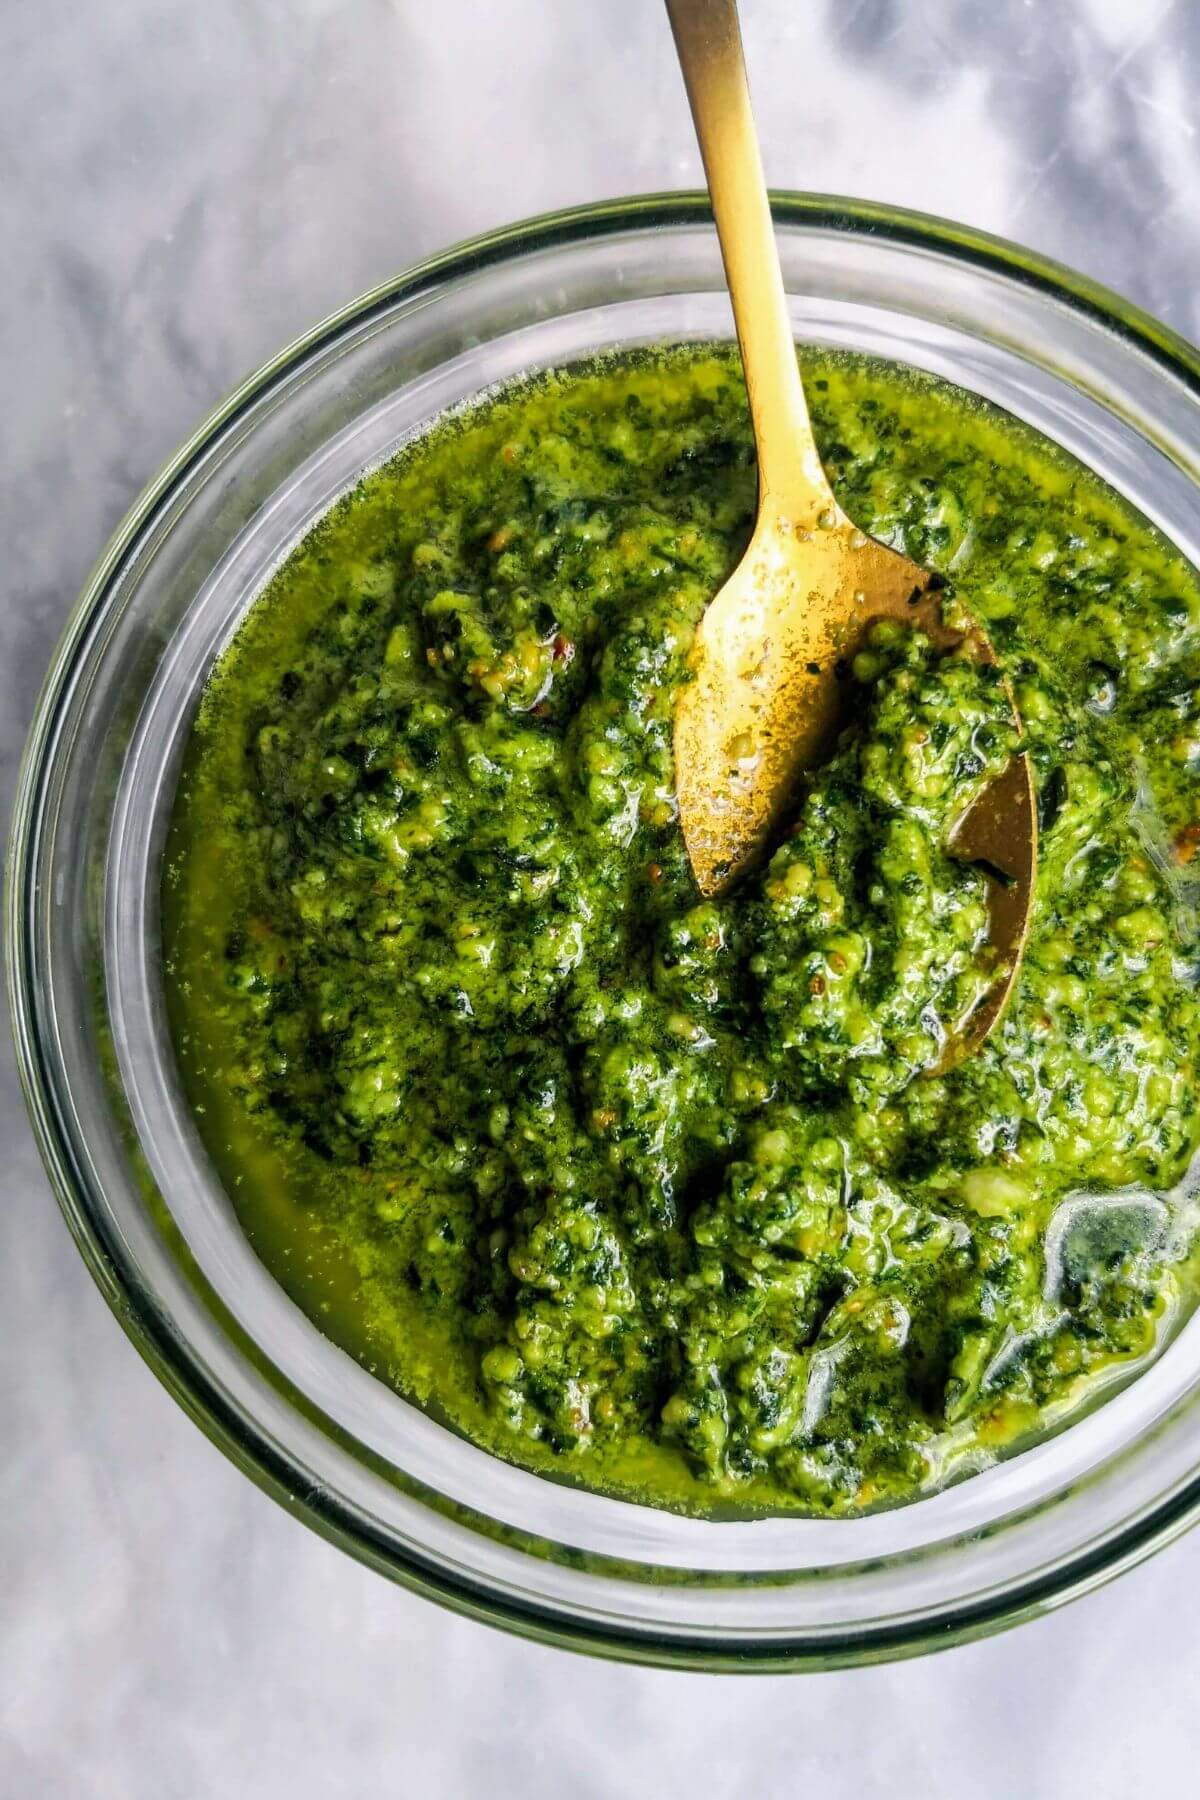
4. Your pesto is ready to go! Use a silicone spatula to scrape out every last morsel of the pesto and store it in a covered container in the fridge.
How to Keep Basil Pesto Bright Green
The basil in your pesto will start to discolor when it comes into contact with the air, but a few simple tricks will keep your pesto gloriously green and vibrant.
- Olive oil barrier. Once you’ve popped your pesto into your storage container, pour a thin layer of olive oil over the top. This seals the pesto from the air and helps to preserve that lovely color.
- Plastic wrap method. Again, once you’ve transferred your pesto to your storage container, press a piece of plastic wrap directly onto the surface of the pesto, then cover the container with its lid.
- Freezing. Pesto also freezes beautifully. The best way is to pour it into ice cube trays for single-use portions, then you can transfer the portions into a ziplock bag for storage. It’ll keep its color and flavor for several months this way.
I usually do the plastic wrap method when I’m storing pesto in the fridge, then freeze any extra. It’s a fabulous way to have it on hand for easy meals.
Basil Pesto FAQs
Homemade pesto will keep for up to one week in the fridge when stored in an airtight container. Either pour a thin layer on top of the pesto, or place a piece of plastic wrap directly on the surface of the pesto before storing it to preserve the vibrant green color.
You can! You can swap pine nuts for cashews, walnuts, almonds, sunflower seeds, or pumpkin seeds. If you can, I recommend toasting the nuts or seeds first in a dry pan for a couple of minutes (watching it closely as they can burn quickly). This will give your pesto a deep, nutty flavor.
Yes! Pesto freezes wonderfully. I like to portion it into ice cube trays, then pop the trays into the freezer until solid. I’ll then transfer the portions to a ziplock bag to store. The pesto keeps its color and flavor for several months, and you can even throw it into soups and sauces straight from frozen.
Pesto is such a staple in my kitchen, and you can use it in so many ways! These are a couple of my favorite ways to use it to inspire you:
– Make the best, Caprese-style orzo pesto pasta salad.
– Swap mayo for pesto in this fresh and zingy pesto potato salad with crispy prosciutto and creamy burrata.
– Toss through your favorite pasta for a quick and easy weeknight meal.
– Dollop it on top of pizza after cooking (try it with this homemade Greek yogurt pizza dough or add it to this spicy Hawaiian pizza).
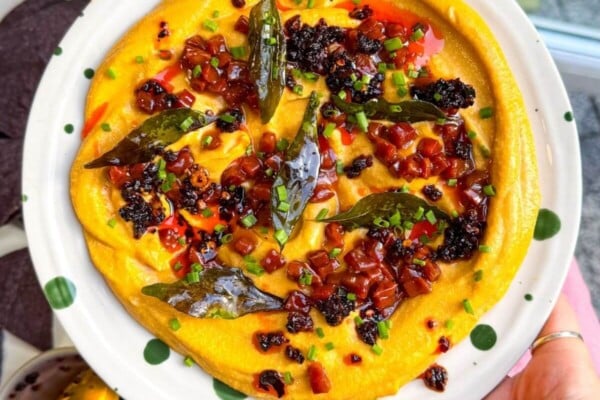
– Spoon it over creamy labneh, super smooth hummus, or whipped spicy cottage cheese dip as a topper.
– Make cute little party crostini with a dollop of pesto, a little prosciutto, and sliced tomatoes (a bit like these cheesy croasted tomato crostini)
– Mix through a pile of roasted veggies to make a delicious side.
– Drizzle it over grilled or roasted meats to add a little zingy freshness – it’s wonderful with juicy lamb koftas, miso grilled chicken, sticky honey harissa grilled chicken, or this lovely herb roasted chicken.
Not at all! It’s my preferred piece of equipment to make pesto – I’ve found it’s quickest and easiest to get a smooth, evenly blended pesto with it. But, you can use a blender – you just may need to add a little extra olive oil to help the blades get moving. Or, go the traditional route and use a pestle and mortar. It takes a bit more work and time, but the chunky, rustic result is gorgeous too.
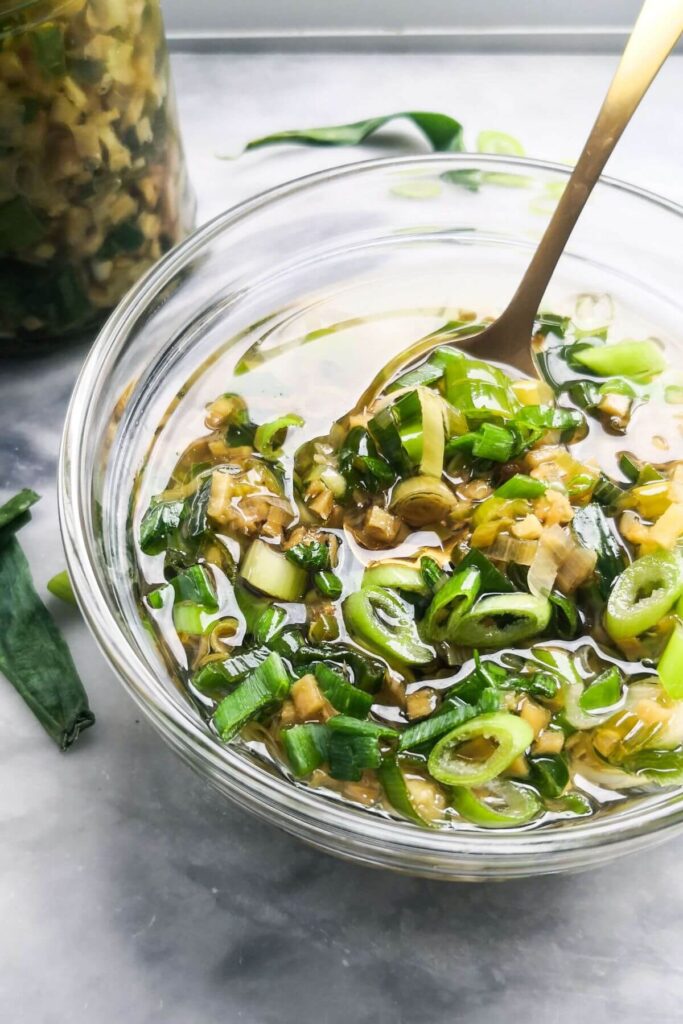
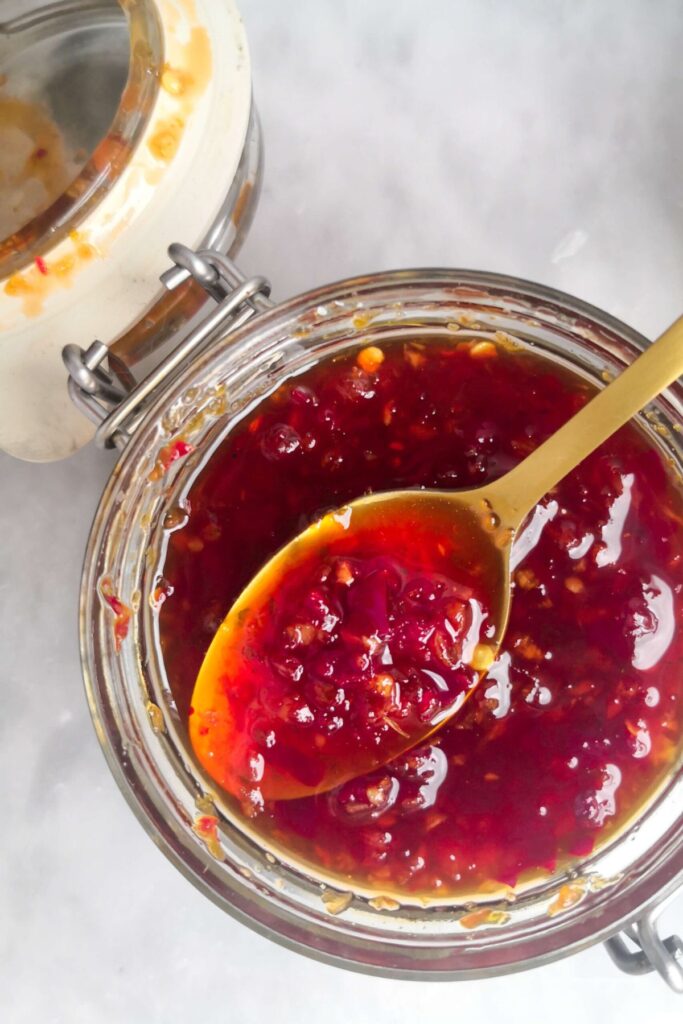
Like this recipe? Try these quick, easy sauces next
If you make this recipe, I’d love to hear from you! You can leave a recipe rating and a comment below. And remember to tag @DishedByKate on Instagram, Facebook and TikTok if you’ve made one of my recipes. Seeing your recreations really makes my day 😊.
Print
10 Minute Basil Pesto (Better than Store-Bought)
- Total Time: 10 minutes
- Yield: 1 cup 1x
- Diet: Vegetarian
Description
Fresh, vibrant, full of flavor, this easy basil pesto comes together in just 10 minutes – and it’s so much better than anything from a jar. With a handful of simple ingredients and a food processor, you’ll have a bright, herby sauce perfect for pasta, salads, sandwiches, roasted veggies, or grilled meat.
Ingredients
- 1/3 cup (40g) pine nuts (or cashews, almonds, pistachios, sunflower seeds, or pumpkin seeds)
- 2 cups (about 60g) tightly packed fresh basil leaves
- 1/2 cup (50g) freshly grated Parmesan cheese (or slice your cheese into chunks if you prefer)
- 3 garlic cloves
- 1 tablespoon fresh lemon juice
- 1/2 teaspoon salt
- 1/2 cup extra virgin olive oil
You’ll also need a food processor or a blender for this recipe.
Instructions
- Toast your nuts (or seeds). Add ⅓ cup of pine nuts (or alternative) to a small dry frying pan. Set it over low heat and toss for 2 to 3 minutes, until they’re golden and fragrant. Remove the nuts from the pan.
- Add the ingredients to a food processor. Add the toasted nuts to the bowl of your food processor, along with 2 cups of basil leaves, ½ cup of Parmesan cheese, 3 garlic cloves, 1 tablespoon of lemon juice, and ½ teaspoon salt. Blitz for about a minute, until a chunky paste forms. Scrape down the sides of the bowl to make sure everything is evenly blended.
- Add the olive oil. With the motor running, slowly pour in ½ cup of olive oil. Adding it like this helps the pesto emulsify into a smooth, creamy sauce without the oil separating. Scrape down the bowl again and give it one last blitz to combine everything.
- Finish and store. Use a silicone spatula to scrape all the pesto out of the bowl and into a storage container or jar. To preserve the lovely green color, either pour a thin layer of olive oil on top of the pesto or press a piece of plastic wrap directly onto the surface, then seal your container.
Notes
USING A BLENDER? You might find you need to add a little more olive oil to get the blades moving. If your blender doesn’t have the option to pour in ingredients mid-blitz, add the olive oil at the same time as the rest of the ingredients.
INGREDIENT NOTES: If you don’t have pine nuts, you can use cashews, walnuts, almonds, sunflower seeds, or pumpkin seeds.
STORAGE INSTRUCTIONS: The pesto will keep well for up to one week, stored in the fridge in an airtight container. You can also freeze the pesto. I like to do this by pouring it into ice cube trays, then popping it into the freezer until solid. You can then transfer the pesto cubes to a ziplock bag to store. They’ll keep their color and flavor for several months – and you can use them in recipes straight from frozen.
TROUBLESHOOTING:
- Too thick? Add a little more olive oil, or even a little water, and continue to blitz the pesto until it reaches your desired consistency.
- Too thin? You can throw in another tablespoon or so of toasted nuts, or a little more Parmesan to help thicken the pesto.
- Prep Time: 10
- Category: sauces
- Method: food processor
- Cuisine: mediterranean
Nutrition
- Serving Size: 20g
- Calories: 137
- Sugar: 0.3g
- Sodium: 249mg
- Fat: 13.5g
- Saturated Fat: 3g
- Unsaturated Fat: 10g
- Carbohydrates: 1.2g
- Fiber: 0.2g
- Protein: 4.1g
- Cholesterol: 6mg