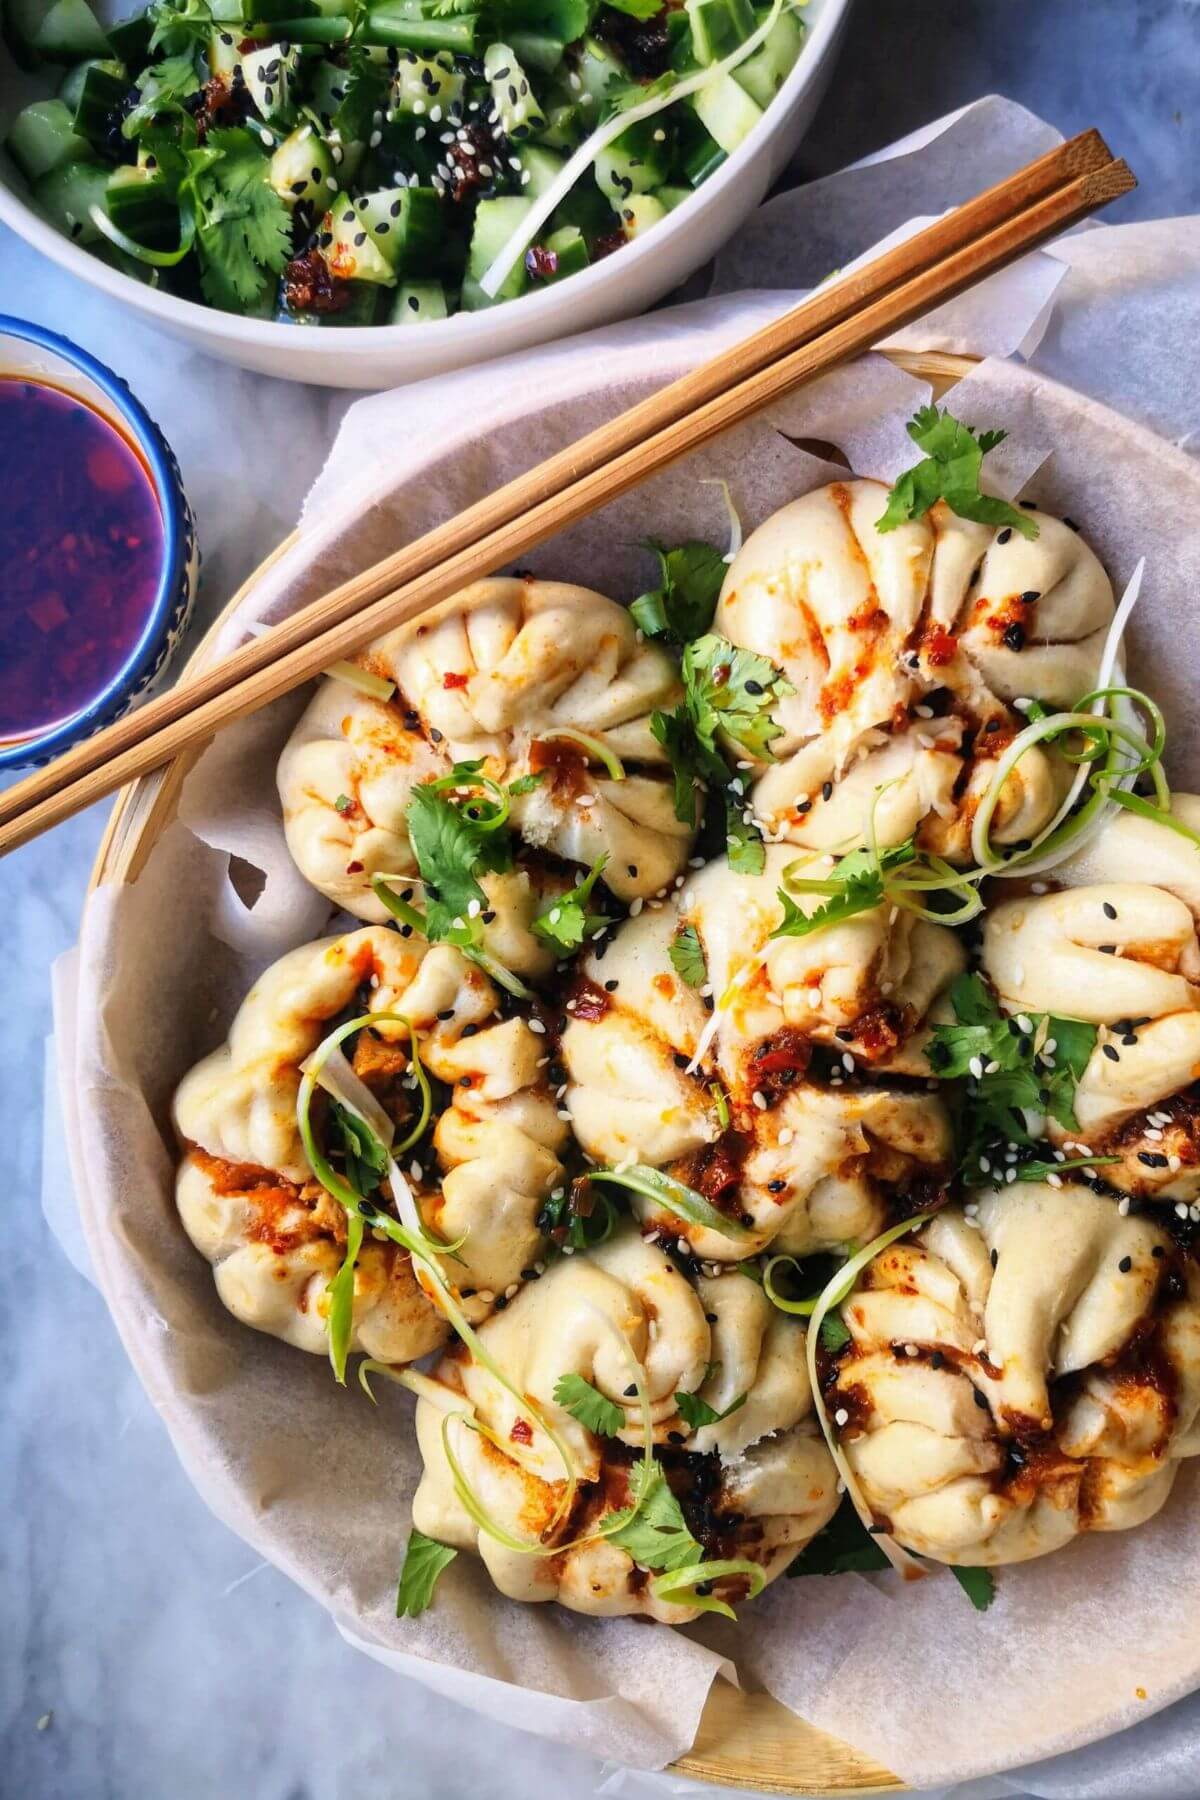
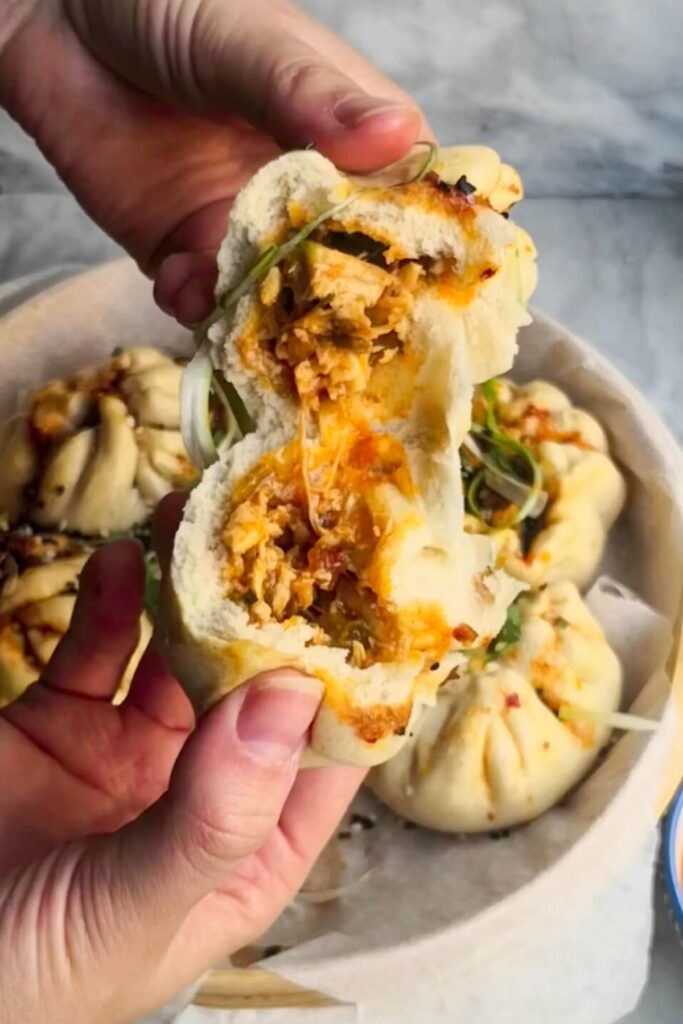
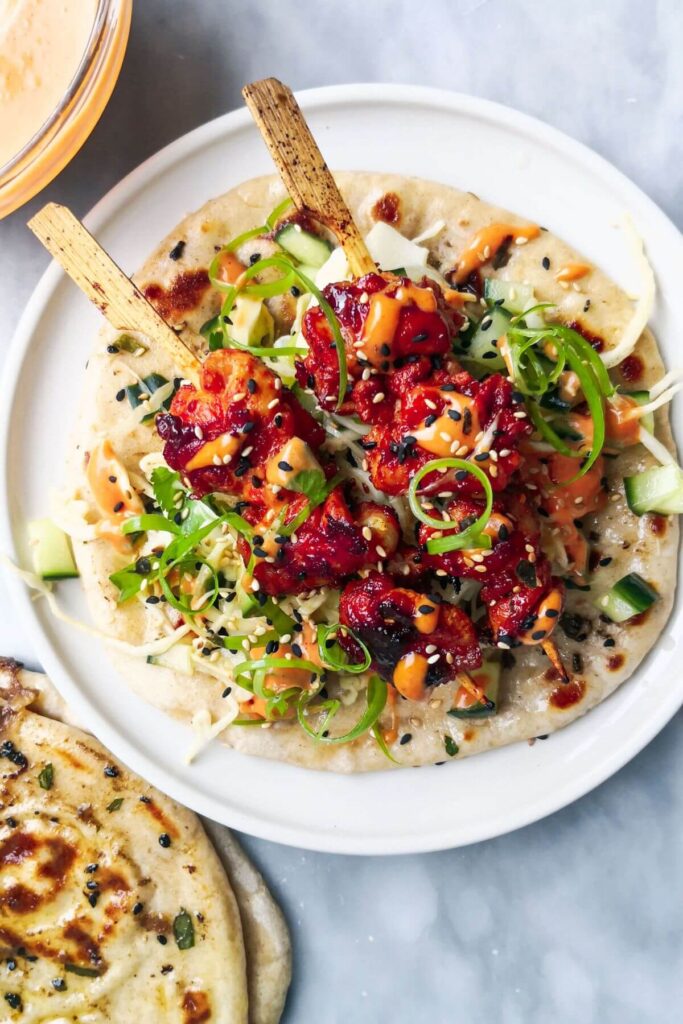
These sticky Korean chicken steamed stuffed bao buns are frankly, irresistible. An unreal sweet, spicy JUICY gochujang chicken filling is stuffed into super soft, fluffy dough (the same as my speedy bao buns recipe) for an absolute explosion of flavor. They’re the perfect bite of deliciousness and are much easier to make than you’d think.
We need to talk about these buns. I actually first made them with some leftover juicy herb roasted chicken, mixed with leftover sticky gochujang sauce (from making crispy Korean fried chicken!) Similar to the classic dim sum dish, char siu pork buns, these are very easy to eat and brilliant for entertaining.
I loved them so much that I had to work out what I did and make them again. And now I think I’ve perfected them. The filling is juicy, sweet, spicy and the dough is wonderfully soft and fluffy. It’s truly hard to stop eating these..!
The bun dough is the same recipe as my steamed fluffy bao buns. It’s great because it uses baking powder AND yeast, meaning you can form your buns right after mixing the dough. There’s no need to wait for it to rise, so it cuts prep time WAY down. It’s also a very easy dough to work with. I’ll often make it by hand, but I’ve included instructions on how to make it using a stand mixer too.
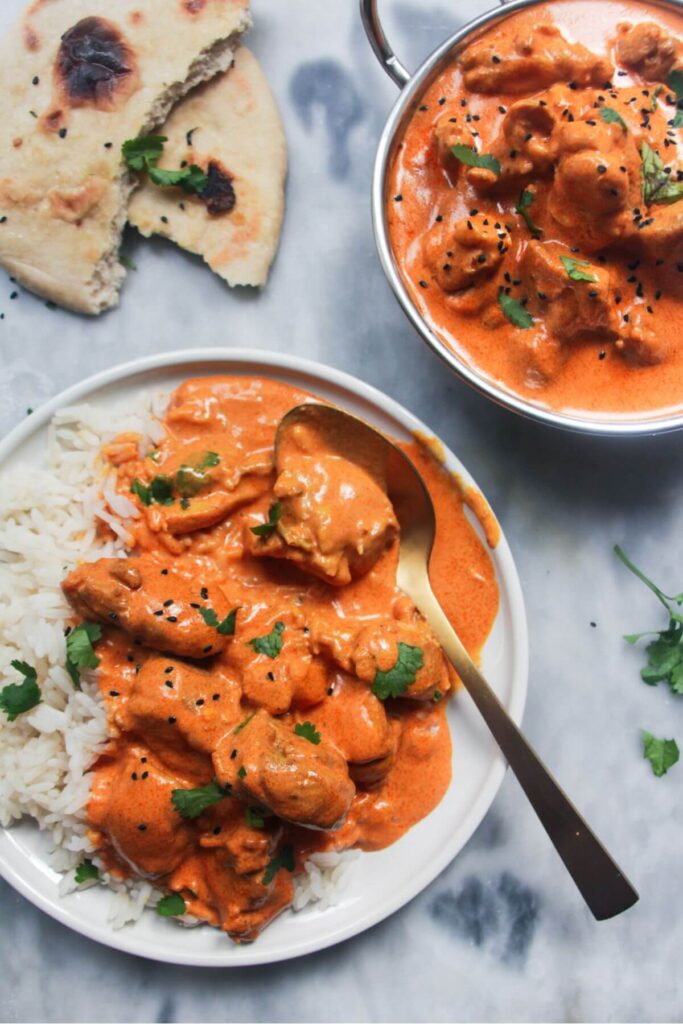
Plus, once you know the technique for these, you can make them your own. Take inspiration from my original idea and stuff them with leftover roast meat (Instant Pot pulled pork or miso grilled chicken are great) or roasted veggies. I’ve even used leftover curry (creamy 20 minute butter chicken and chicken saag are particularly delicious!) They also freeze really well – I like to make a big batch and then freeze them for easy meals. You can steam them straight from frozen in just 10 minutes.
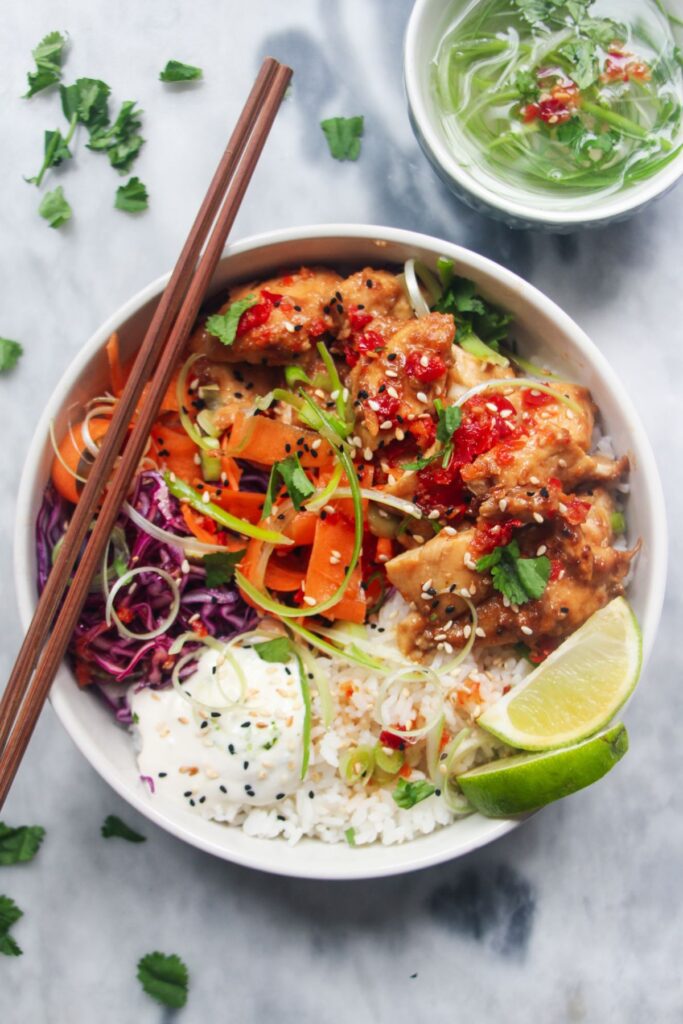
Round out your meal and serve the buns with a zingy smacked cucumber salad and lots of lovely chilli oil or dumpling dipping sauce on the side.
Ingredients
The majority of the ingredients you need for the buns are cupboard staples – with gochujang paste the only one that might be tricky to find, so I’ve outlined some alternatives below.
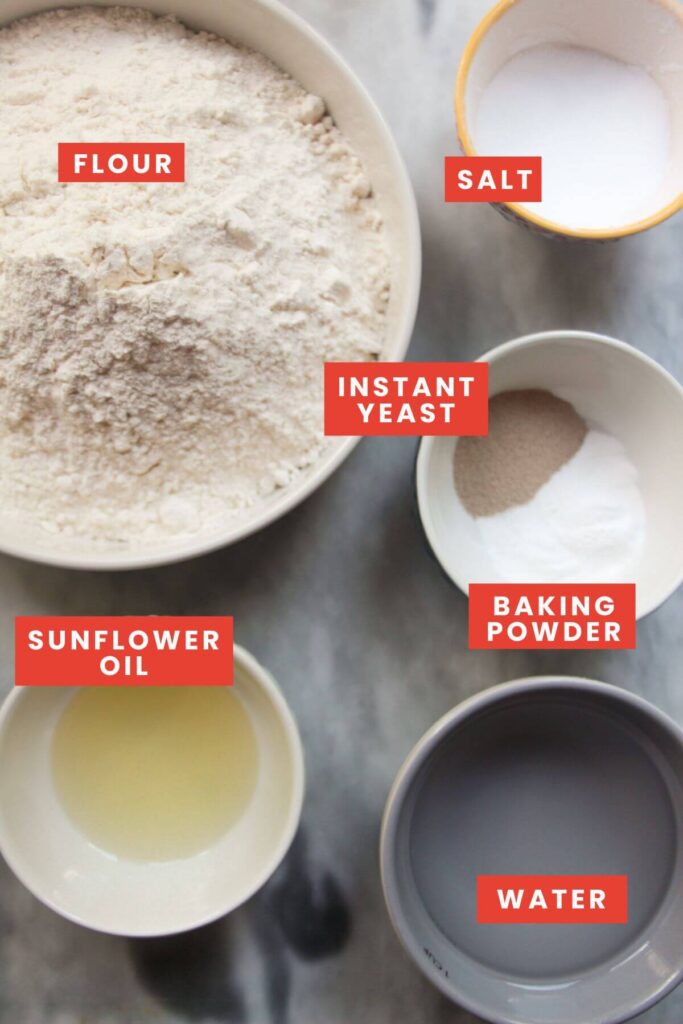
- For the buns: Make sure you’re using instant yeast, rather than active yeast here. You can absolutely use active yeast, but you’ll need to mix it with the water and let it sit for 10 minutes before using it, to activate it. If you try to mix active yeast straight into the dough you’ll find it won’t dissolve properly and you’ll end up with strange little granules all throughout your dough.
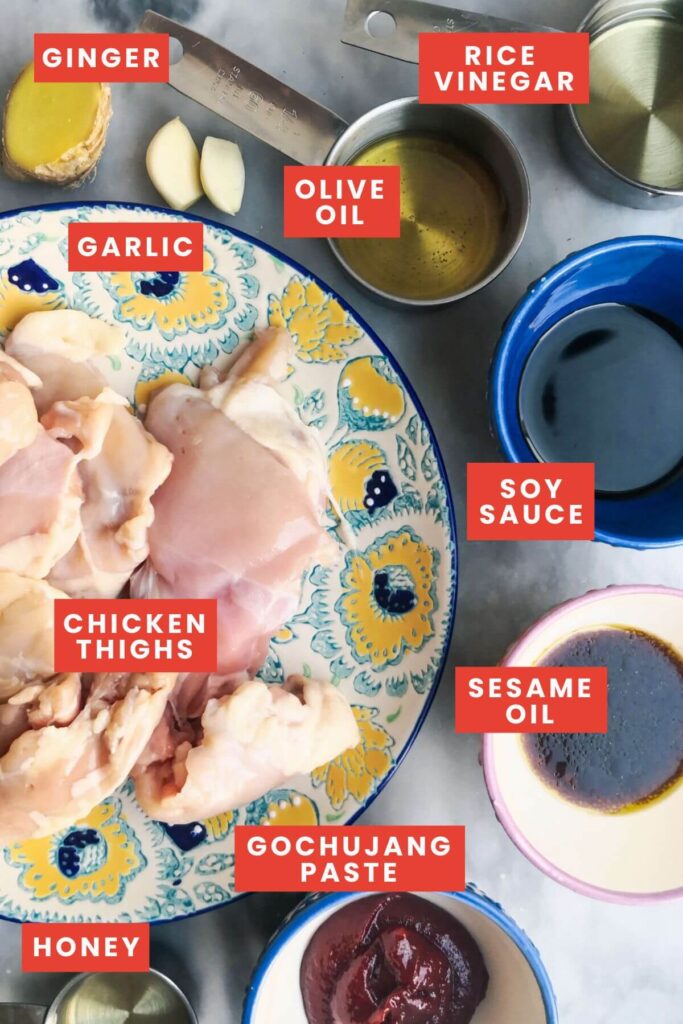
- For the Korean chicken filling: Chicken thighs are best to use here (they keep everything nice and juicy), but you can use breasts if you like. Use garlic and ginger paste rather than fresh if that’s all you have, and to make the filling spicier, use 1 tablespoon of sweet chili jam in place of 1 tablespoon of honey. Gochujang paste is a Korean fermented chili paste that delivers an amazing, deep savory flavor to the filling. You can find it in larger stores, in the International aisle, in Asian grocery stores or on Amazon. If you can’t find it, use sriracha or sambal oelek.
How to make them
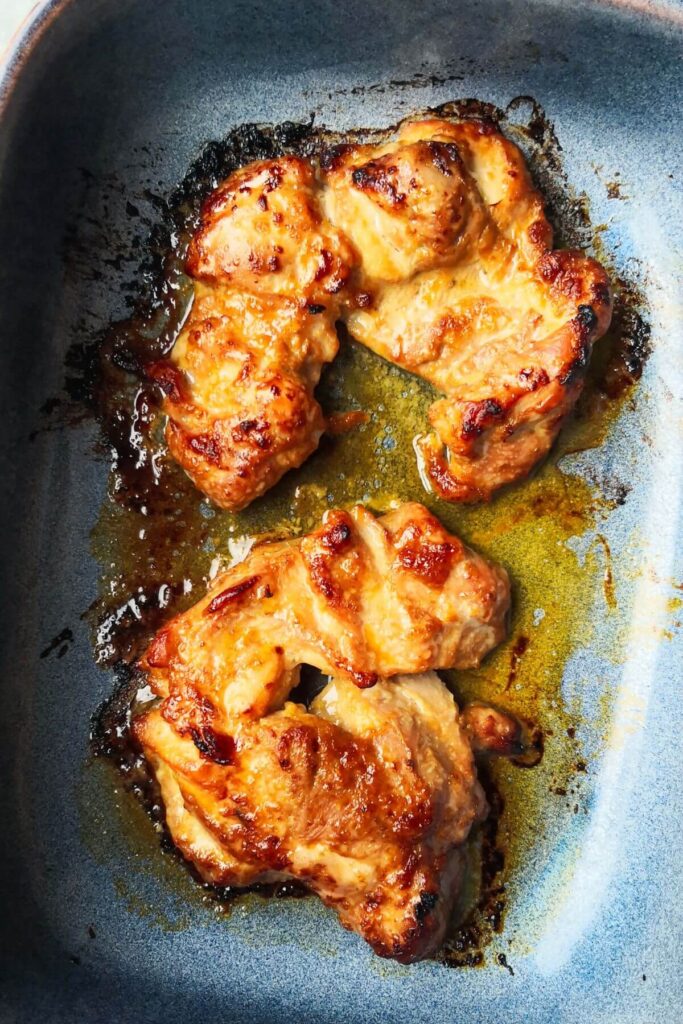
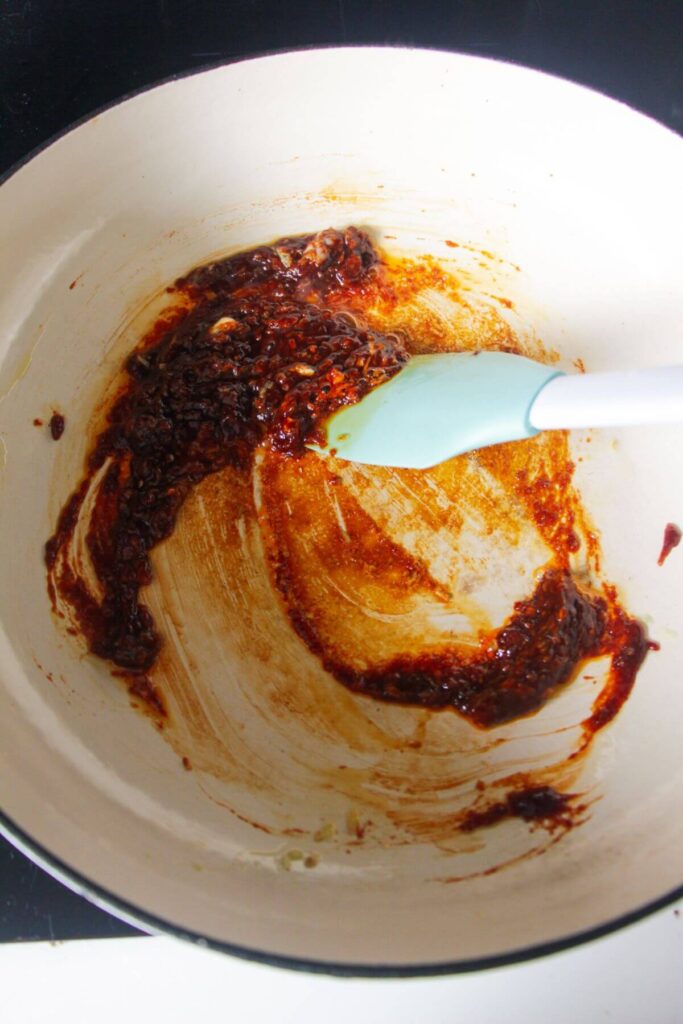
Season your chicken, then cook until charred and glorious. Shred or chop it, then mix the gochujang sauce and add the chicken.
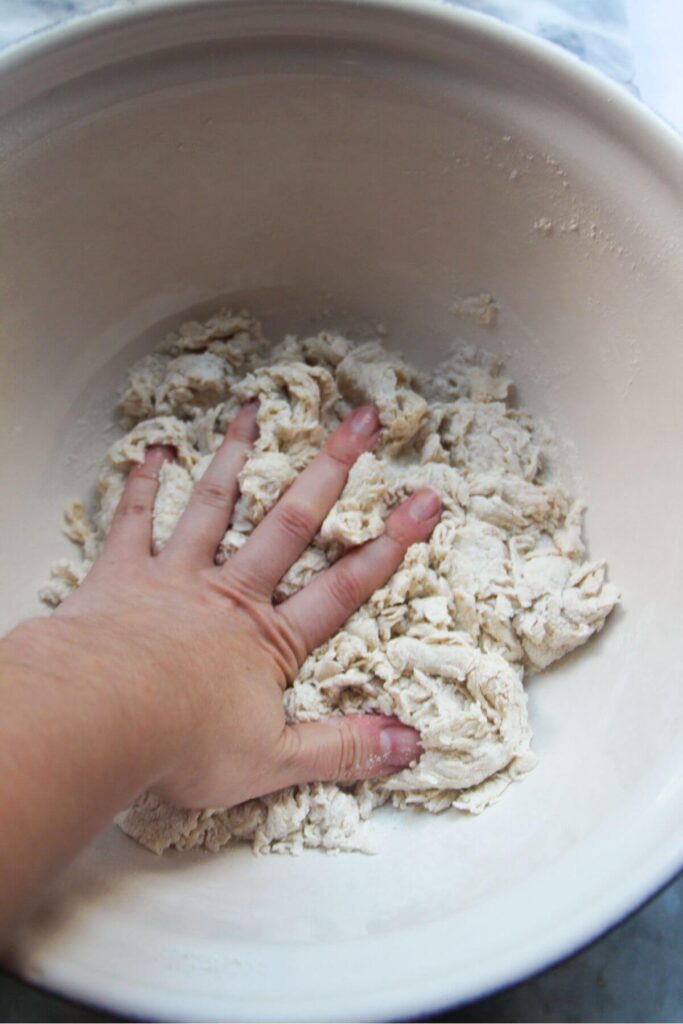
Add flour, instant yeast, salt and water to a large bowl and mix into a rough dough. You can either do this by hand or using a stand mixer. It’s not a tricky dough to work with so I often do it by hand!
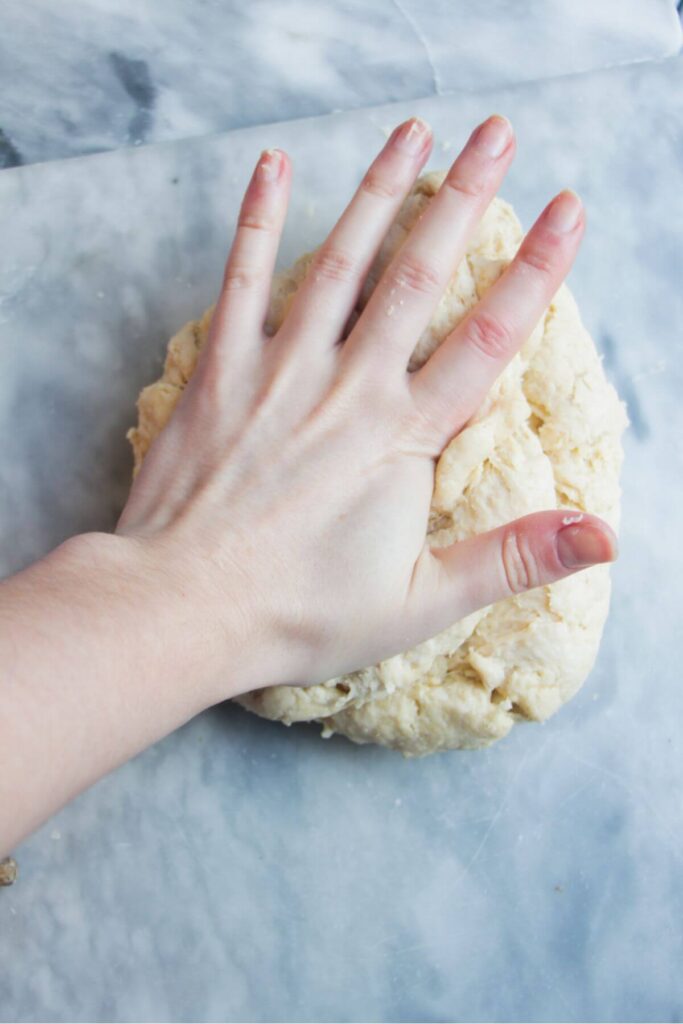
Turn your mixed dough out onto a flat, clean surface. With the heel of your hand, press down on the dough and push it away from you. Fold it back over itself, then repeat the process. Give the dough a quarter turn and repeat. You’ll start to feel the dough change – it’ll go from rough and floury to soft, supple and smooth.
PRO TIP: If you’re nervous about kneading dough, I’ve written a guide all about how to knead dough that walks you through it and will answer all your questions!
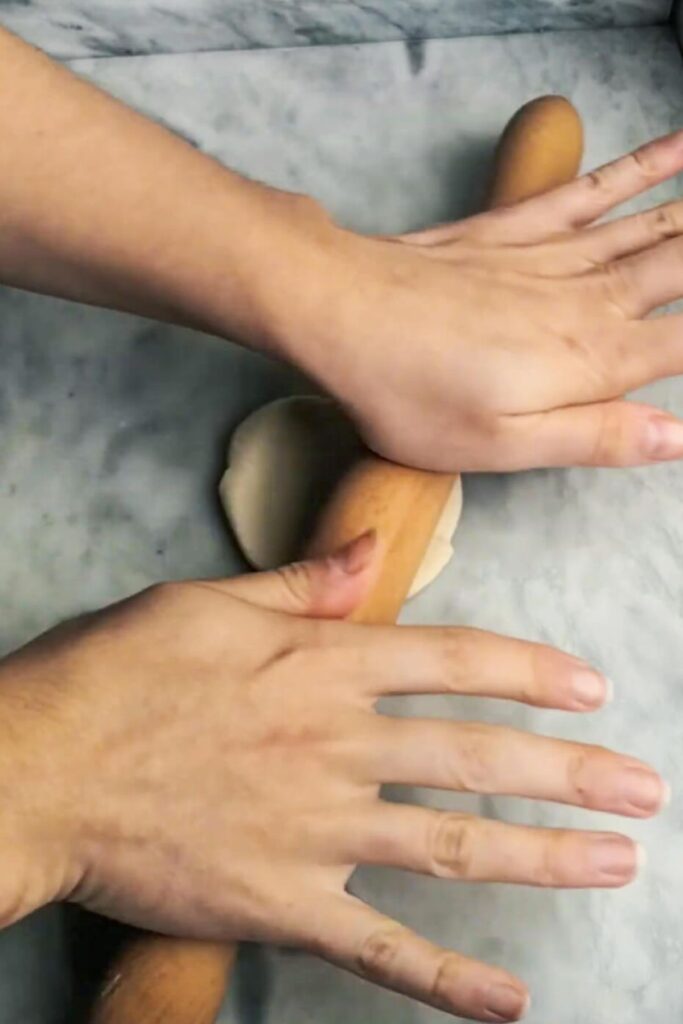
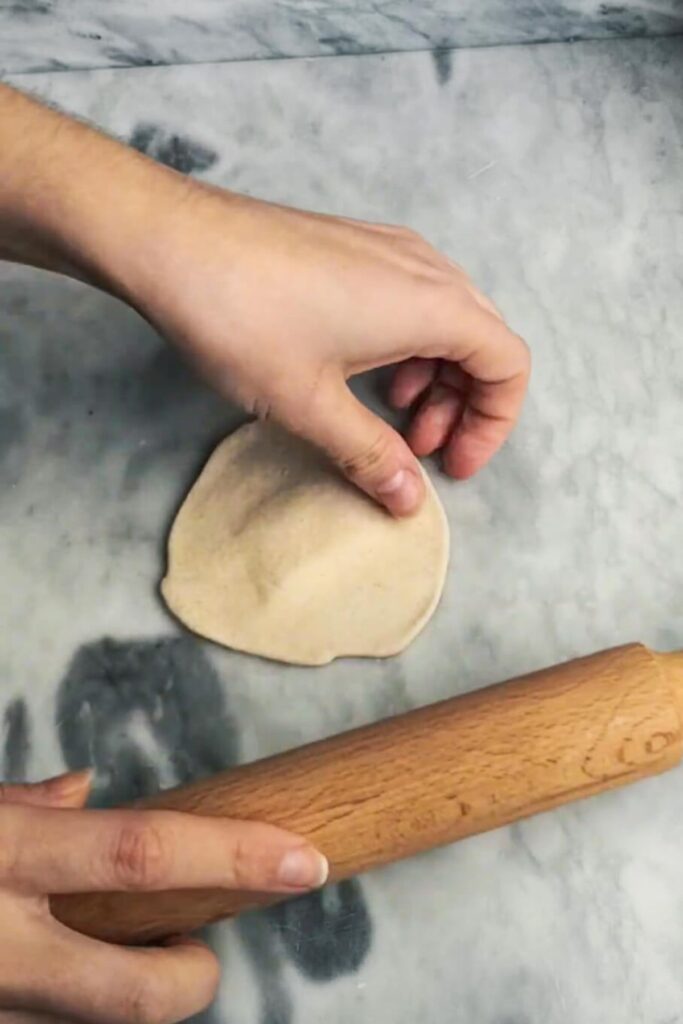
Because this dough uses baking powder as well as yeast, you don’t have to wait for it to rise before forming the buns. Cut the dough into 12 equal pieces (use a scale if you want to get really precise) and form them into little balls. Working with one at a time, lightly flatten the ball into a circle.
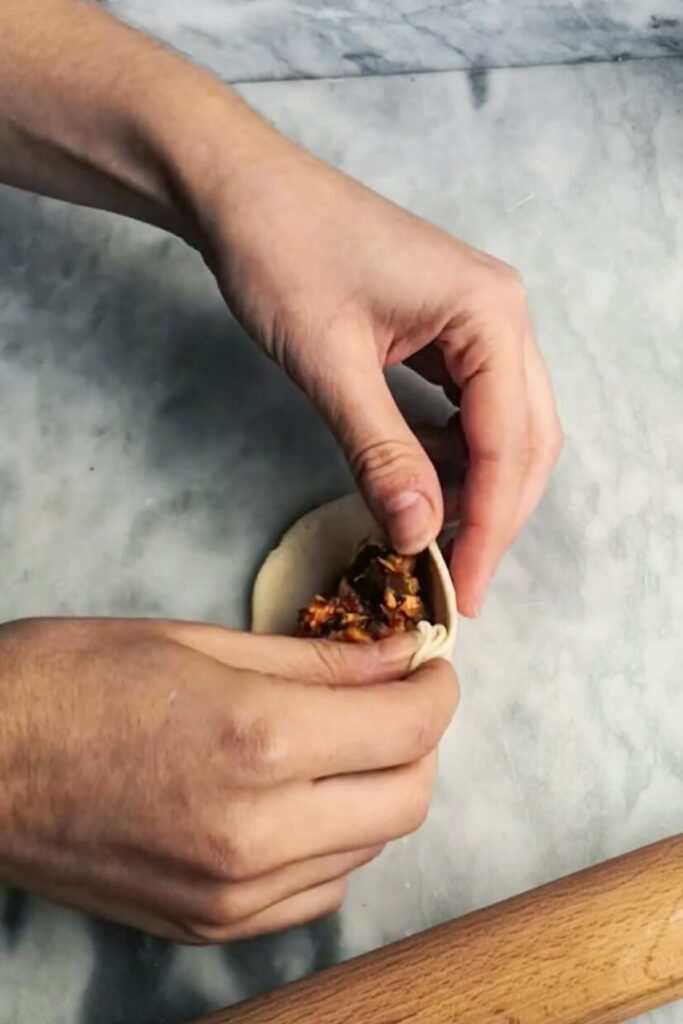
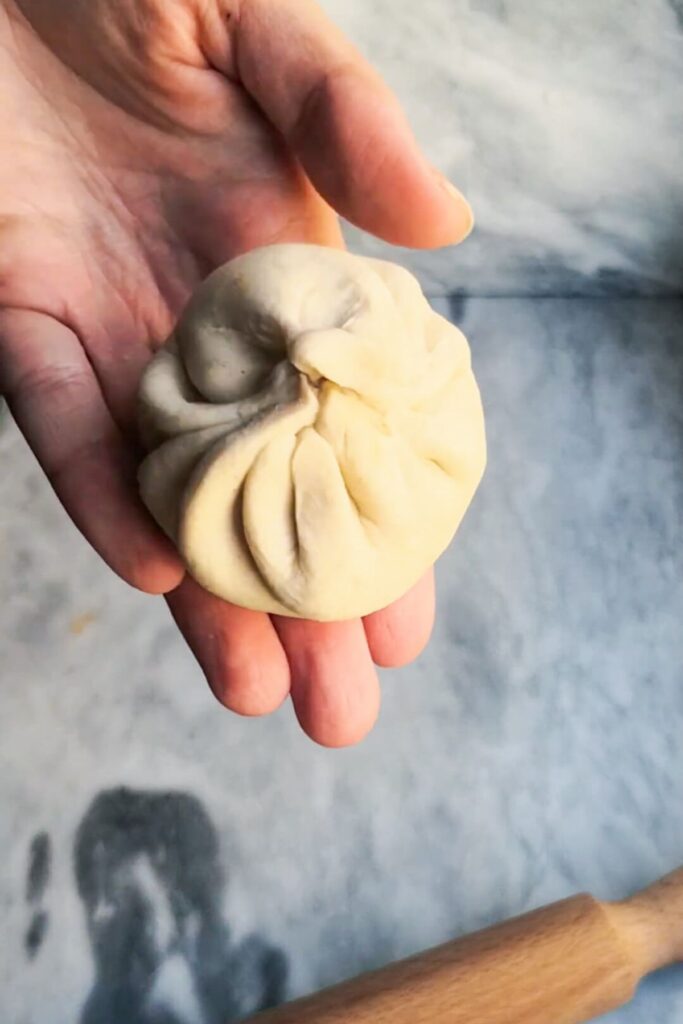
Spoon a heaped teaspoon of the chicken mix into the middle of the dough circle. Now it’s time to pleat and close them. I promise this is easier than it looks and like anything, will get easier the more you practice.
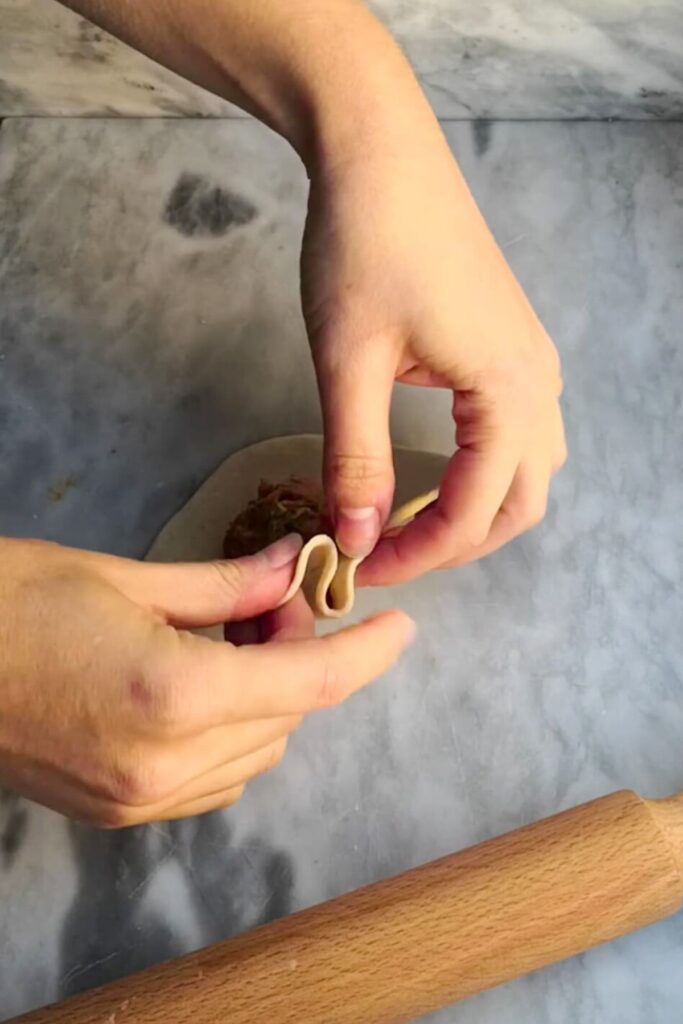
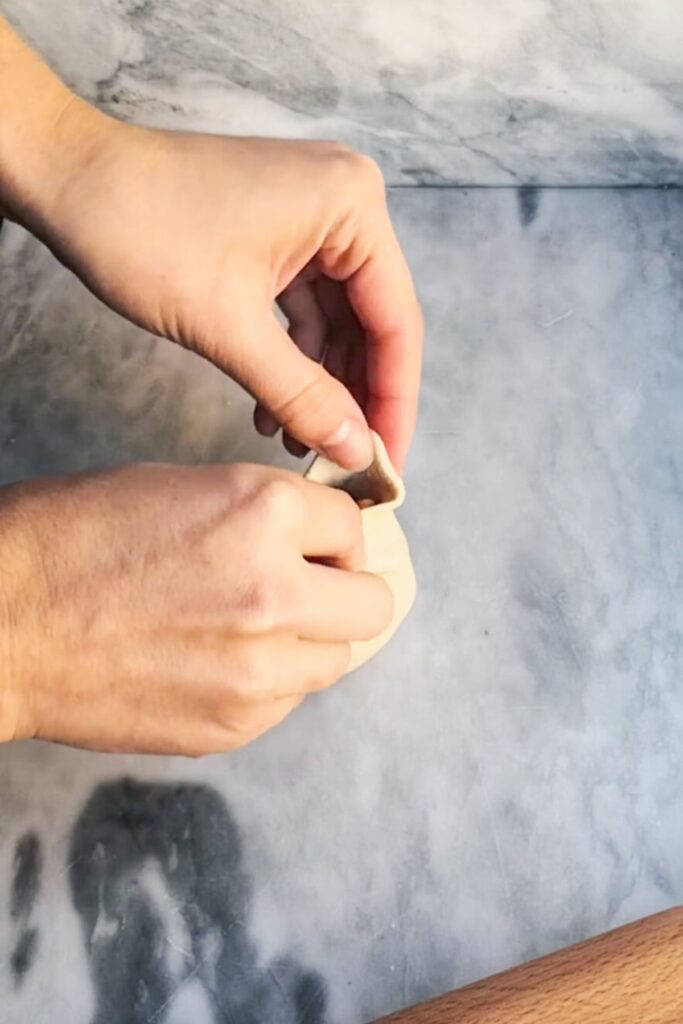
Start with the side furthest away from you. Pick up the edge of the dough and fold a small piece back on itself. The dough will stick to itself and make this easier for you. Repeat this action, rotating the bun all the way around as you do. As you complete the circle, press the dough together at the top to seal the bun, then give it a little twist. You’re done!
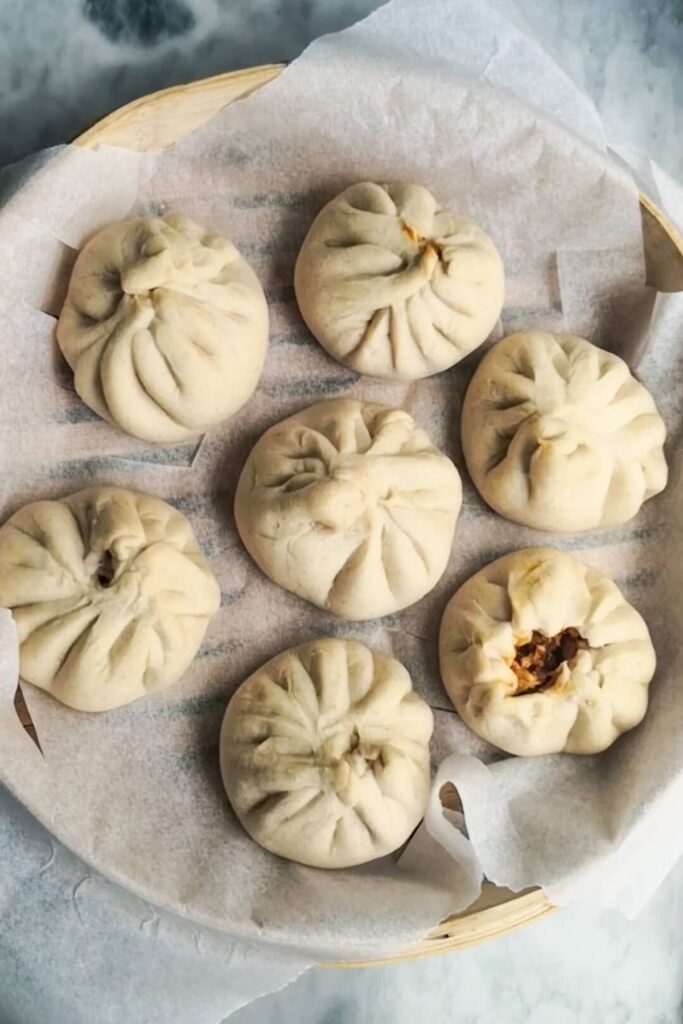
You’ll see that some of mine below are opening a little bit, especially after rising. This is normal! A classic char siu bao bun is actually served in this way – the top cracks so you can see that glorious sauce. So don’t worry if yours opens a bit.
You can either pan-fry or steam these buns. If you’re steaming them, arrange the buns inside a lined steamer basket, leaving a little space in between each one so they have room to rise as they steam. Let the buns rest in the steamer for 30 minutes.
PRO TIP: To make a perfect liner for your steamer basket, cut out a piece of baking paper that will fit inside. Fold it in half, in half again and in half one more time. Then make 4 cuts with scissors down the folded edge. Unfold it, and you’ll have a liner with holes for the steam to get through and cook your buns!
After 30 minutes, the buns will look a little puffier and be ready to cook.

Watch how to make them
Got a question?
Gochujang definitely has a kick of heat to it, but you can temper that by adding more honey to your sauce. Just keep tasting, and reduce the amount of gochujang to 1 tablespoon if you’re really worried.
Yes! These freeze incredibly well and I’ll actually often make a double batch so I can stock the freezer. Just put on a lined tray after steaming and pop in the freezer until solid, then transfer into zip lock bags to store. You can then steam them straight from frozen whenever you like!
You can just use an ordinary metal steaming pan, or you can make do with some foil, a pot and a plate! For that, make a few big balls of foil – they need to be big enough for the plate to sit on top of them inside a large pot with a lid. Then pop your plate on top, making sure it’s one with a little space around the edges so steam can circulate properly and cook the buns. Then just add a little water, get simmering, line the plate with baking paper and get the buns on there. Cover with a lid and you’ve made yourself a steamer!
Honestly, the sky’s the limit here. I love using leftover meat – pulled pork or roast chicken is great – as is roasted or stir-fried veggies or tofu. I’ve even used leftover curry before! Butter chicken and chicken saag make wonderful fillings.
Like this recipe? Here are some others you might enjoy
If you make this recipe, I’d love to hear from you! You can leave a recipe rating and a comment below. And remember to tag @DishedByKate on Instagram, Facebook and TikTok if you’ve made one of my recipes. Seeing your recreations really makes my day 😊.
Print
Korean Chicken Steamed Bao Buns
- Total Time: 1 hour 10 minutes
- Yield: 12 buns 1x
- Diet: Low Fat
Description
These sticky Korean chicken steamed stuffed buns are frankly, irresistible. An unreal sweet, spicy JUICY gochujang chicken filling is stuffed into super soft, fluffy dough for an absolute explosion of flavor. They’re the perfect bite of deliciousness and are much easier to make than you’d think.Plus, they’re a brilliant way to make use of any leftovers you might have.
The dough uses yeast AND baking powder which means the prep time is cut in half! You can steam or pan-fry the buns and I’ve included instructions for both options below.
Ingredients
For the bun dough –
- 350g plain flour
- 2 teaspoons baking powder
- 2 teaspoons instant yeast
- 2 teaspoons salt
- 1.5 tablespoons neutral oil
- 180g lukewarm water
For the chicken –
- 1lb/500g boneless, skinless free-range chicken thighs (you can also use pre-cooked chicken or use leftovers from a roast chicken)
- 1 teaspoon salt
- 2 tablespoons olive oil
- 1 tablespoon sesame oil
- 2 garlic cloves, crushed
- 1 tablespoon ginger, grated (or use paste)
- 2 tablespoons gochujang paste
- 2 tablespoons soy sauce
- 1 tablespoon rice vinegar
- 3 tablespoons honey (or use sweet chili jam)
To serve –
- 1 tablespoon chilli oil
- 1 tablespoon toasted sesame seeds
- 2 scallions (spring onions), finely sliced
- A handful of fresh cilantro (coriander)
Instructions
- Make the chicken (skip this step if you’re using leftover meat). Heat your oven to 480F/250C fanbake and line an oven tray with parchment paper. Arrange the chicken thighs on the tray and scatter with salt, a good grind of pepper and a drizzle of olive oil. Pop into the oven until charred and golden. Let cool for a few minutes, then roughly shred with 2 forks, or chop.
- Mix the gochujang sauce. Add 2 tablespoons of gochujang paste, 2 tablespoons soy sauce, 3 tablespoons honey (or sweet chili jam), 1 tablespoon of rice vinegar, the garlic and ginger to a large mixing bowl. Mix well, then add the chicken and toss to coat in the sauce.
- Make the dough (stand mixer instructions). Combine 350g plain flour, 2 teaspoons baking powder, 2 teaspoons instant yeast, 2 teaspoons of salt, 1.5 tablespoons sunflower oil and 180g lukewarm water in the bowl of your mixer. With the dough hook attached, knead at a medium speed for about six minutes, until the dough is soft, supple and not sticky to the touch.
- Make the dough (kneading by hand instructions). Combine 350g flour, 2 teaspoons baking powder, 2 teaspoons instant yeast and 2 teaspoons of salt in a large bowl. Mix with a large wooden spoon or spatula then add 1.5 tablespoons sunflower oil and 180g lukewarm water. Keep mixing with the spoon until it comes together into a rough, shaggy dough. At this point, turn it out onto a lightly floured surface and knead for about seven minutes, until it’s soft, supple and smooth. It shouldn’t be sticky.
- Form the buns. Roll the dough into a long sausage, then cut it into 12 equal pieces. You can weigh the dough to make the pieces super accurate but don’t worry if you don’t have a scale. Working with one piece at a time and keeping the others under a clean tea towel to prevent them from drying out, form them into a ball. Flatten the ball out into a circle, then using a rolling pin, roll it out to a circle about 4″/10cm in diameter. If you can, try to make the edges thinner than the middle.
- Seal the buns. Place a heaped teaspoon of sticky chicken into the middle of the dough. I promise the pleating and sealing is easier than it looks and like anything, will get easier the more you practice. Start with the side furthest away from you. Pick up the edge of the dough and fold a small piece back on itself. The dough will stick to itself and make this easier for you. Repeat this action, rotating the bun all the way around as you do. As you complete the circle, press the dough together at the top to seal the bun, then give it a little twist. If you’re steaming the buns, place them into a lined steamer basket and repeat with the remaining dough. If you’re pan frying them, place them on a parchment paper lined plate and cover.
- Let the buns rest briefly. Once all the buns have been formed, they need to rest for 30 minutes and puff up a little bit. This can take longer or shorter depending on the temperature in your kitchen. PRO TIP: Take a photo of the buns as they go into the steamer basket so you can easily compare how they’re looking.
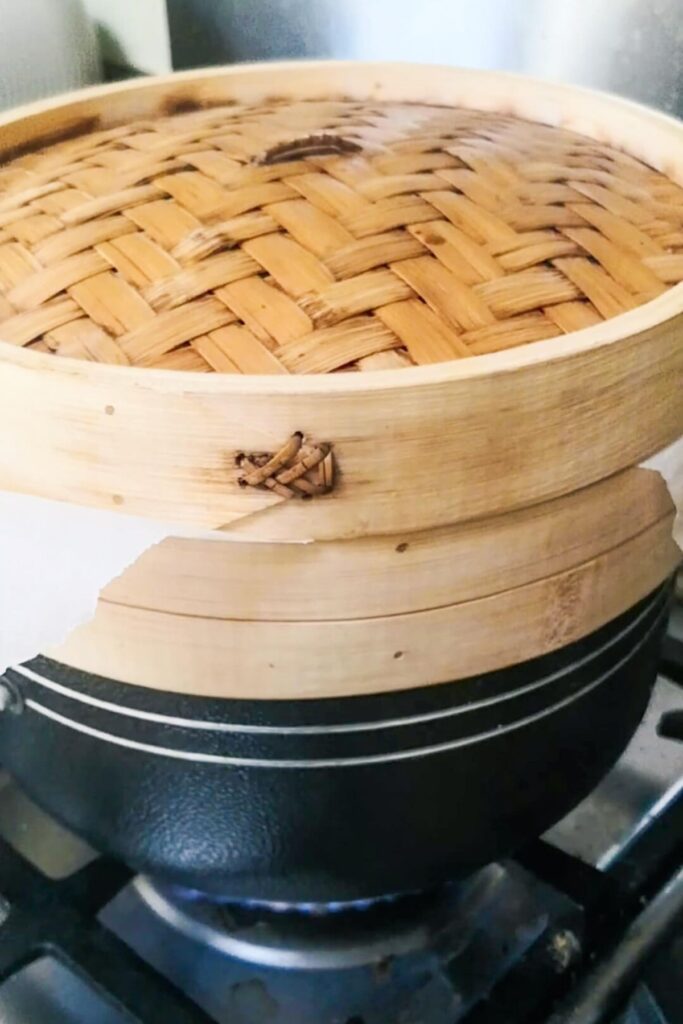
- Cook the buns. Once the buns are looking a little puffier, they’re ready to cook. If you’re steaming them, place your steamer on top of a pot of boiling water, cover and steam for 10 minutes. Remove the basket from the pot and set it aside to cool slightly. If you’re pan-frying them, drizzle a little oil into a large, non-stick pan you have a lid for. Set over medium-high heat, then add the buns. Cook for a couple of minutes, until the bottoms are golden, then pour in enough water to come about one third up the sides of the buns. Lower the heat, pop the lid on and steam for 10 minutes.
- Garnish and serve. I like to serve these directly from the steamer basket if I’ve steamed them as it’s easier and looks fun! If you’ve pan-fried them, transfer them to a serving platter. Drizzle over 1 tablespoon of chili oil (or more if you like), the chopped scallions, cilantro and sesame seeds and dig in.
Notes
ON PLEATING THE DOUGH: I know this might seem a little tricky at first, but I promise it gets easier the more you do it. It’s basically a little ‘pinch and seal’ movement (take a look at the process shots earlier in this post for a demo of how I do it). The dough sticks to itself which makes it easier. Don’t worry if it doesn’t look super pretty, it’ll still taste delicious!
STORAGE INSTRUCTIONS: The buns freeze really well. After cooking, pop them onto a baking paper lined tray and put in the freezer until solid, about 30 minutes. Then just transfer them to zip-lock bags to store in the freezer. You can steam them straight from frozen for 10 minutes.
INGREDIENT NOTES: Switch up the filling! I love using leftovers in steamed buns and it’s a great way to make a little bit go a long way. Pulled pork, roast chicken or roasted or stir-fried veggies are great. Even leftover curry, like butter chicken or chicken saag, is great stuffed in buns.
SERVING SUGGESTIONS: I love to serve the buns with a fresh, zingy smacked cucumber salad and lots of chilli oil for drizzling and dipping.
PRO TIP: To make a perfect liner for your steamer basket, cut out a piece of baking paper that will fit inside. Fold it in half, in half again and in half one more time. Then make 4 cuts with scissors down the folded edge. Unfold it, and you’ll have a liner with holes for the steam to get through and cook your buns!
- Prep Time: 15
- Rising time: 30
- Cook Time: 25
- Category: fakeaways
- Method: steamer
- Cuisine: asian
Nutrition
- Serving Size: 2 buns

so easy and SO GOOD!!! use some leftover chicken and it was perfect