Baked rice might be the easiest way to make rice, ever. This loaded version turns a handful of simple ingredients into something seriously special. Think fluffy, fragrant rice, lots of garlic and ginger, three types of cheese, and a zingy chili crisp drizzle. It’s wonderful as a stand-alone meal, but also makes a scene-stealing side.

Table of Contents
- Quick Look: Loaded Baked Rice
- Why This Baked Rice Works So Well
- Ingredients You’ll Need
- Before You Start…
- How to Make Loaded Baked Rice
- Baked Rice Troubleshooting Tips
- Four Ways to Serve Loaded Baked Rice
- Baked Rice FAQs
- Watch How to Make Loaded Baked Rice
- Like this recipe? Try these easy ideas next
- Life Changing Loaded Baked Rice Recipe
Quick Look: Loaded Baked Rice
⏰ Time: 50 minutes total
🍽️ Serves: 6 as a side, 4 as a main
👩🍳 Cooking Method: Oven-baked, one dish
🛒 Key Ingredients: Long grain white rice, hot chicken or vegetable stock, feta, scallions, garlic, ground turmeric, ground cumin
💪 Skill Level: Very easy
🥟 Why it Works: Hot stock and tight foil help the rice perfectly steam in the oven, with a super umami mix of ingredients flavoring every bite.
💃 Perfect For: Easy entertaining, low-effort dinners, meal prep, or a fabulous side dish when you want something different.
Why This Baked Rice Works So Well
I know it seems dramatic to say this rice is life-changing, but it really, truly is a bit of a revelation. No standing over the stove, no worrying about any burning at the bottom of the pot, no sad, clumpy rice situation. Just mix everything in a baking dish, cover tightly, and let the oven do the work.
Baking rice isn’t a new concept, but it’s new to me, and I am officially obsessed.
I’ve found that with a lot of baked rice recipes, any topping is just that – a topping. I wanted this loaded version to have the lovely bits all the way through, which is why we mix everything in – including the cheese – before pouring the stock on top.
The cheddar and parmesan melt into the rice, providing a gorgeous, deep flavor, while the feta stays in little creamy chunks. And the garlic, ginger, scallions, chives, and spices make everything warm, cozy, comforting, and just ridiculously tasty.
It’s a recipe heavily inspired by the always wonderful Ottolenghi, and feels special enough to serve to friends, but easy enough to make on a busy weeknight when you want something lovely without trying too hard. Basically, my favorite kind of meal!
“This recipe has quickly become my go-to side dish to take to dinner parties. It’s a crowd favorite, even winning over those picky eaters who don’t eat feta cheese. I like to use Israeli feta from Trader Joe’s-it’s milder and creamier than Greek feta.”

Ingredients You’ll Need
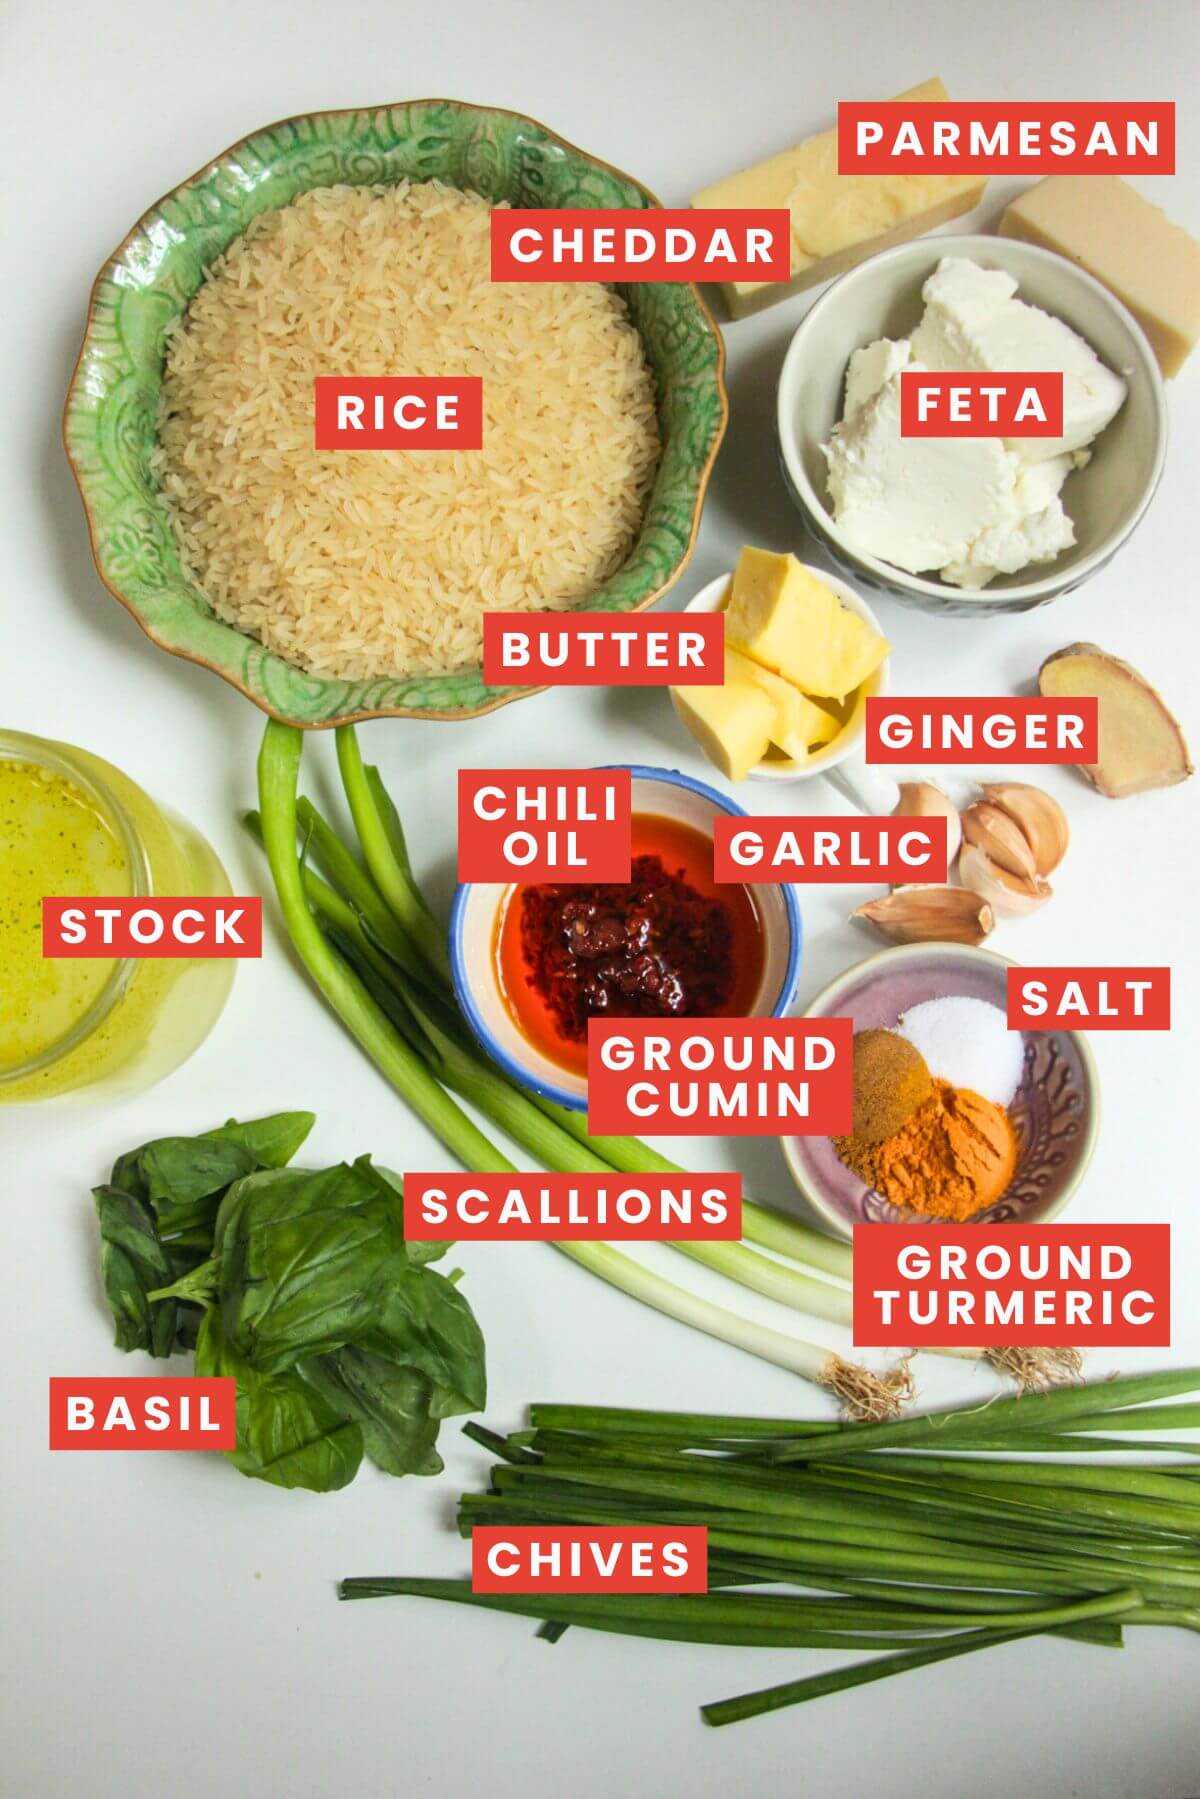
- Rice. Use long-grain rice, like basmati. It gives you light, fluffy, separate grains and won’t be gluggy or clumpy. Jasmine rice works similarly, but avoid sushi (short grain) rice, brown rice, risotto rice, paella rice, brown rice, or wild rice here. The liquid ratios are different for different types of rice, so the recipe as written won’t work.
- Scallions (spring onions). I love the fresh, zingy flavor of scallions and prefer them to onions, but onions work well if they’re preferable for you, or use more chives.
- Cheese. We’re using a mix of creamy feta, sharp cheddar, and parmesan. You can play around here, but try to keep the cheese strong-flavored. Gruyere, Gouda, or even creamy blue cheese would work well.
- Spices. You’ll need ground cumin, ground turmeric, and a little salt.
- Chili crisp or chili oil. This is a non-negotiable for me and really pulls the rice together – if you’re cooking for kids, keep it on the side. Use your favorite oil, or try making my 30-minute chili oil if you fancy it.
![]()
Before You Start…
These are five of the most important things to remember before you make this lovely rice:
- Use long-grain white rice. Basmati is great as it’s light and fluffy, and the grains will stay separate.
- Use hot stock, not cold. Cold stock will make the rice cook very slowly and unevenly.
- Seal the dish tightly with foil. Really make sure you’re covering up any potential gaps here – you want to keep that hot steam inside.
- No stirring during baking. Removing the foil before the rice is finished cooking means you’ll release all the steam and slow the process right down.
- Let it rest for 10 minutes after baking. Essential, even if it’s a bit annoying. Letting the rice finish steaming will give you a much better texture.
How to Make Loaded Baked Rice
This is a step-by-step photo overview of how to make the rice – the full instructions, with ingredient quantities, are at the bottom of the page for you.
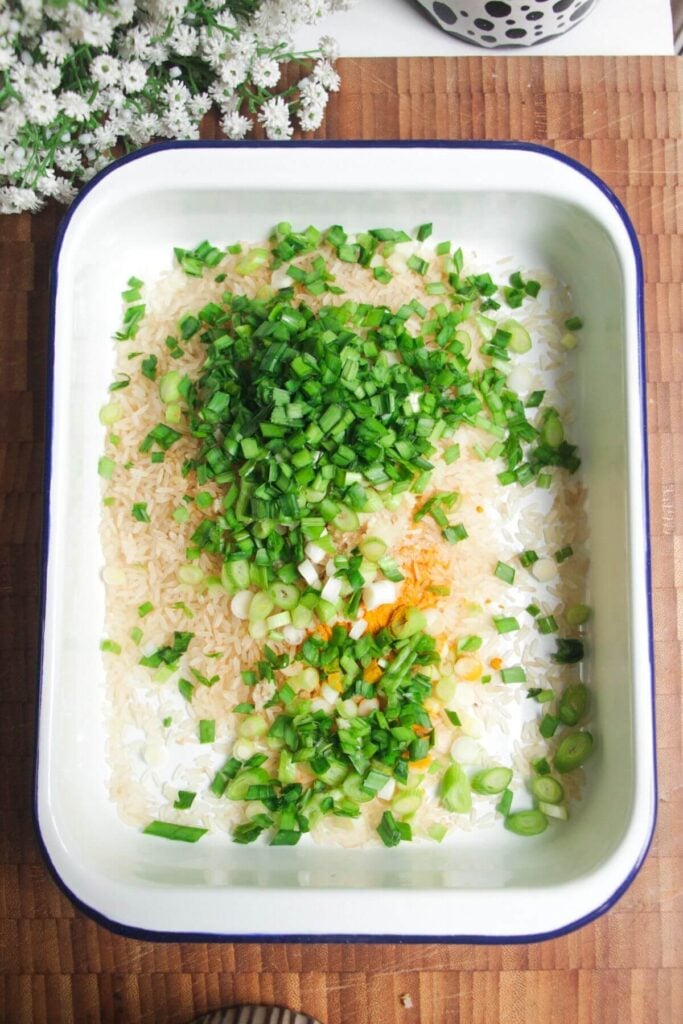
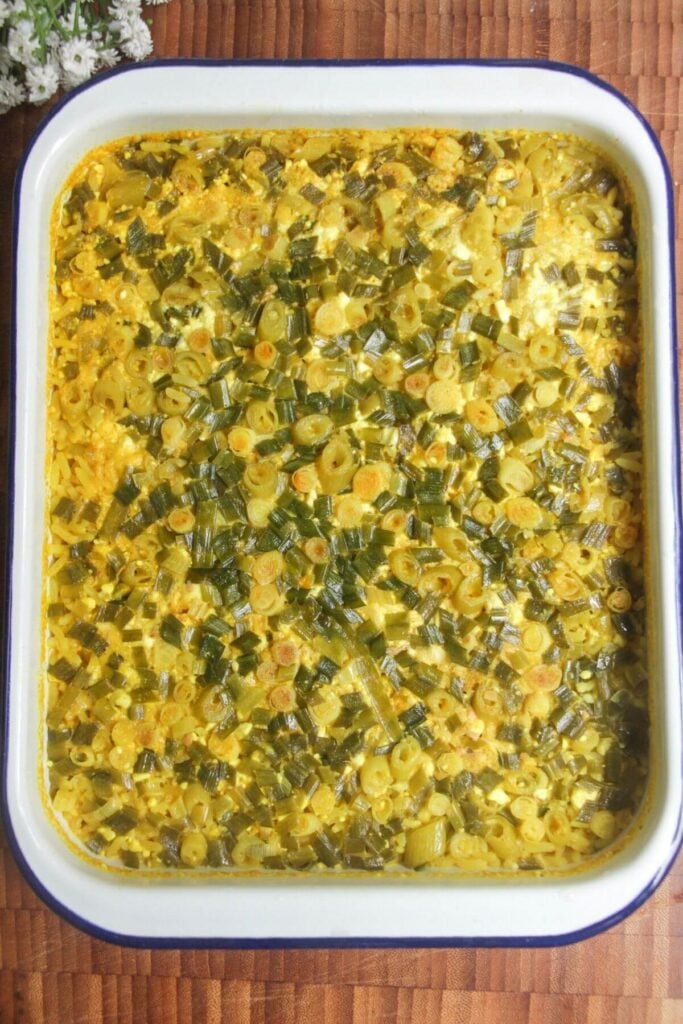
- Add your rice, scallions, chives, and seasoning to a baking pan or oven dish.
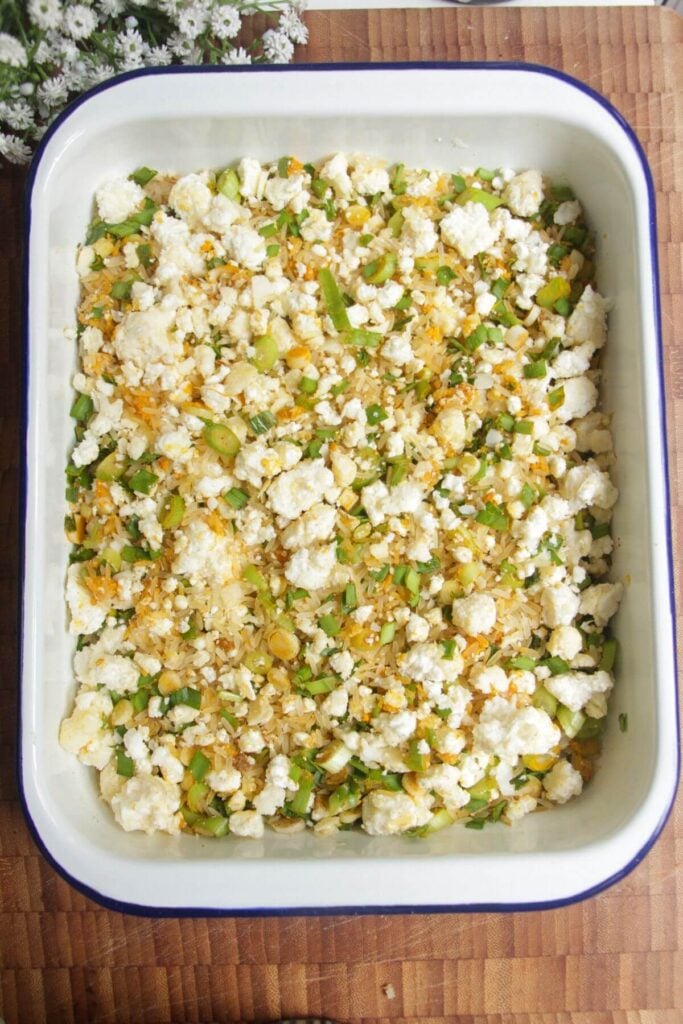
- Scatter the cheese on top. Mix everything and give the pan a little shake to evenly disperse the ingredients through the rice.
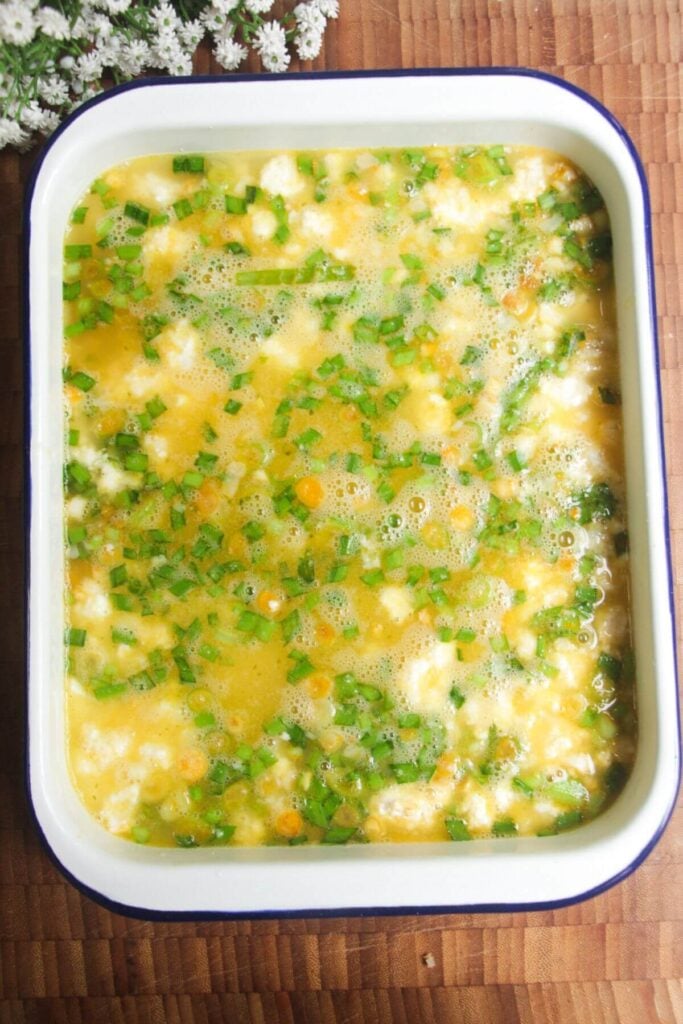
- Pour in the hot stock and the melted butter, then cover tightly with aluminum foil and pop into the oven.
- Leave the rice to sit, with the foil on, for 10 minutes. Then remove the foil from the baked rice, and use a fork to fluff up the grains.
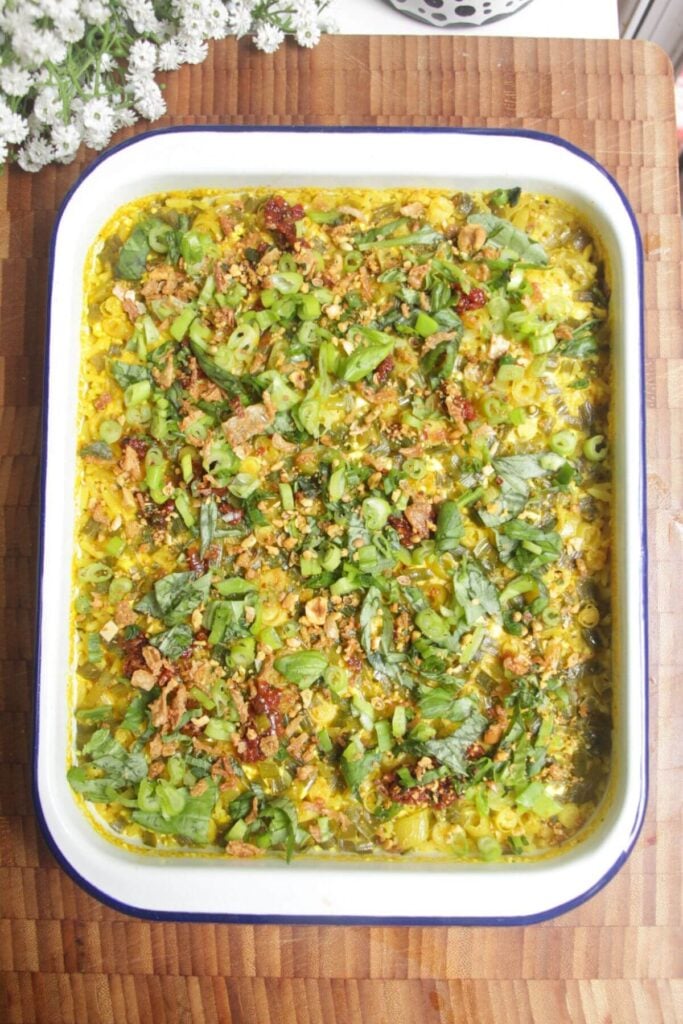
- Drizzle the baked rice with chili crisp, then scatter with more scallions and cilantro (or more chives, basil, parsley, or mint), then finish with a sprinkling of nutty dukkah and crispy shallots, if you like.
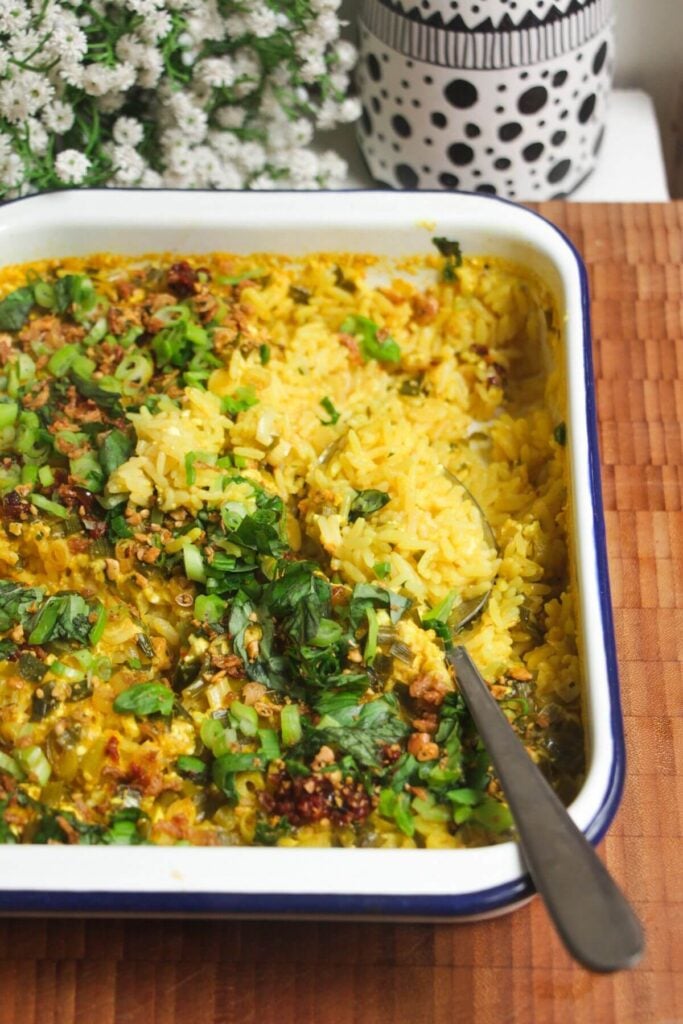
- Serve while hot and fluffy, with more chili crisp on the side if you like.
“Made this tonight as a side and paired with fish. Oh my … Absolutely gorgeous. The whole family loved it. I forgot to add the butter and it still turned out fantastic. This is my new favourite rice dish.”
Baked Rice Troubleshooting Tips
- My rice is still crunchy. What happened?
- It most likely just needs a little more time in the oven. Cover it again, then pop it back into the oven for a further five to ten minutes. If it looks very dry, stir through ¼ cup of hot stock or boiling water before covering and/or popping back into the oven.
- There’s some liquid still left in my dish – is that ok?
- A little liquid is fine – you might need to let it steam a little longer under the foil. If you stir it after the resting time and it’s still a bit liquidy, pop it back into the oven, uncovered, for five or so minutes.
- Should I stir the rice halfway through cooking?
- No, don’t stir the rice. If you do, it can make the rice claggy and sticky (kind of like risotto), and also release the steam that’s cooking your rice. Leave it and let the oven do the work for you.
Four Ways to Serve Loaded Baked Rice
I actually love this baked rice as a meal by itself, but it works brilliantly as a side too:
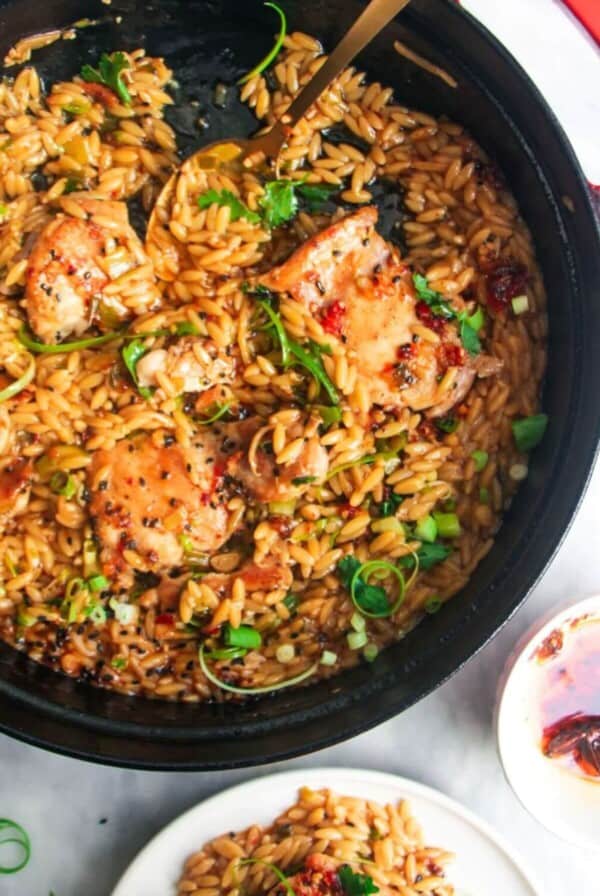
- Pair it with chicken. Try it with miso grilled chicken, hot honey harissa chicken, or serve it with a juicy herb-roasted chicken.
- Serve with juicy meatballs. ‘Marry Me’ chicken meatballs, dumpling-inspired chicken meatballs, zucchini and beef meatballs, or juicy lamb koftas.
- Make it the star of a vegetarian spread. Try it with a parmesan roasted cauliflower salad, whipped spicy feta dip, crispy skin-on roasted potatoes, or this lovely whole roasted miso pesto cauliflower.
- Turn leftovers into a crispy rice salad. This is a fabulous way to use up leftovers – I love using it in this satay crispy rice salad, chicken shawarma crispy rice salad, or ‘Marry Me’ chicken crispy rice salad.
Baked Rice FAQs
You can mix the rice with the seasoning and cheese in the dish up until adding the hot stock, and set it aside until you’re ready to bake. It’ll be fine for an hour or so on the counter, but any longer, pop it in the fridge.
Once you add the liquid, you need to bake it. You can bake and then reheat the rice – cover the dish in foil
I don’t! You can if you want to, but in my experience, it doesn’t make a big difference in this recipe.
Jasmine rice should work similarly to my recommended long-grain or basmati rice, but it’s a little softer and stickier, so you might find the texture a little less fluffy.
I’d be careful adding too many extras like this because they can release a lot of water, which can impact the cook time and texture of the rice.
Shredded cooked chicken would be fine to add, or you could add cooked shrimp (prawns) at the end.
Brown rice needs different liquid ratios, so it won’t work in the recipe as written, and I haven’t tested it with brown rice, so I can’t tell you for sure how well it would work.
Watch How to Make Loaded Baked Rice
Like this recipe? Try these easy ideas next
If you make this recipe, I’d love to hear from you! You can leave a recipe rating and a comment below. And remember to tag @DishedByKate on Instagram, Facebook and TikTok if you’ve made one of my recipes. Seeing your recreations really makes my day 😊.
Life Changing Loaded Baked Rice
Ingredients
Equipment
Method
- Prepare the rice.Heat your oven to 425°F (220°C fan). Add 1 ½ cups of long-grain white rice, the white parts of the scallions, most of the chives (keep some aside to scatter on top to serve), the crushed garlic, ginger, 1 teaspoon of ground cumin, 1 teaspoon of ground turmeric, and ½ teaspoon of salt to a baking dish (approximately 12"/30cm x 8"/20cm). Give everything a mix so the seasoning is evenly distributed throughout the rice.
- Add the cheese and stock.Scatter the cheese all over the rice, then again, give it a mix through and a little shake so that it's evenly dispersed and dotted throughout the rice. Pour the hot stock and melted butter into the dish, then seal tightly with aluminum foil.
- Bake the rice.Transfer the dish to the oven and bake for 30 minutes. After this time, remove the dish from the oven but leave the foil on top for a further 10 minutes, to let the rice finish cooking.
- Garnish and serve.Remove the foil, then drizzle the chili crisp over the rice. Scatter the remaining scallions, chives, and basil leaves on top, then sprinkle over the dukkah and serve.


Could you add egg to the stock to make it more of a fried rice?
I haven’t tried it but I can’t see it not working! Definitely worth a go x
Made this tonight as a side and paired with fish. Oh my … Absolutely gorgeous. The whole family loved it. I forgot to add the butter and it still turned out fantastic. This is my new favourite rice dish.
Ahhhh I’m so happy you loved it Laura!! It’s my fave too – I can’t stop making it hahaha xx
The combination of flavors and textures with the crispy top and cheesy goodness is mouthwatering. It seems like the perfect side dish for any meal or even as a main on its own. I’m definitely going to try this out soon.
This recipe has quickly become my go-to side dish to take to dinner parties. It’s a crowd favorite, even winning over those picky eaters who don’t eat feta cheese. I like to use Israeli feta from Trader Joe’s-it’s milder and creamier than Greek feta.
This is amazing to hear Carolina!! Love it when something can win over those picky eaters, I agree 🙂 Love the Israeli feta suggestion too, I’ll have to try it xx Kate
I made this yesterday. Followed the recipe to the letter but when I got to the 200 mls of stock,I used 400 mls as the 200mls just didn’t look enough.
When removed from the oven it was all absorbed, rice cooked and it was tasty but dry. I even made the nutty dukkah.
As a side with chicken or salmon really wouldn’t have helped with the dryness.
I have frozen the rest.
Hi Susan! I’m a little confused as to where you’re getting the 200ml number for the stock? In the recipe it states 2.5 cups which (you’re right) is more than 200ml. I’ve double checked the recipe and quantities and can’t see that 200ml number anywhere, but I’m sorry it didn’t work out well for you. With the correct amount of stock, the rice definitely shouldn’t be dry x Kate
I noticed in the description above the recipe it says to use basil, but the recipe does not include basil. Is it supposed to be in there? If so, how much?
Thanks for flagging this Kayla – the basil is for scattering over the rice after baking – I’ve amended the recipe and added that instruction in xx Kate
I’m hesitant to rate as I haven’t tried yet, but it looks like it would be 5-star, so I’m giving it 5 stars! I have a question, how would you adjust the recipe if using brown rice? Thank you –
Omg this was so easy and so flavorful! I’m cooking for one so going to use it as a side and meals for the week. Chili crunch on top is a must 🙂
Could you use Quinoa in this recipe instead of rice?
Hi Angela! I haven’t specifically tested the recipe with quinoa instead of rice so I can’t say for sure how it would behave – but based on what I’ve tried before – I think you need to rinse the quinoa really well first, and use 1 cup of quinoa to 2 cups of hot stock. And then check it after 25 minutes to see if the liquid has nearly absorbed. If you try it, I’d love to know how you get on xx Kate
Hi Kate. I’d love to try this for just my husband & myself & was wondering if you think it would be fine to just halve all the ingredients. If yes, should I adjust the cooking time?
Hi Lee! I think it’ll work fine halved 😊 I’d just use a smaller baking dish if you have one, so the rice and liquid sit at roughly the same depth as the original recipe (you want the liquid properly covering the rice). The cooking time should be similar – but it’s worth checking maybe 5 to 10 mins earlier, just in case. If the liquid has been absorbed and the rice looks tender, it’s ready, otherwise pop it back in xx Kate