Try your hand at making fresh pasta with no pasta machine, no eggs and only THREE ingredients. Rustic hand-rolled pici – like thick spaghetti – are the best place to start. The process is a bit like playing with Play-Doh (with a much more delicious result!)
Making pasta from scratch is maybe my favorite thing ever to do in the kitchen. There’s just something super therapeutic about creating something completely from nothing, and it’s always miles ahead of the store-bought stuff.
It can be intimidating, though. Often you need special types of flour, a pasta machine and special tools, but that is NOT the case with pici. With a lovely chewy texture, this bouncy, thick spaghetti-like shape is perfect for beginners. All you need is regular flour, olive oil, water, a little salt and your hands. Just mix your dough, slice strips and roll them out on your countertop. It truly is so easy and such a brilliant place to start with homemade pasta.
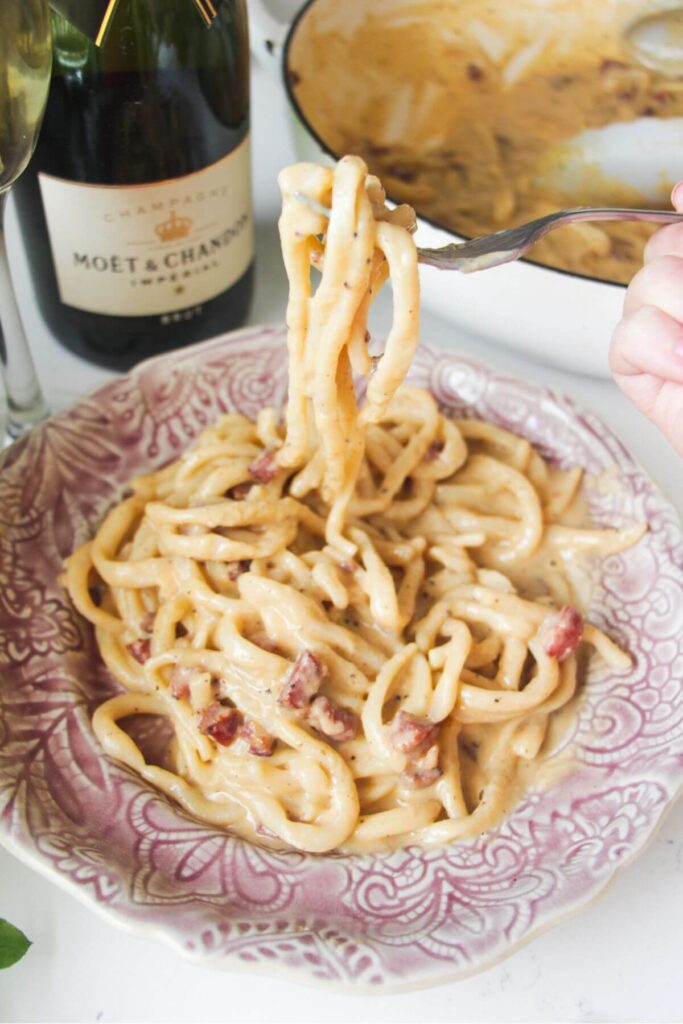
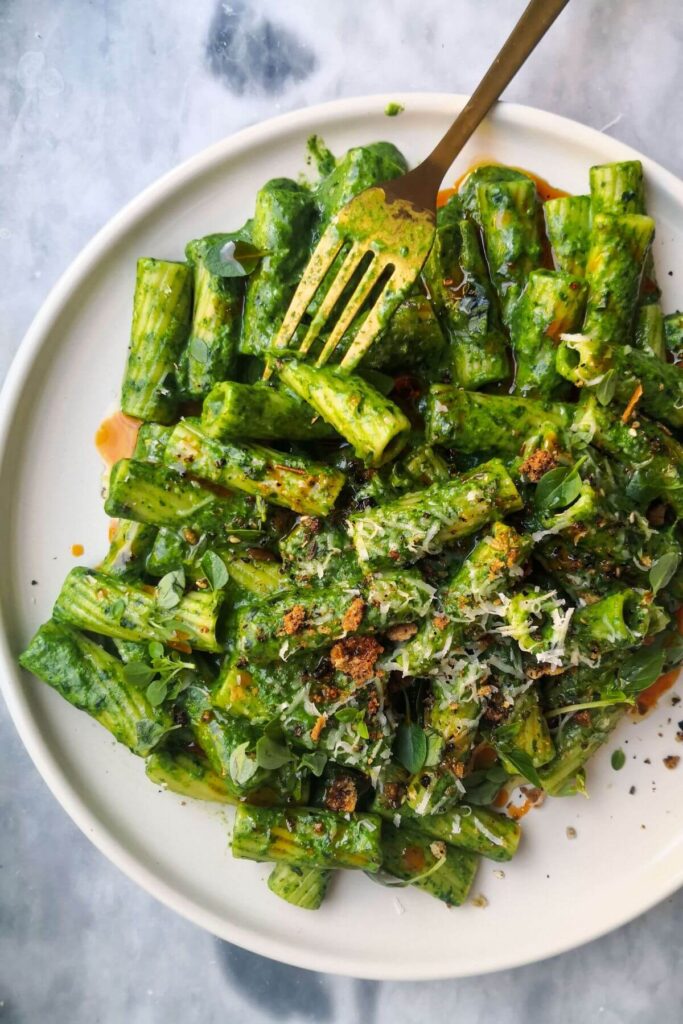
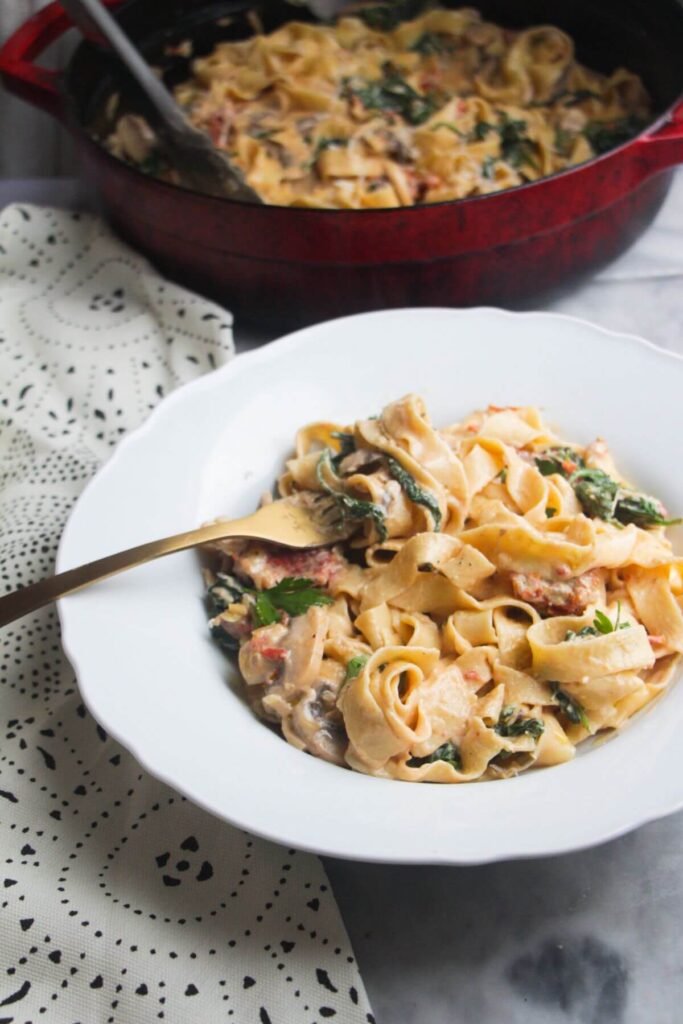
Once you’ve made your pici, the world is your oyster in terms of sauces to pair it with. You’ll often see it paired with cacio e pepe (and this is the first way I tried it!) but you can really use it any way you like. It’s great with something nice and saucy – I love it in this miso spaghetti carbonara or with a creamy spicy sauce, super green sauce, gochujang pasta sauce or you could use it in this gorgeous ‘Marry Me’ chicken fettuccine.
Table of Contents
- In this post – everything you need to make perfect pici
- Ingredients You’ll Need
- How to Make Hand-Rolled Pici
- Three Tips for Success
- Watch How to Make Pici
- How to Make Spooky Squid Ink Pici Pasta
- Hand Rolled Pici Pasta FAQs
- Four Ways to Use Your Pici
- Like this recipe? You might like to try these ones too
- How to Make Pici Pasta Recipe
In this post – everything you need to make perfect pici
Ingredients You’ll Need
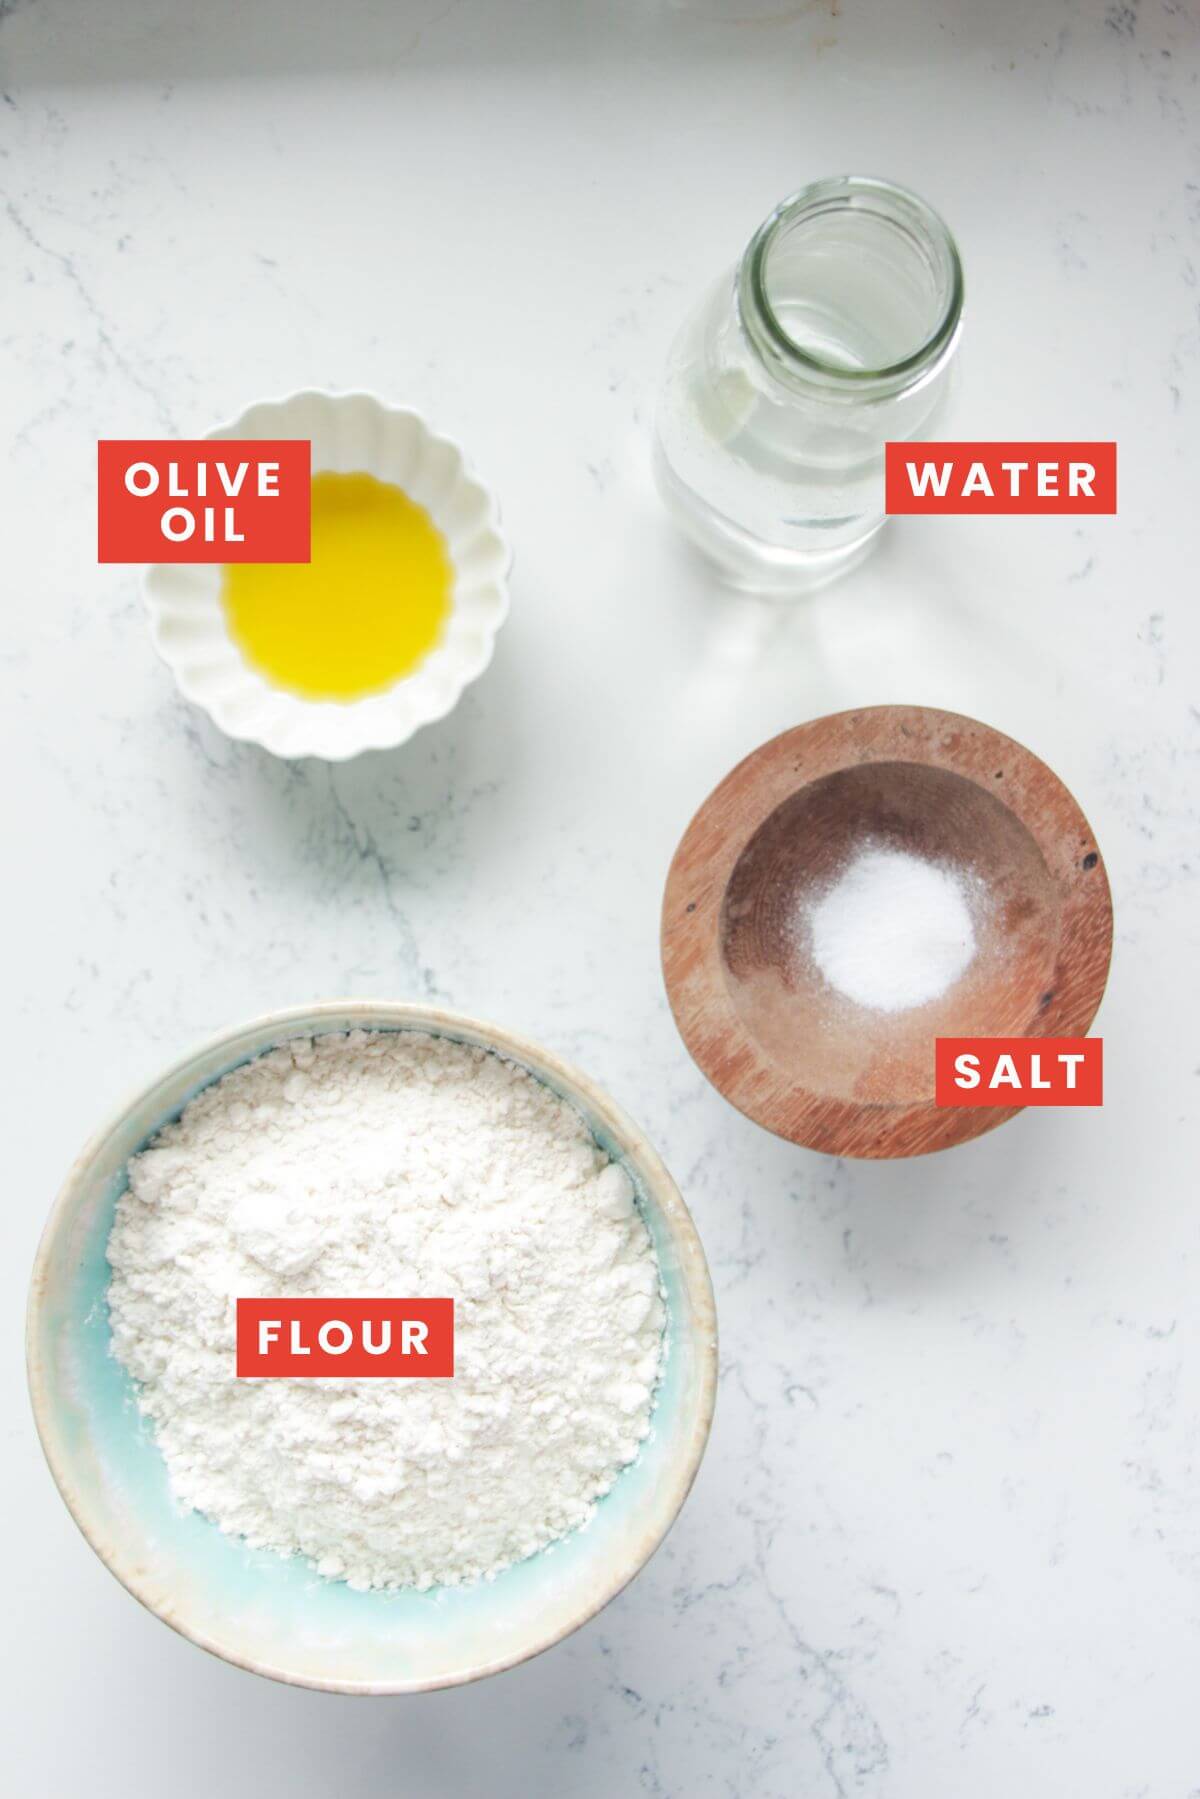
- Flour. If you have 00 flour, use that, otherwise, regular plain, all-purpose flour is absolutely fine, or you could use strong (bread) flour.
- Olive oil. A little olive oil will help keep the pici dough soft and prevent it from drying out quickly, making it easier to roll out.
- Salt. It’s perhaps not traditional, but I always use a little salt in my pasta dough for extra seasoning.
How to Make Hand-Rolled Pici
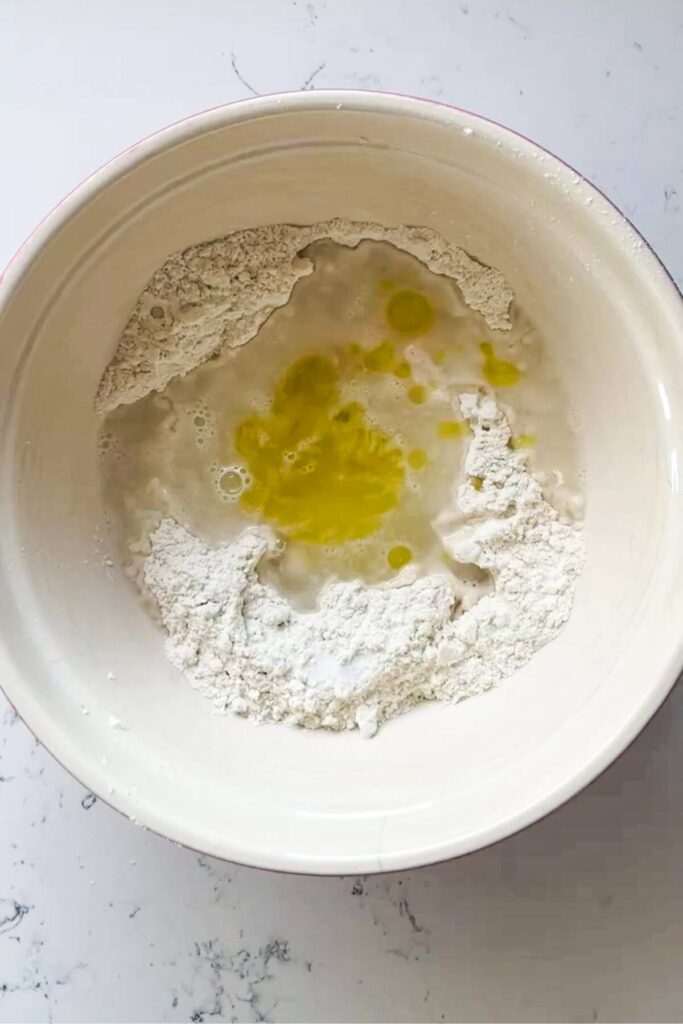
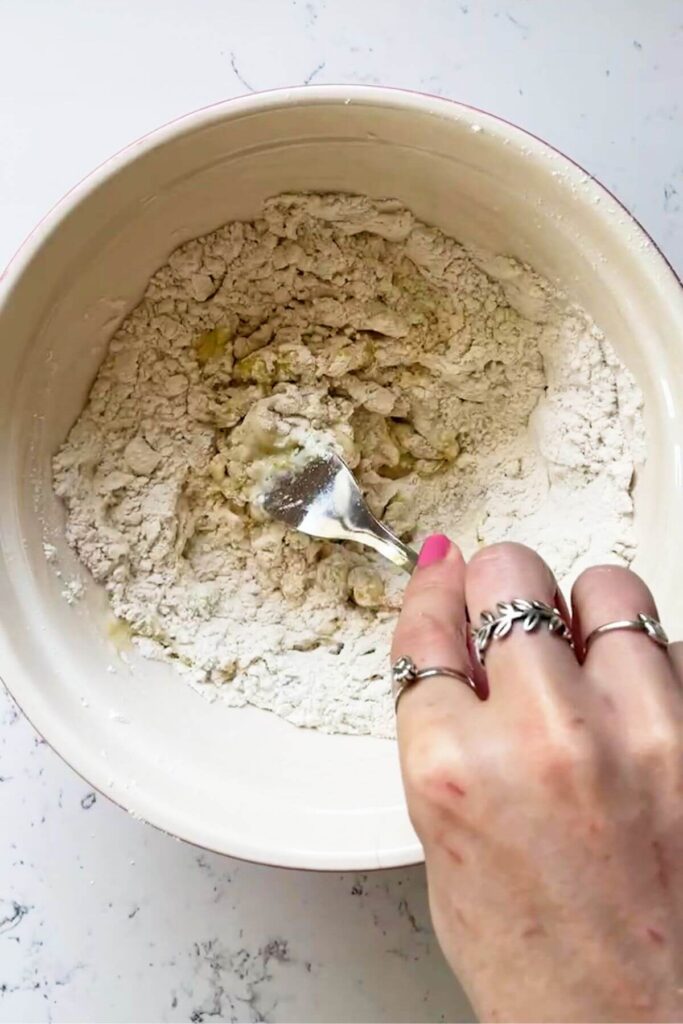
Combine the flour and salt in a mixing bowl, then pour in the water and olive oil. Mix into a rough, shaggy dough (I like using a fork to do this). Go in with your hands to knead it into a rough ball, then transfer it to a lightly floured surface.
Knead the dough for about 5 minutes, until it’s smooth, supple and not sticky to the touch.

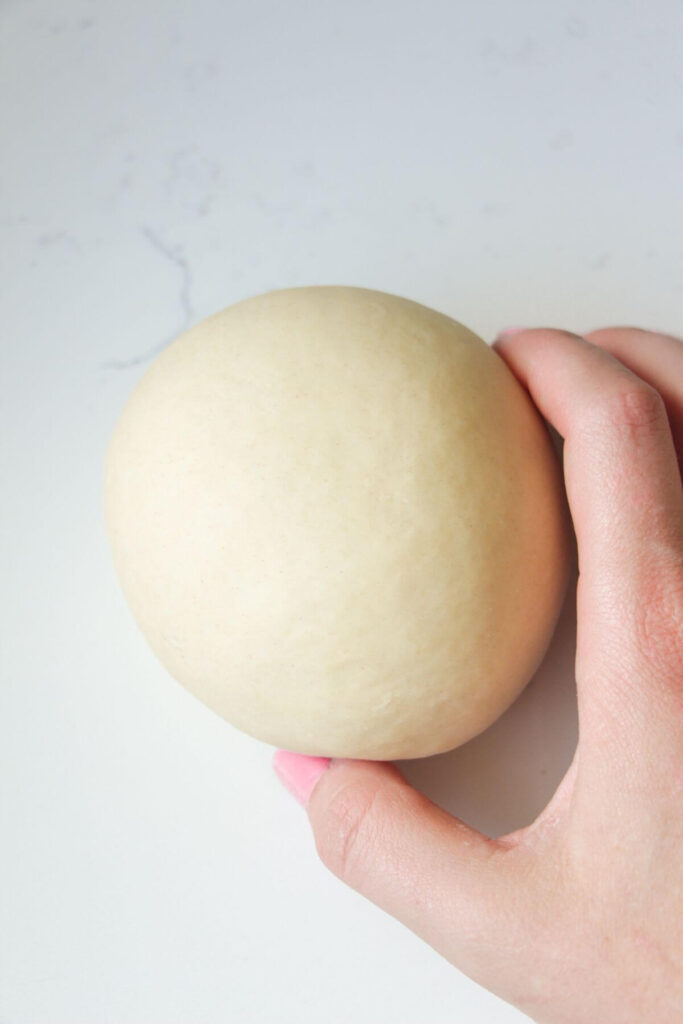
Cover it tightly with plastic wrap, then leave the dough to rest for at least 15 minutes (but up to two hours is even better). The longer you leave it, the easier it will be to roll out your pici. This is because it gives a chance for the gluten in the flour to ‘relax’. After resting, the dough will feel softer and look smoother. You can also make the dough the day before you want to roll your pici, then pop it (wrapped) in the fridge.
PRO TIP: If you need any help with kneading, take a look at my post, which breaks down how to knead dough, with photos and step-by-step instructions.
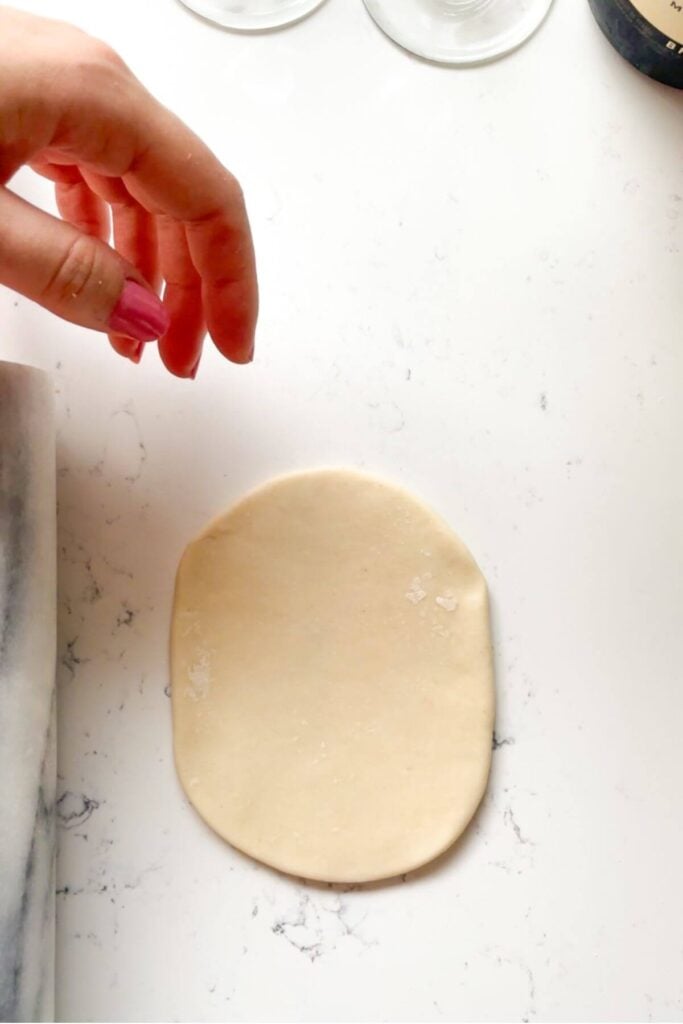
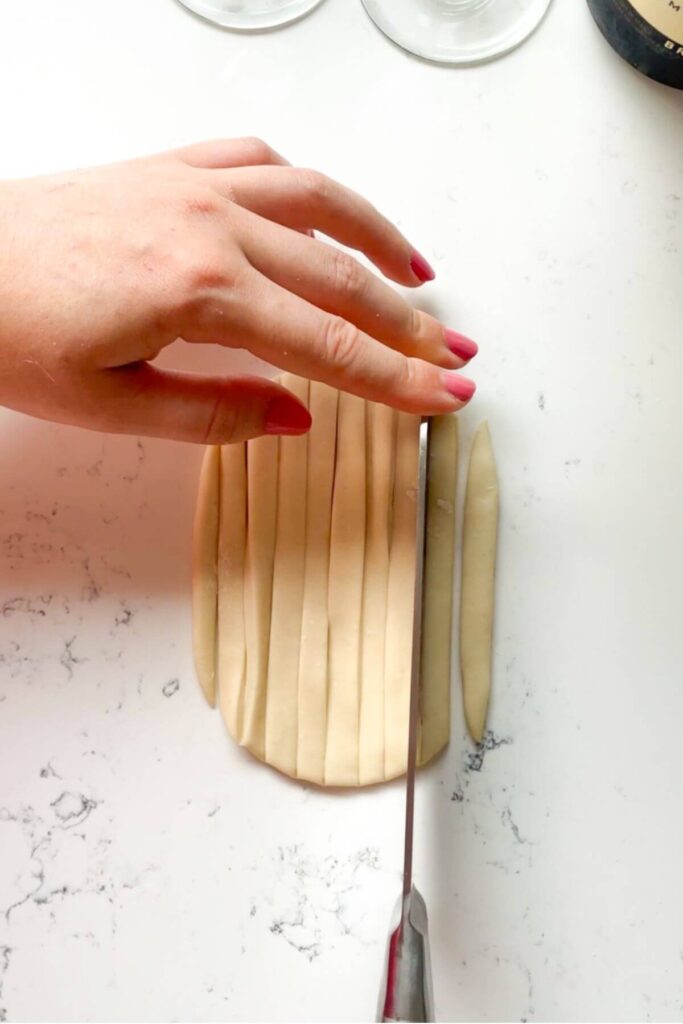
Once you’re ready to roll your pici, slice a quarter of the dough off. IMPORTANT: Don’t use any flour on your surface at this point. If you do, you’ll find it incredibly tricky to form your pici. Use a rolling pin to roll it into a thin (roughly 1/4″ thick) piece of dough. Use a sharp knife to slice the dough into strips, roughly 1/2″ wide.
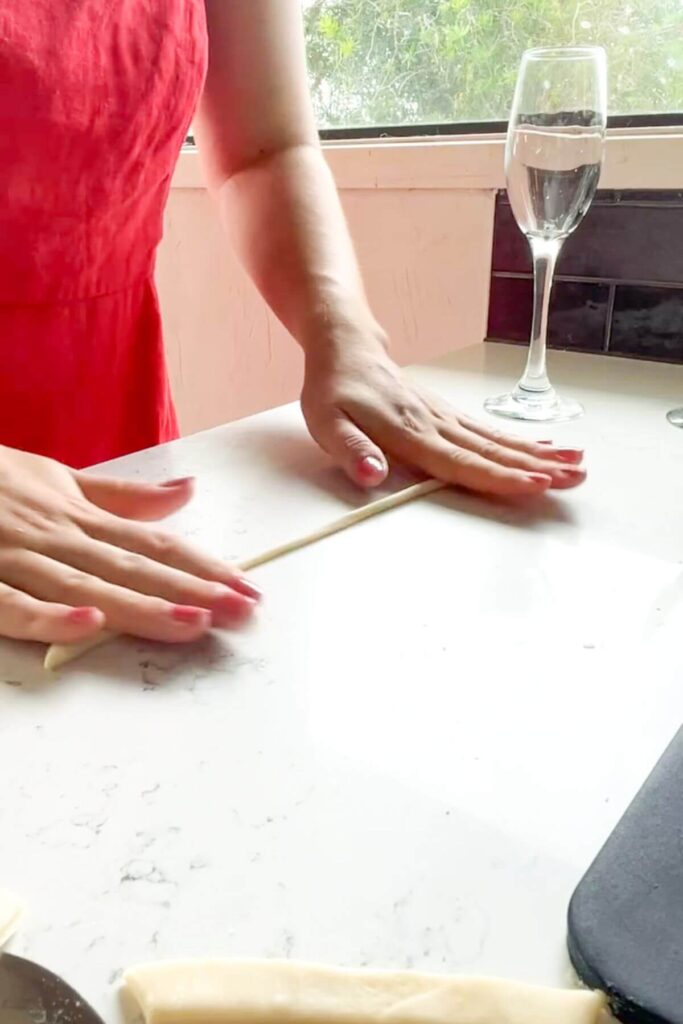
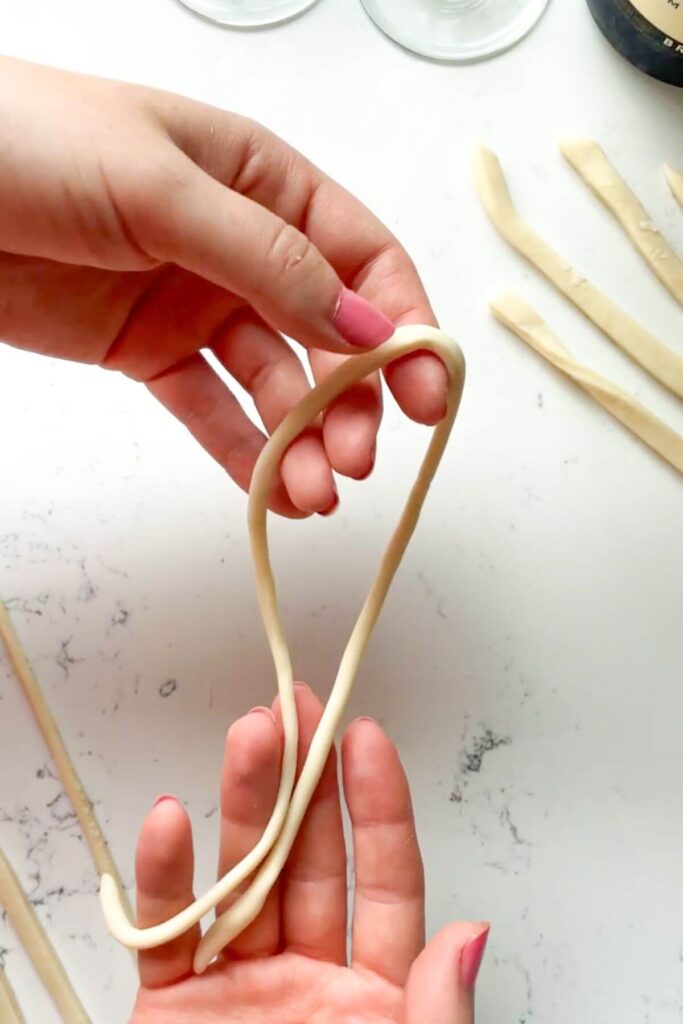
Pick up a strip of dough, then use the palms of your hands to roll it out into a long, thin snake. Move your hands across the strip to roll it evenly. You’ll want to make it a little thinner than you think – the pici will expand as they cook so don’t make them too chunky at this point.
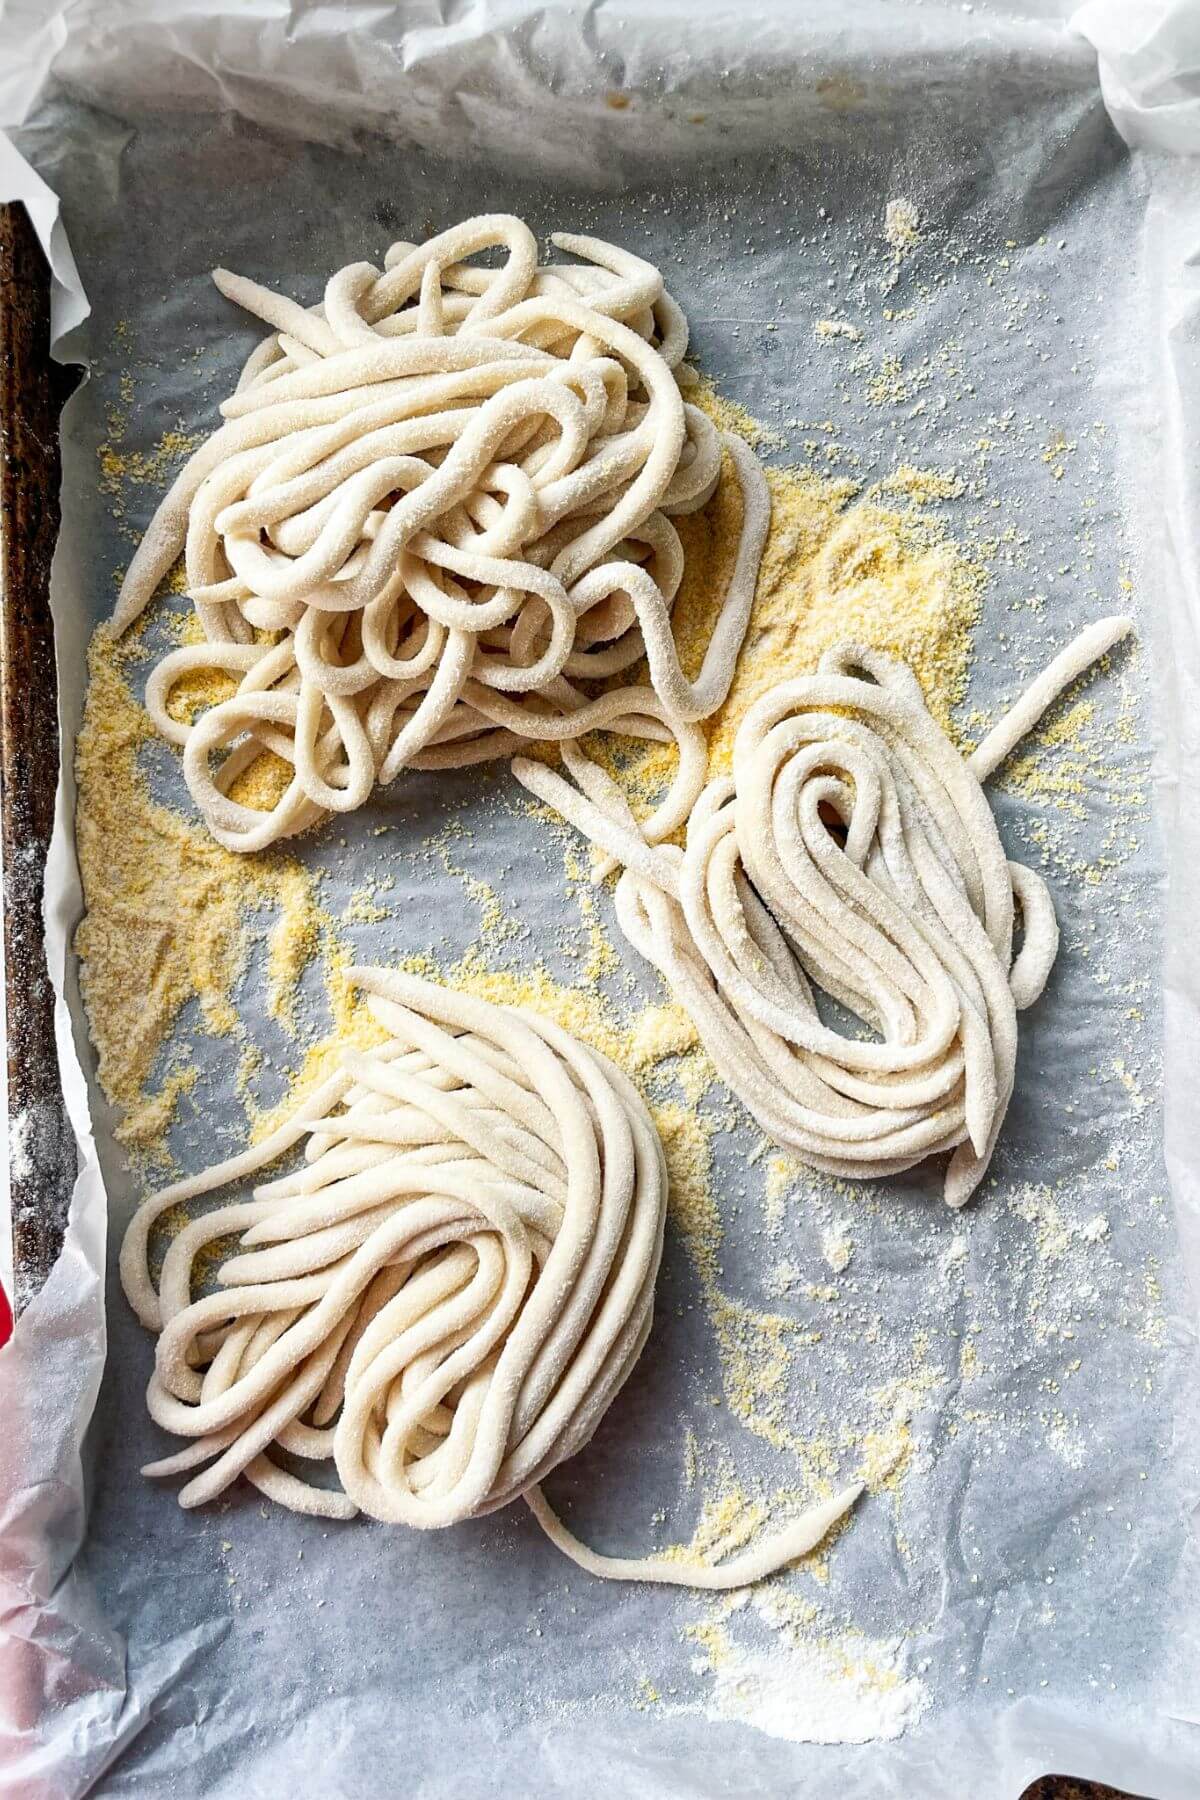
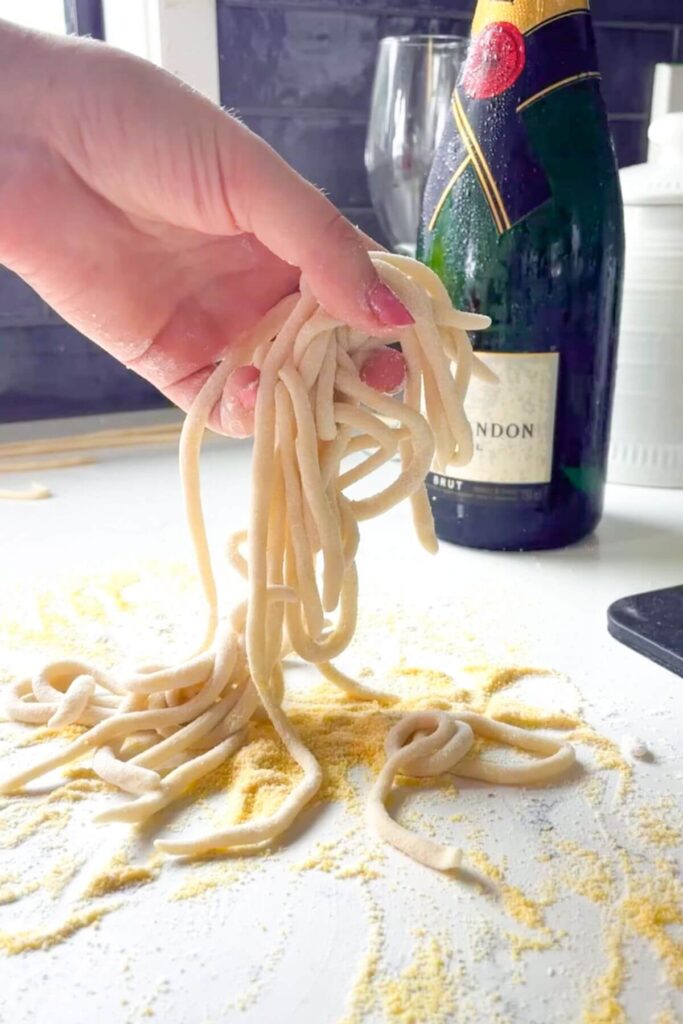
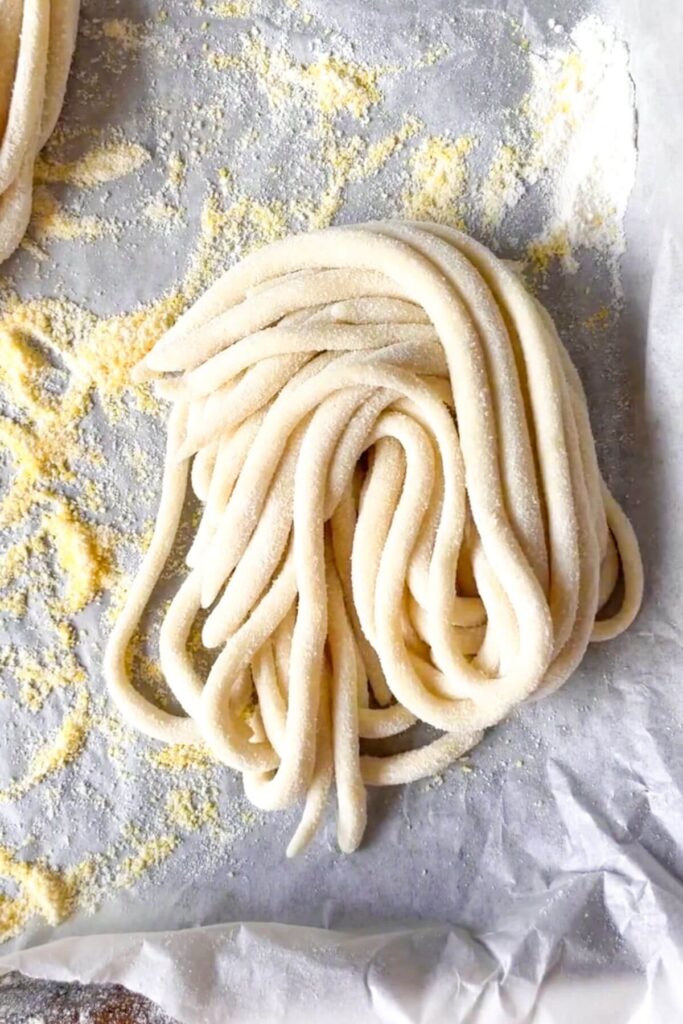
Repeat with the rest of the dough, then dust the pici with LOTS of polenta and flour to stop them from sticking, and bundle into little nests on a lined tray or plate.
Three Tips for Success
- Make sure you don’t use any flour on your surface when you roll out the pici. You need the stickiness of the countertop or wooden board to roll out your pici. Flour will make it very hard and it will be SUPER annoying (I have made this mistake before!)
- Dust your rolled pici with lots of polenta (or semolina) and flour to prevent them from sticking.
- Roll your pici a little thinner than you think they should be – they’ll expand as they cook so keep that in mind.
Watch How to Make Pici
How to Make Spooky Squid Ink Pici Pasta
You can easily color up your pici to make a very fun, spooky season themed pasta. Add two teaspoons of squid ink to your pici mixture, and reduce the water you use by 10 grams.
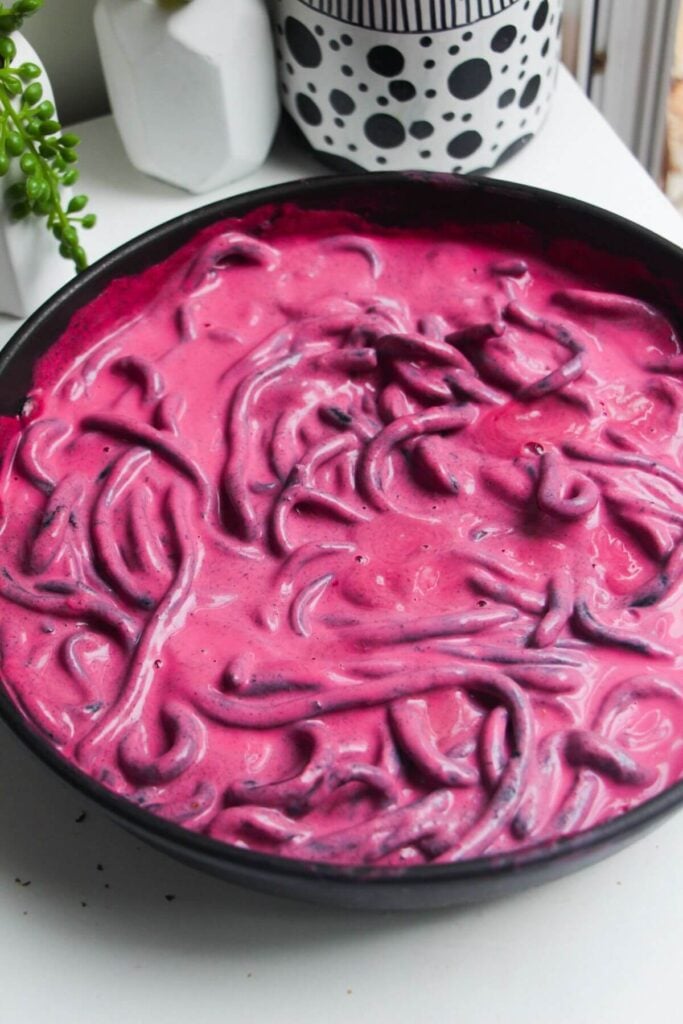
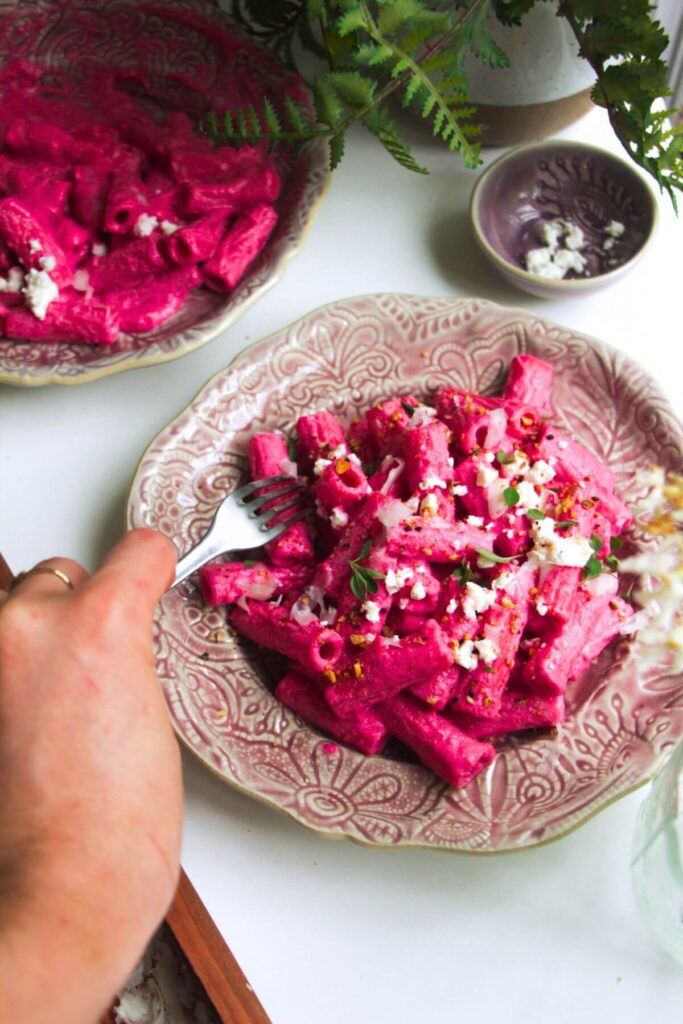
Pair it with whatever sauce you like! I like to go for something bright like this speedy pink beet and feta pasta sauce but use your favorite. It’s great used in miso carbonara, ‘Marry Me’ chicken pasta, mushroom Alfredo, creamy gochujang pasta, tossed with fresh homemade basil pesto or homemade sun-dried tomato pesto.

Hand Rolled Pici Pasta FAQs
Pici is a similar shape to spaghetti, though they’re quite a bit thicker and chewier. They’re also hand-rolled, whereas spaghetti is made with a pasta machine.
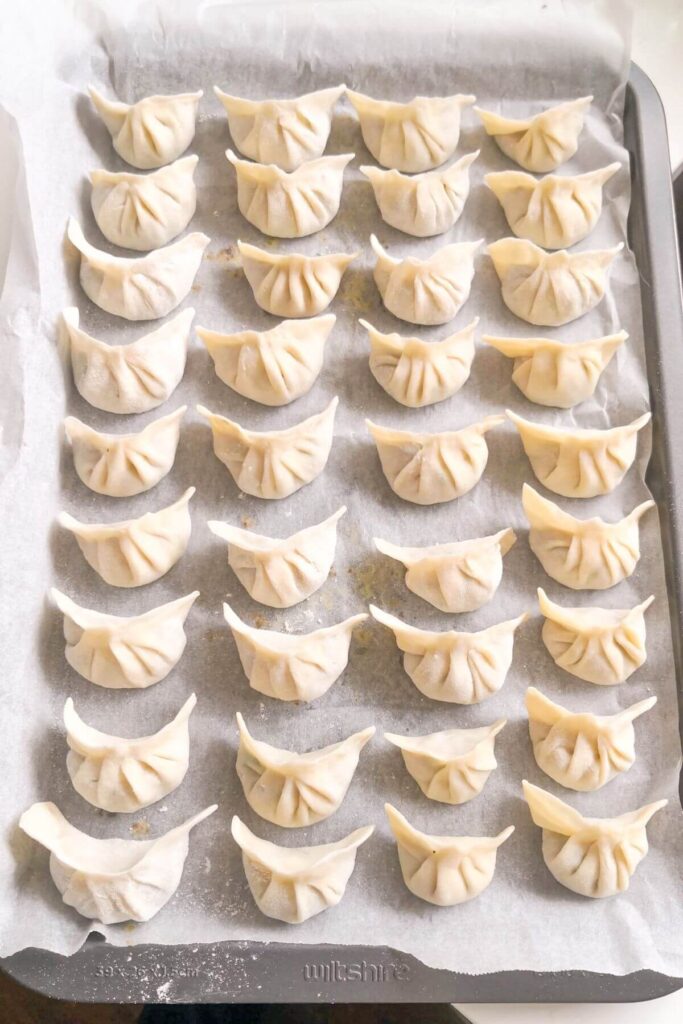
I always recommend freezing fresh pasta – it cooks from straight frozen perfectly. Arrange your pici in little nests on a lined tray, then freeze until sold. After that, transfer to ziplock bags to store.
Four Ways to Use Your Pici
Like this recipe? You might like to try these ones too
If you make this recipe, I’d love to hear from you! You can leave a recipe rating and a comment below. And remember to tag @DishedByKate on Instagram, Facebook and TikTok if you’ve made one of my recipes. Seeing your recreations really makes my day 😊.
Print
How to Make Pici Pasta
- Total Time: 28 minutes
- Yield: 4 servings 1x
- Diet: Vegan
Description
Try your hand at making fresh pasta with no pasta machine or special equipment, no eggs and only THREE ingredients. Rustic hand-rolled pici – like thick spaghetti – are the best place to start. The process is a bit like playing with Play-Doh (with a much more delicious result!)
Ingredients
- 400g plain flour (or use 00 flour or strong (bread) flour)
- 190g warm water
- 1 tablespoon olive oil
- 1 teaspoon salt
- Polenta (or semolina), for dusting
Instructions
- Mix your dough. Add the flour, olive oil, a pinch of salt and the warm water to a mixing bowl. Use a fork to mix the ingredients, until a crumbly dough starts to form. At this point, go in with your hands and start to knead the dough together. Do this for a minute or two, then cover the bowl with a tea towel and let it rest for about 5 minutes.
- Knead the dough. Transfer the dough onto a lightly floured surface, then continue to knead for another few minutes, until it’s soft, smooth and doesn’t feel sticky to the touch. Wrap it in clingfilm and let it rest for at least 15 minutes, and up to two hours. The longer it rests, the easier it will be to form your pici (as the gluten in the flour will have time to ‘relax’). If you’d like extra guidance on kneading, I have a whole post that breaks the process of how to knead down, with photos and step-by-step instructions.
- Roll out your dough. Slice the dough into quarters, and working with one quarter at a time (cover the rest of the dough while you’re not using it), use your hands (or a rolling pin) to roll it out into a rough rectangle, about ¼ inch thick. It’s important to not use flour on your surface when you’re doing this, as this will make it very hard to roll the pici strands. Cut the rectangle into long strips, roughly ½ an inch wide.
- Roll your pici. Use the palms of your hands to roll out each strip into a long snake, a little bit thinner than a pencil (the pici will swell up in the water so you don’t want them too thick at this stage). If you’re having trouble rolling the pici, cover the dough, let it rest for another 10 minutes, and try again. Continue with the rest of the dough.
- Dust the pici in polenta. After you’ve rolled each quarter of the dough, dust the finished pici with lots of polenta and flour to prevent them from sticking, form them into a little nest, and place them on a baking paper-lined tray as you continue with the rest of the dough.
- Use or store. The pici is now ready to be cooked, or stored for later use. They’ll cook in about 3 minutes in boiling water, ready to be tossed through your favourite pasta sauce. If you want to store it for later, the best way to do this is to freeze it. Place your tray straight into the freezer, then transfer the pici nests into ziplock bags once they’re frozen. You can then cook them straight from frozen (will take 4 minutes).
Notes
TIPS FOR SUCCESS: Don’t use any flour on your surface when you roll out the pici. You need the stickiness of the countertop (or a wooden board) to roll out your pici effectively. Flour will make it very hard and it’ll be SUPER annoying (I have made this mistake before!) Dust your rolled pici with lots of polenta (or semolina) and flour to prevent them from sticking. Roll your pici a little thinner than you think they should be – they’ll expand as they cook so keep that in mind.
SERVING SUGGESTIONS: Serve the pici with any pasta recipe you like – it’s wonderful in spaghetti carbonara, or anything very saucy that it can cling to. Try using it in this tomatoey ‘nduja pasta, super green rigatoni, creamy mushroom Alfredo or spicy gochujang pasta.
HOW TO MAKE SQUID INK PICI: Just add two teaspoons of squid ink to your pici pasta dough, and reduce the water by 10 grams.
- Prep Time: 10
- Resting time: 15
- Cook Time: 3
- Category: pasta
- Method: hand-rolled
- Cuisine: italian
Nutrition
- Serving Size: 100g